Stylish, Easy, and Budget-Friendly DIY Closet Makeovers
February 7, 2024
We often have a love-hate relationship with our bedroom closets. Cue: The perfect DIY Closet makeovers to help get you going! On the one hand, they’re the perfect place to store the gorgeous dresses, warm-clad coats, and stylish shoes we can’t help but buy whenever we see something that catches our eye. They give our beloved items a designated place in our room—a haven from the chaos of screaming kids, barking dogs, and rushed parents.
If you’re anything like my family, your bedrooms get A LOT of foot traffic. Items stacked on the desk chair, laid out on the bed, or hung on a doorknob are bound to end up in a pile on the floor at some point or another. Which, let’s face it, could be better! Closets not only prevent these situations from occurring but also provide peace of mind, knowing that our favorite possessions will stay pristine.
On the flip side (see what I did there?), dysfunctional closets can be one’s worst nightmare. Without proper shelving, hanging rods, or floor space, this sacred bedroom area can quickly turn into a messy heap of clothing, making even closing the door a hefty task. DIY Closet makeovers can help with all of the above, and then some. With a layout that provides no room for organization, what’s the harm in shoving in a few more articles of clothing when looking to create the illusion of an immaculate bedroom (other than the inability to find even less than you could before)?
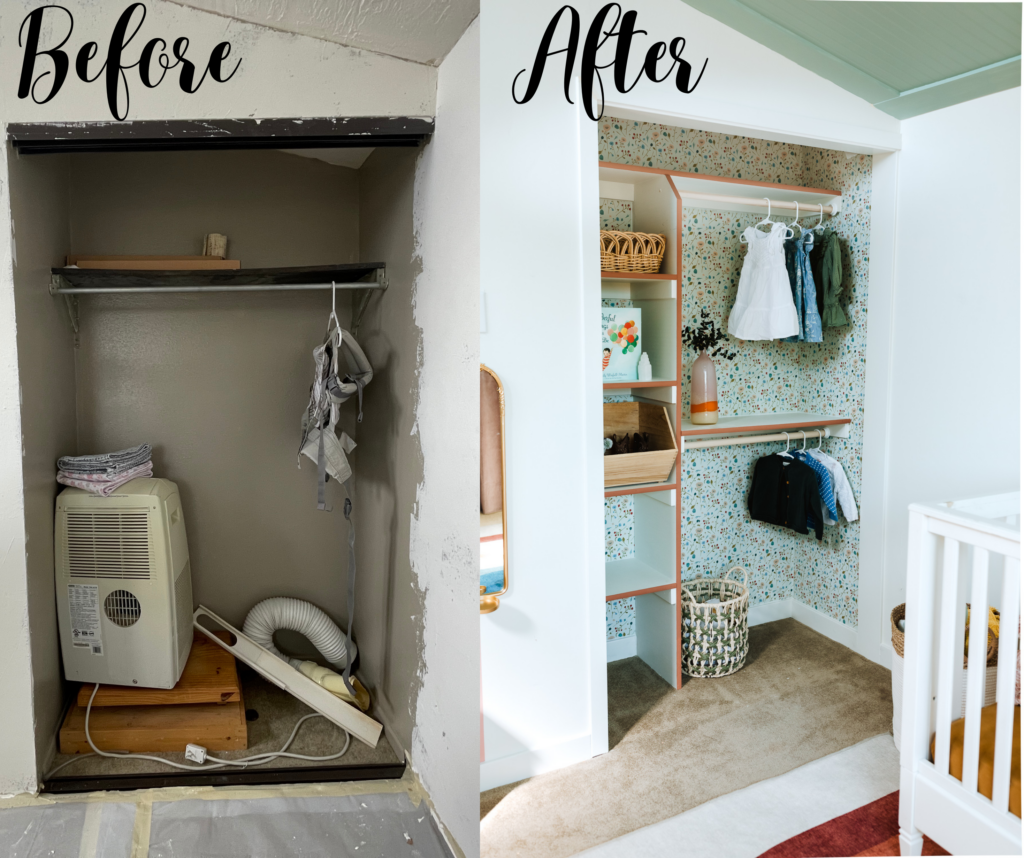
Luckily, creating the ideal closet that best suits your needs isn’t only achievable, but it’s something that you can tackle yourself with just a few supplies, a free weekend, and some creativity! DIY Closet makeovers are the perfect way to take a bland and unusable space and turn it into something that can grow with you throughout the years. After doing some custom DIY closet makeovers for my kids, I’ve now grasped how to create some fun, easy, and stylish organization solutions!
How To Build a Custom Closet
By now, we’ve all seen at least one or two episodes of those home improvement shows that display closets with floor-to-ceiling custom cabinetry, islands with pull-out drawers, and sliding racks boasting additional storage. Yes, these designs are gorgeous, but they require ample time, planning, and installation that many of us don’t have the patience for (I know I don’t). Why should you rely on others to build your bedroom closets that look like they came straight out of a magazine when it’s something you can easily do yourself? Not to mention, have a fun time doing it!
Closet makeovers can seem daunting, but with the proper guidance, supplies, and mindset, you can create a showstopper that serves all your organizational needs. The first step is to come up with a simple layout. A DIY closet makeover design doesn’t need anything out of this world—it just needs to be functional. If you want to hang multiple clothing items, consider stackable hanging rods; meanwhile, vertical shelving is ideal for folded t-shirts, jeans, or shoes (if you want to keep things off the floor). I did this DIY closet design in my boys’ bedroom; let me tell you, it didn’t disappoint!
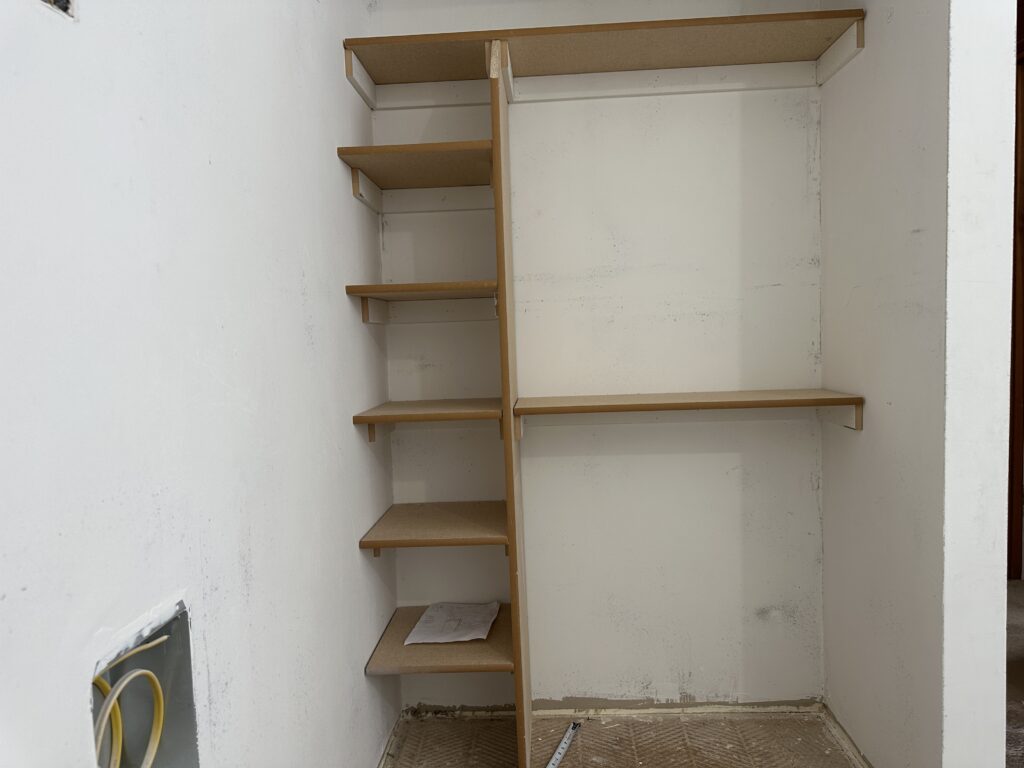
And if you’re wondering, “How long does it take to create a custom closet?” the answer may surprise you. One weekend! One weekend is all it takes to customize and outfit the average-sized closet from top-to-bottom. You can start the new week with one less thing on your to-do list.
Closet Makeover on a Budget
Many people hear the word “makeover” and automatically see dollar signs—I was the same way before I threw my hat into the world of DIYing. However, recreating an existing space doesn’t have to be expensive, even if you add custom elements to your design! Walk down the aisles of your local hardware store, and you’ll find almost everything you need for a fraction of what it would cost to purchase built-ins.
For my children’s closets, I wanted to create a well-organized space that was both practical and beautiful. But I wanted to avoid paying an arm and a leg to achieve the look I was going for. Thankfully, I found the right supplies at a fantastic price! Here’s a brief breakdown of what I spent:
- Cleat material: $15
- MDF shelving 12”: $12 (half the size of a standard piece)
- MDF shelving 15”: $25
- Caulk (1 tube): $4
- Wood filler (roughly 1 tbs worth): $1
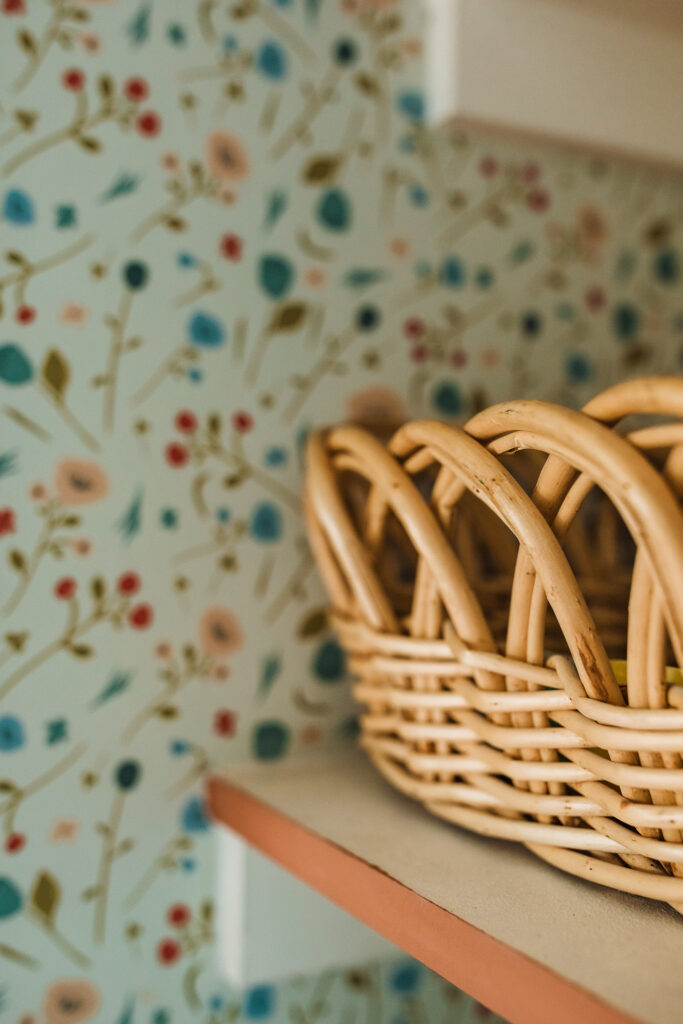
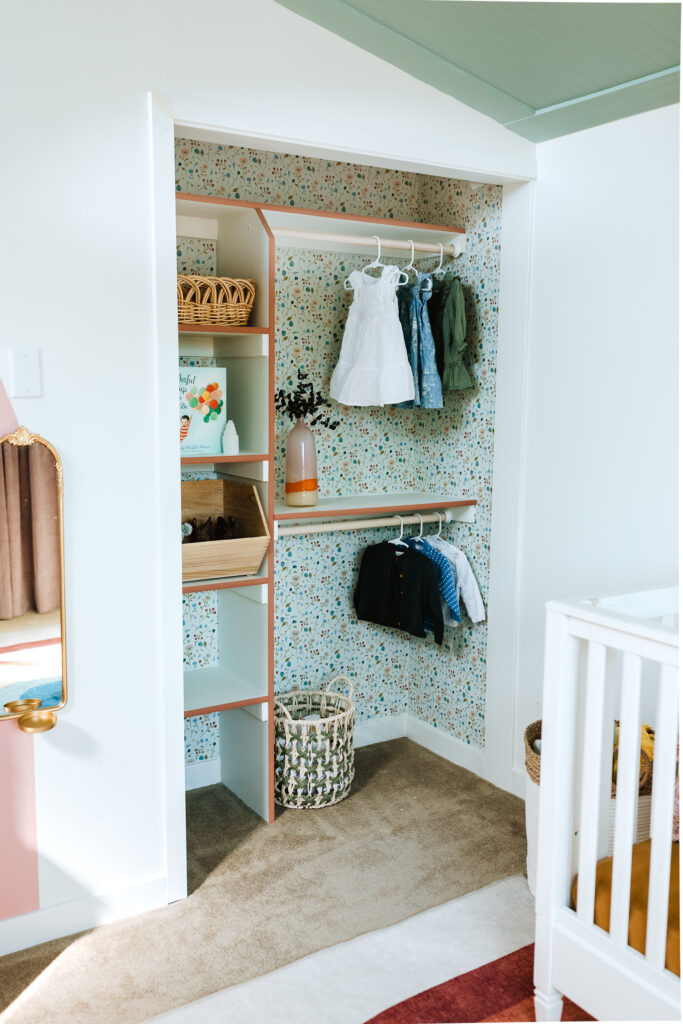
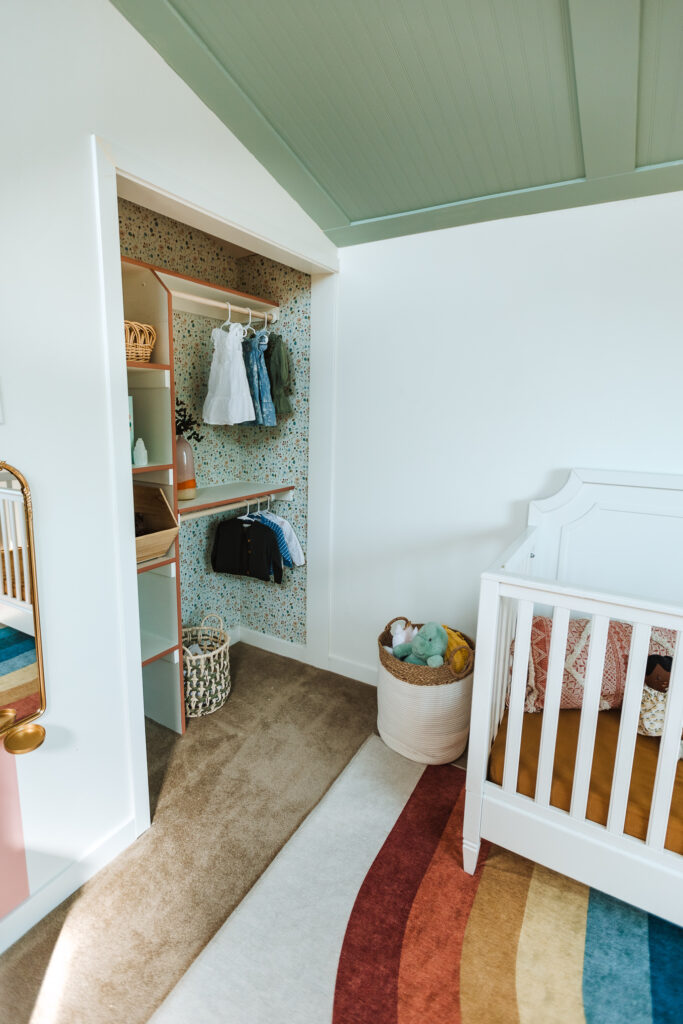
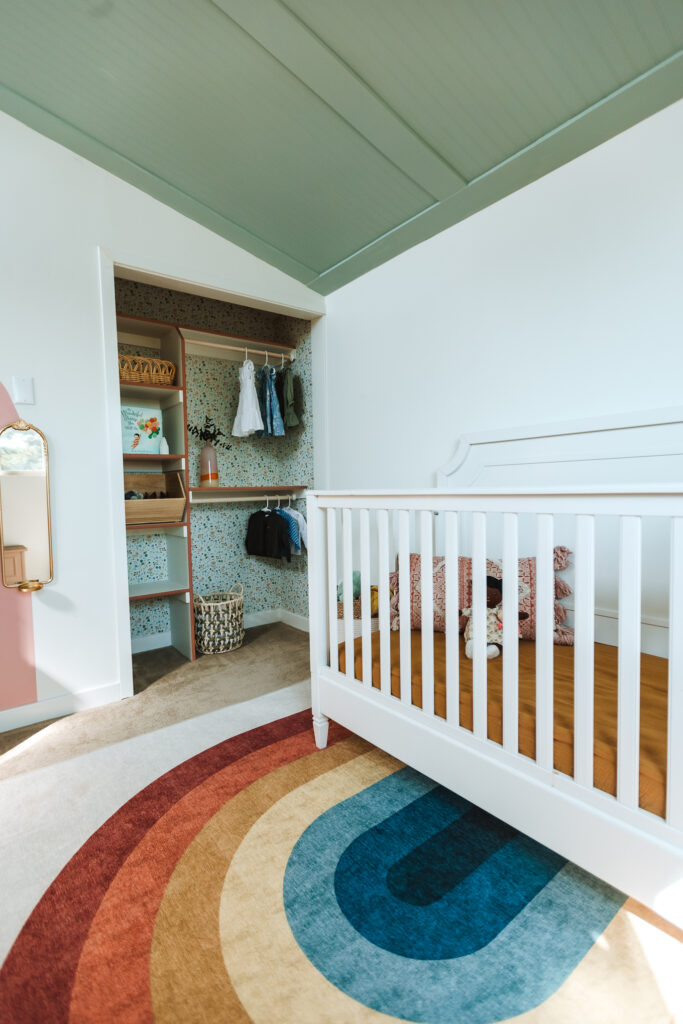
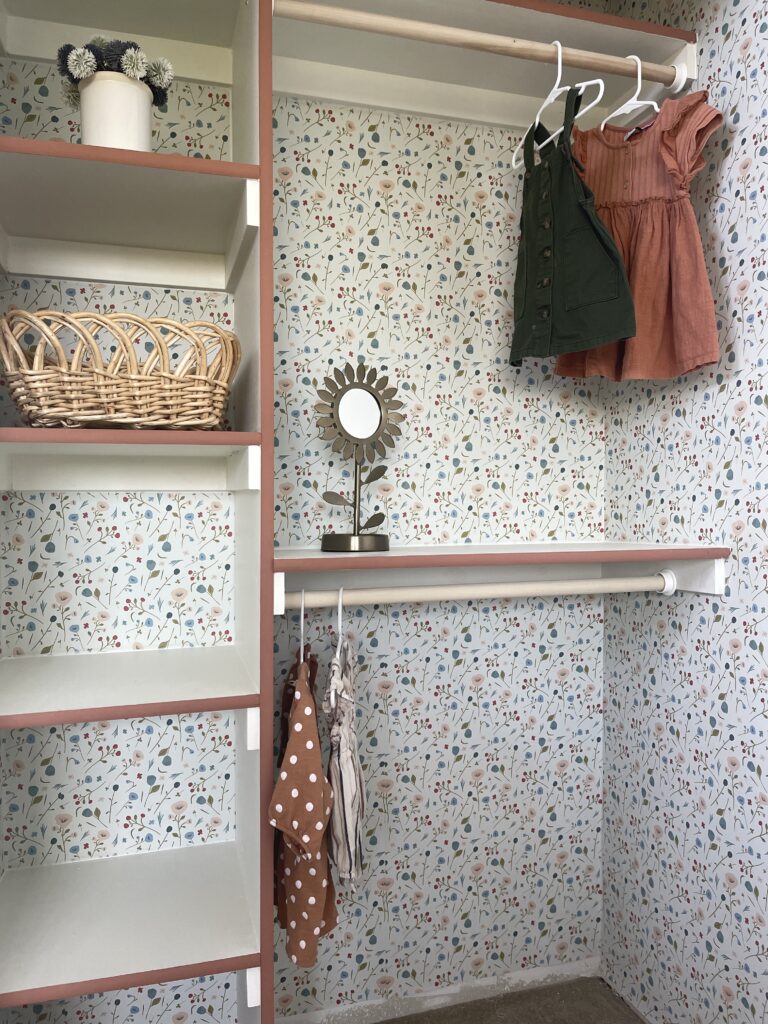
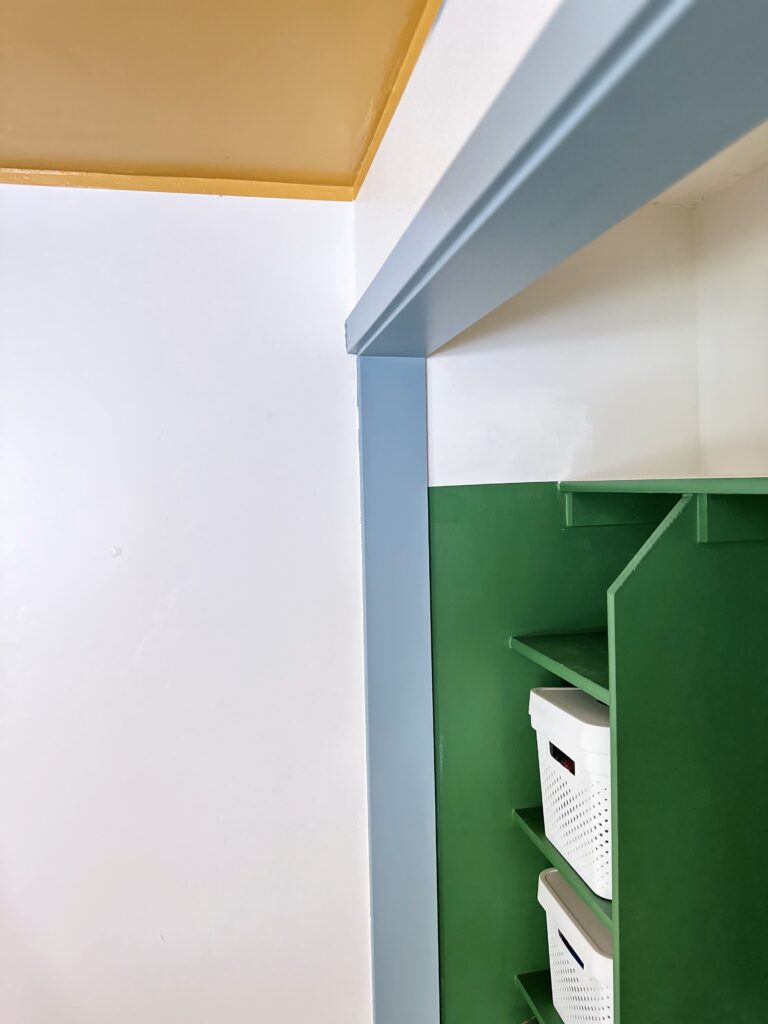
My total expenditure was $57 (I already owned this nail gun for nailing the cleat and shelving, so I could cut down on some costs there). But because I decided to go all out on these custom DIY closets, I also purchased some primer and emerald green paint to add a dramatic and elegant touch to the boys’ closet—I painted the walls and shelves the same color for a more cohesive and stylish design. Meanwhile, I chose a whimsical yet sophisticated floral wallpaper for my daughter—white shelves with colored edges made the pattern pop! I couldn’t be happier with how these closet makeovers turned out!
LET’S GO FOR IT!
Step 1:
Measure + Design
Measure your space and design your layout. I like to always include a few shelves AND a rod. One thing to keep in mind with your spacing for the rods is the length of items that will be hanging.
Step 2:
Gather your tools!
- Nail gun
- Nails
- MDF BullNose (I use 12” and 15”) Shelving material
- Skill saw or table saw if your boards aren’t cut
- Caulk
- Wood filler
- Paint
- Level
- Stud Finder
- Primer
- Paint Brush
- Paint Roller
Step 3:
Cleat
Once you have your tools and materials you are set and ready to go.
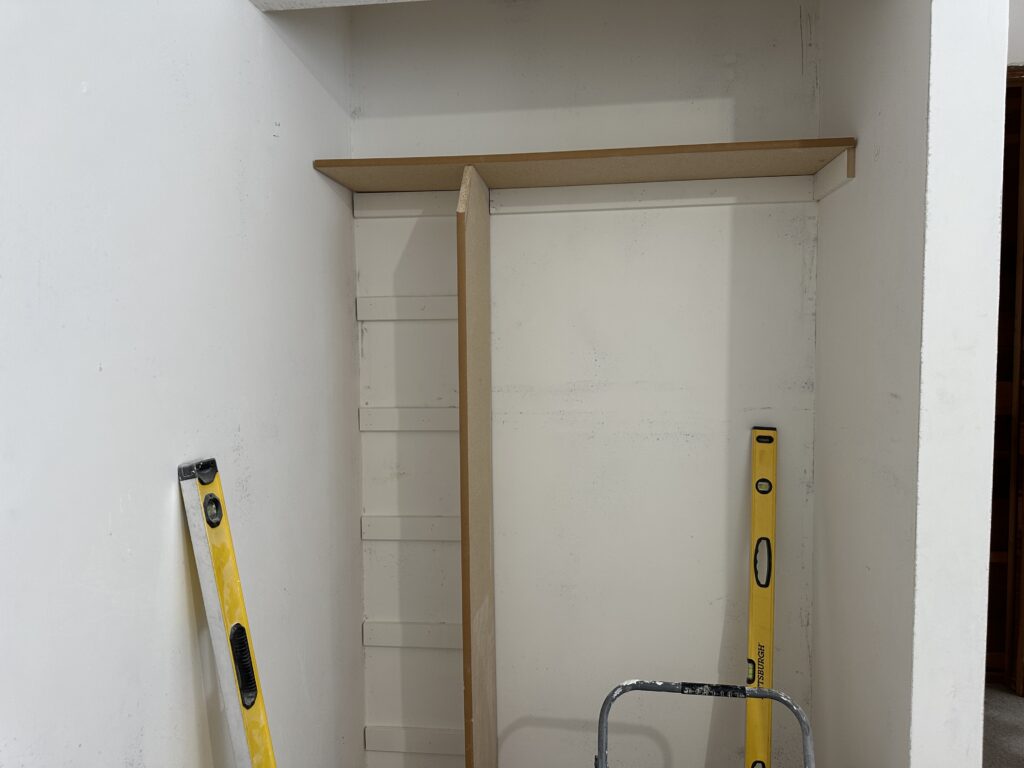
I like to install my cleat with the backboard first, using my nail gun to nail in the center to hold it in place so that I can then level it off of that.
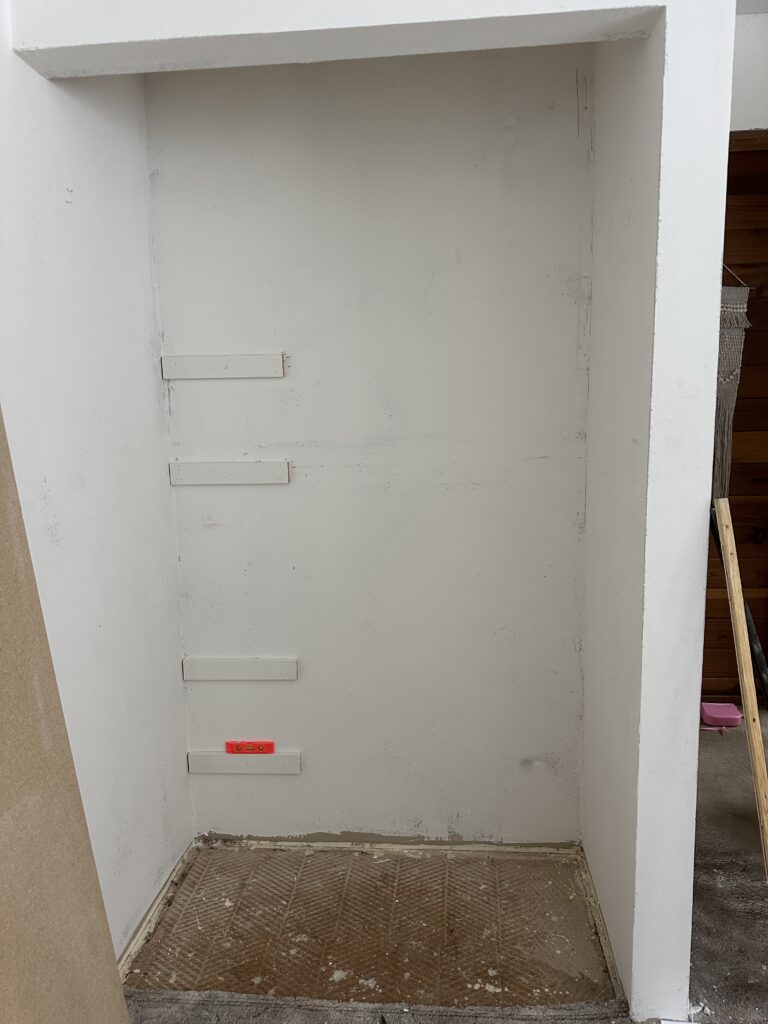
PRO TIP: Mark where your studs are in the wall first and nail directly into those each time. If you are not nailing into a stud you will want to angle your nails into one another making an “x” into the wall.
Attach the back cleat and then the side cleat using your nail gun. Be sure to level and re-level everything before nailing in.
Step 4:
Shelving
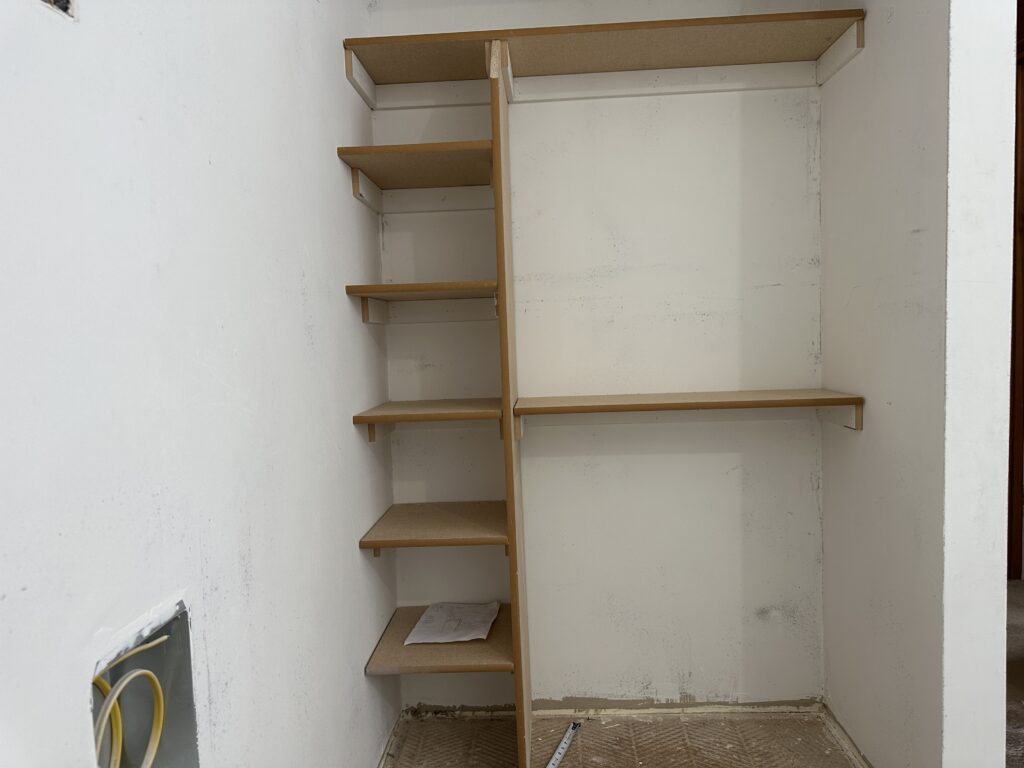
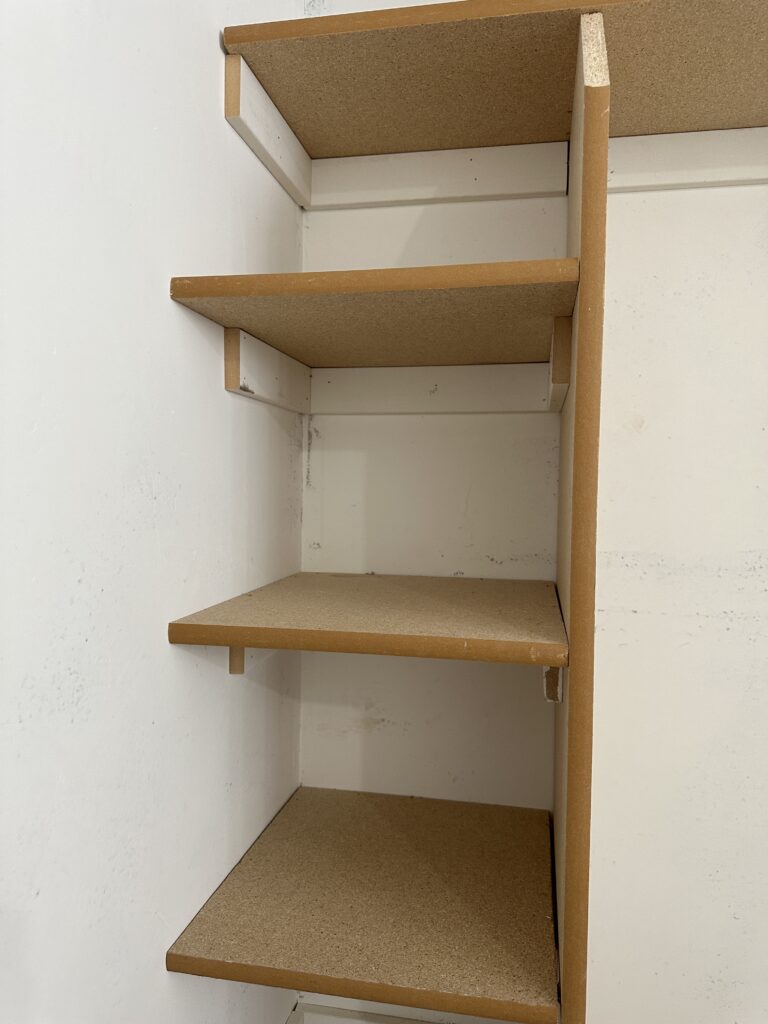
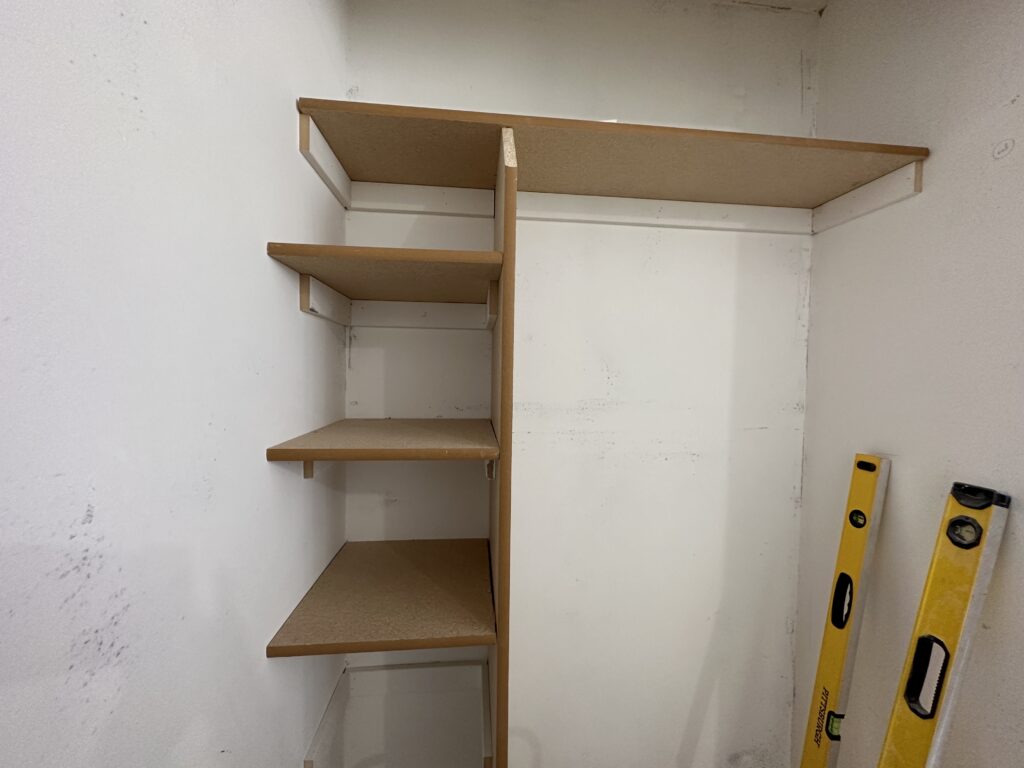
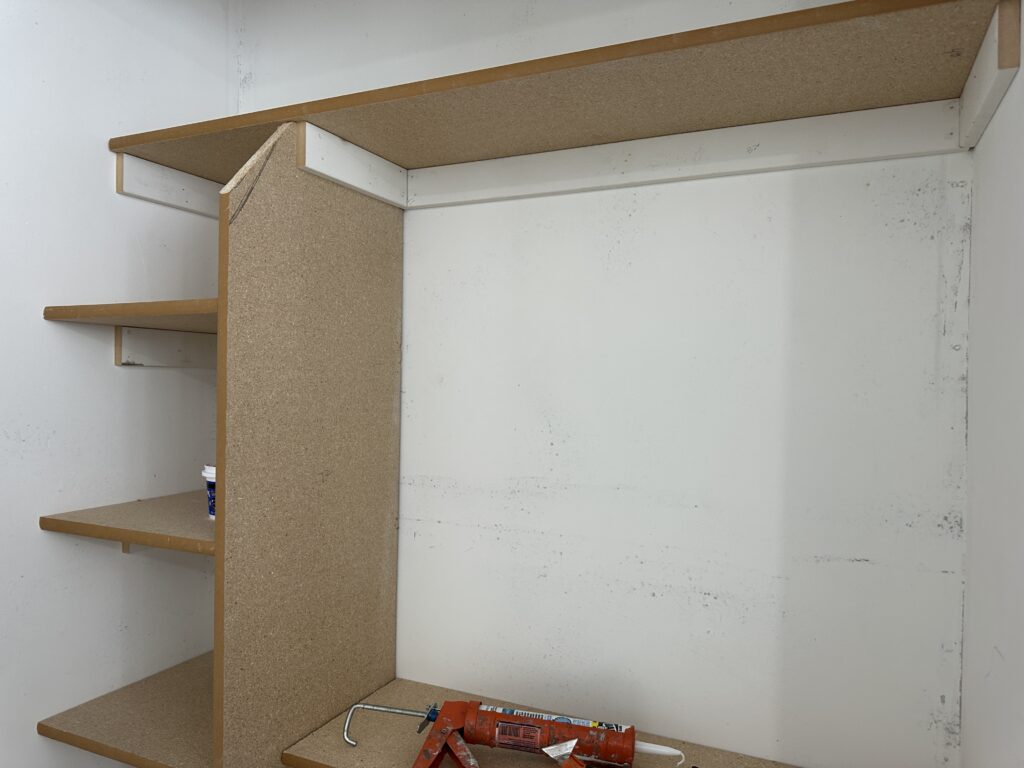
Once your cleat is in, you are ready to attach your boards. I prefer the bullnose shelving because it gives a nice finished look. Place your boards on top, check that you are level and then nail the shelf down into the cleat. THAT’S IT. Truly, building a closet is simple and pretty quickly one of the most satisfying DIY projects you will do!
Step 5:
Once your boards are nailed in you will use your caulk and your wood filler to close all of the gaps! This part is monotonous but makes ALL of the difference, I promise.
Use the caulk wherever your wood meets wood or where the wood meets the wall – basically in the cracks. The wood filler will be used to fill in all of the nail holes. Keep in mind that caulk doesn’t sand well, so don’t use that to fill your nail holes or you will end up with an annoying mess.
Step 6:
Paint!
You will want to prime first. The primer will not only prep the wood to be painted but will also ensure that the wood isn’t soaking up 70% of your paint, resulting in 10 coats needed. If you aren’t using a sprayer, be sure to use an angled brush for your corners first, let that dry and then roll on the rest of the paint with your roller. I prefer to use a cabinet roller and pad for closets because it gives the perfect smooth look and isn’t obnoxiously big to move around in the smaller spaces.
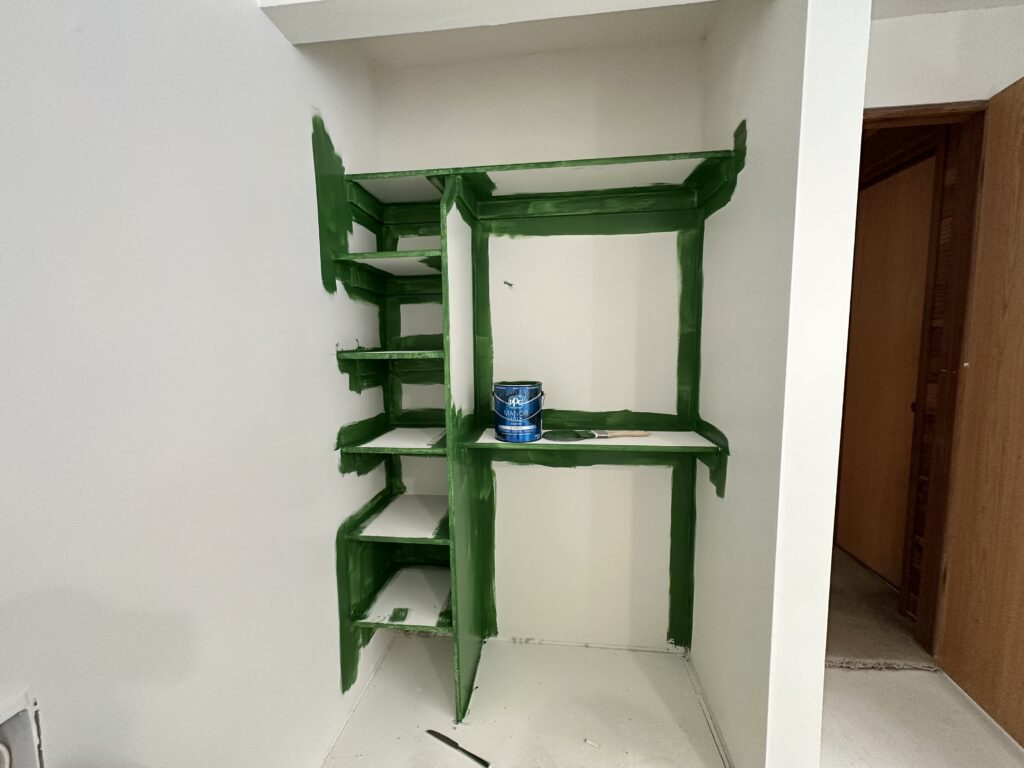
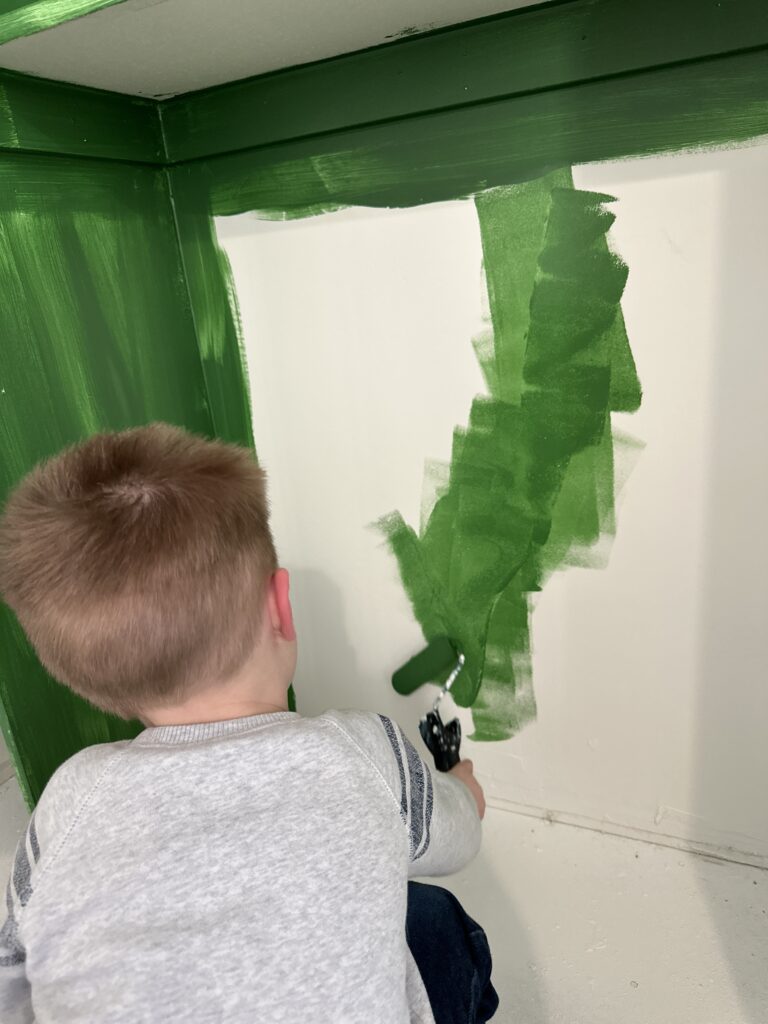
I usually do three TOTAL coats – one coat of primer, two coats of paint. If you are using a bolder color like I did here you may need to do extra coats for optimal coverage!
Step 7:
Hang your rods.
There are so many different options for closet rods. I really like the look of wood dowels with the dowel holder for my rods. They aren’t adjustable but you can cut them to size custom for your closet! If you want adjustable, these are a good option.
That’s it! Congratulations on your custom closet build.
Ps. You can check out the boys closet + Room makeover here.
Turn Your Bedroom Into Your Next DIY Project!
Creating the perfect space in your home shouldn’t drain your bank account or take weeks to complete. When it comes to your bedroom, you want to spend as little time renovating and as much time relaxing (who wants to lay in bed watching TV while dealing with the lingering smell of sawdust, not me!). Taking on some simple DIY projects can help make this a reality!
Whether building custom bedroom closets or creating floating desks, make the space your own! You’ll have a masterpiece with the right tools, research, and inspiration in no time! And don’t worry; plenty of fun and stylish DIY projects are budget-friendly!
If you want to ignite your creative side, follow me on Instagram for everything from my favorite dessert recipes to my most recent closet makeovers! I can’t wait to share everything that I’ve been up to.
