Skull Centerpiece DIY
October 2, 2022
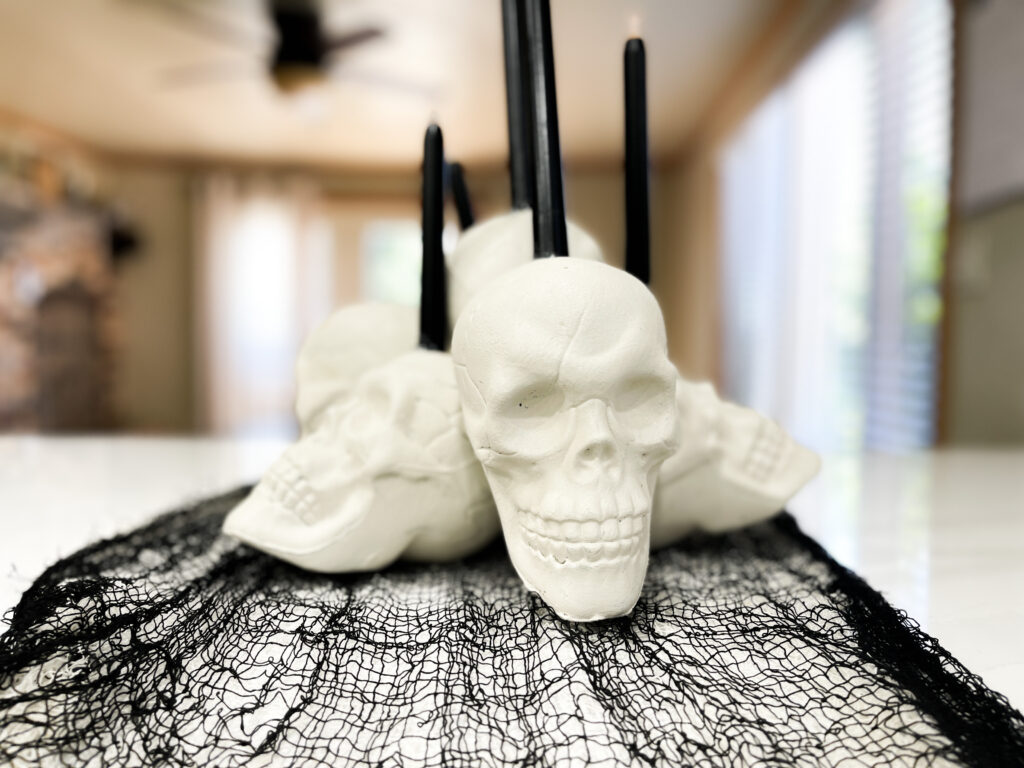
Skulls, Candles, and Black OH MY. Tis the season to bust out all of the dark decor, unless cute Halloween is your thing. In which case, I support you but also question your choices. Kidding. Kind of. This Skull CenterPiece DIY brings me the ultimate joy for this Halloween season. The best part? It only cost $11 bucks. YES – you read that right, ELEVEN dollars. With this dollar store DIY you can create the most spooktacular centerpiece with some pocket change and an hour in the afternoon. Let’s dive in, shall we?!
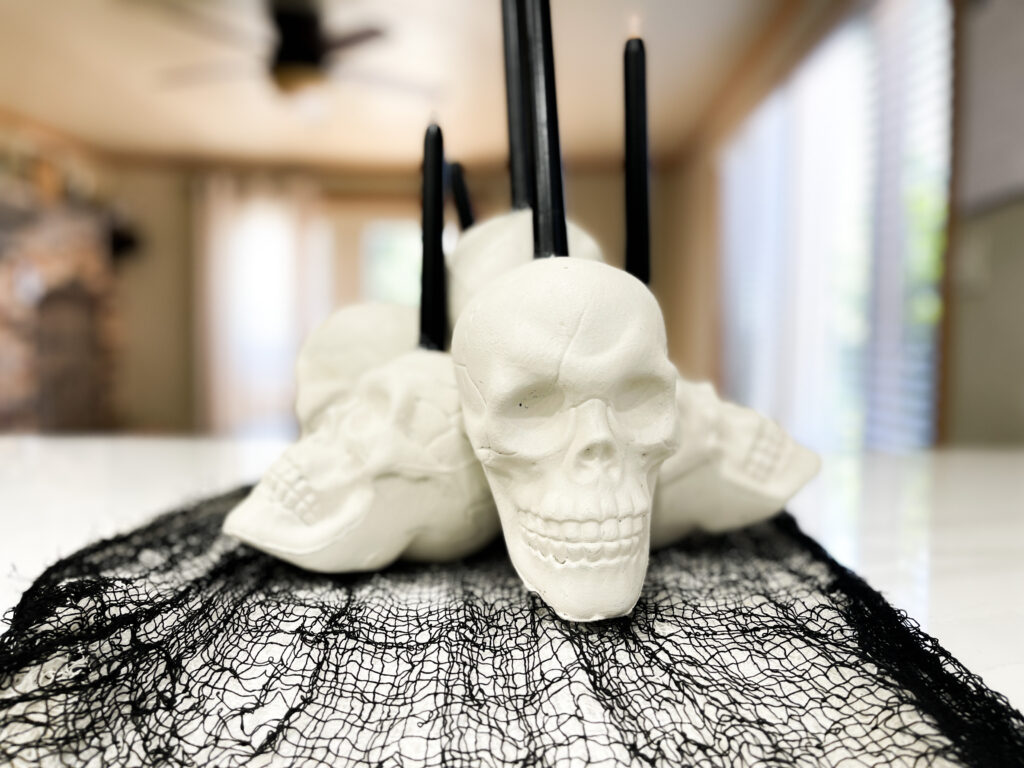
For this project you will need:
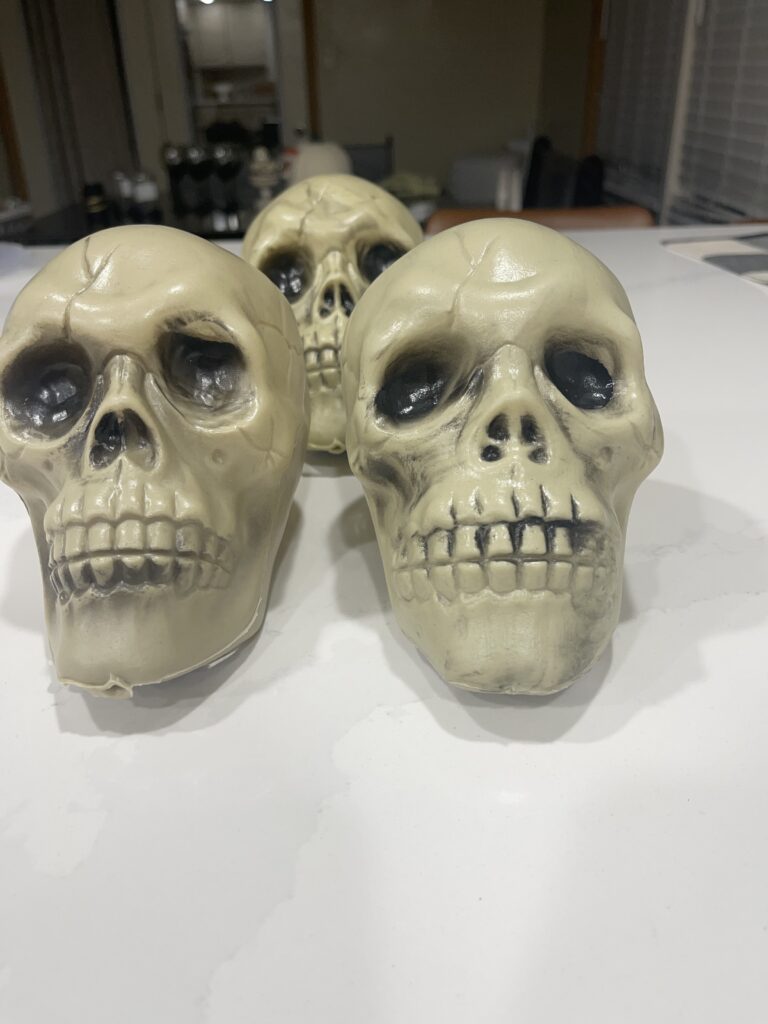
- 5 – 6 (or really as many as you would like for size) plastic skeleton skulls
- 5 tapered candlesticks (I uses battery powered ones from the dollar store, but I would recommend ones with a screw on bulb to turn on or traditional candles you can light)
- Hot Glue Gun + Glue Sticks
- White/Taupe paint (I used leftover paint from past projects)
- Baking Soda
- Spade Bit
- Drill
- Paint Brush
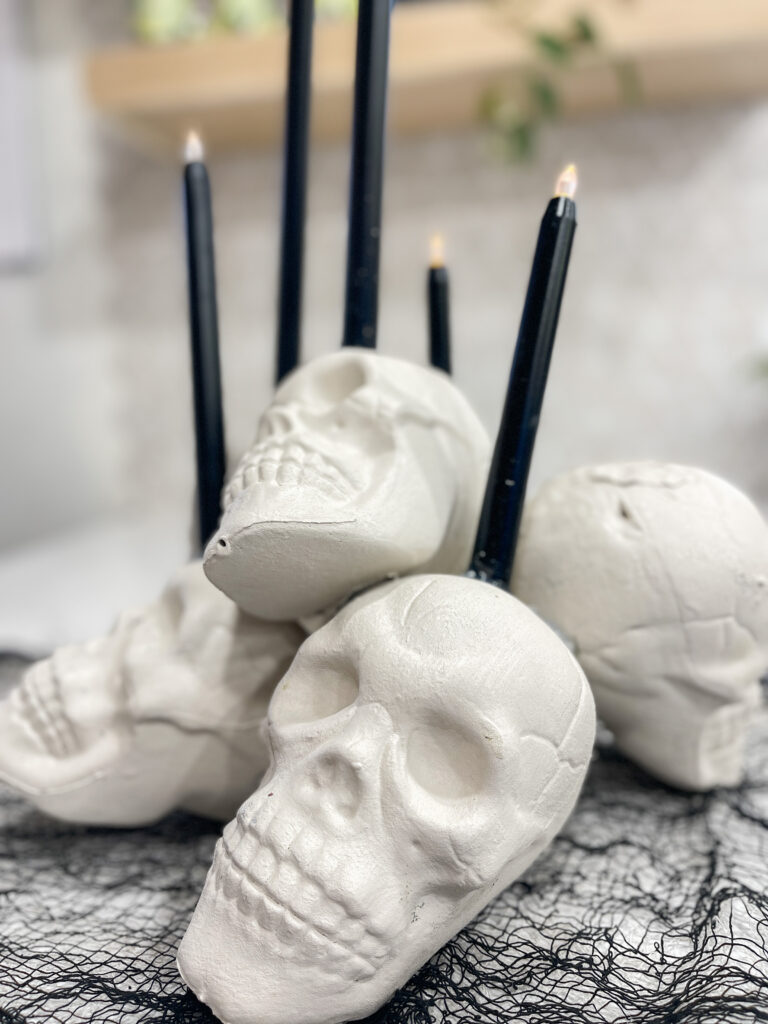
Glue your skeletons together. I used hot glue and laid them in a way that they could balance on one another. I used six and then realized I only had five candles. In hindsight I wish I would have added 1 – 2 more candle-less skulls.
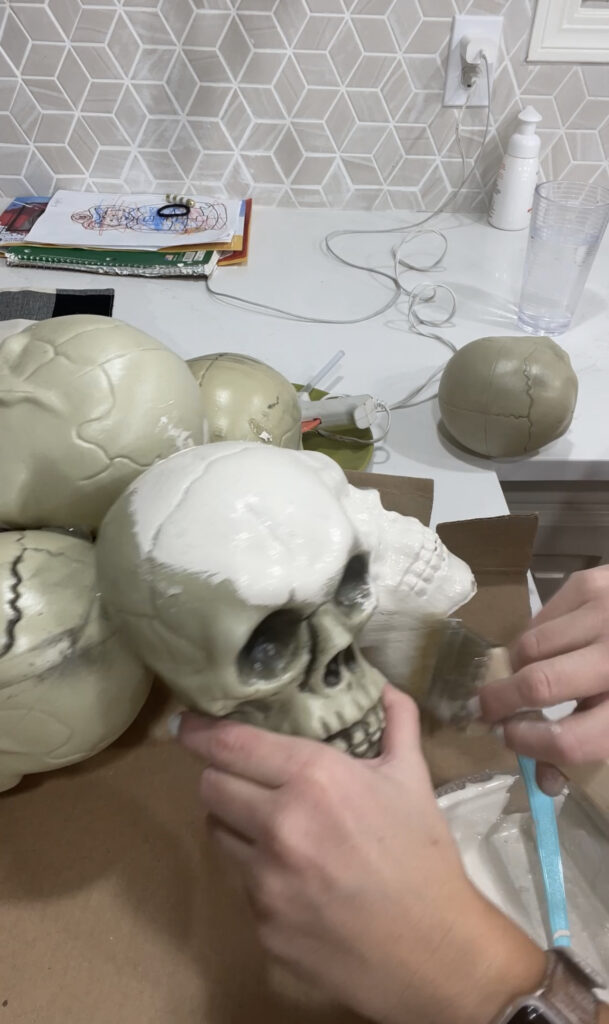
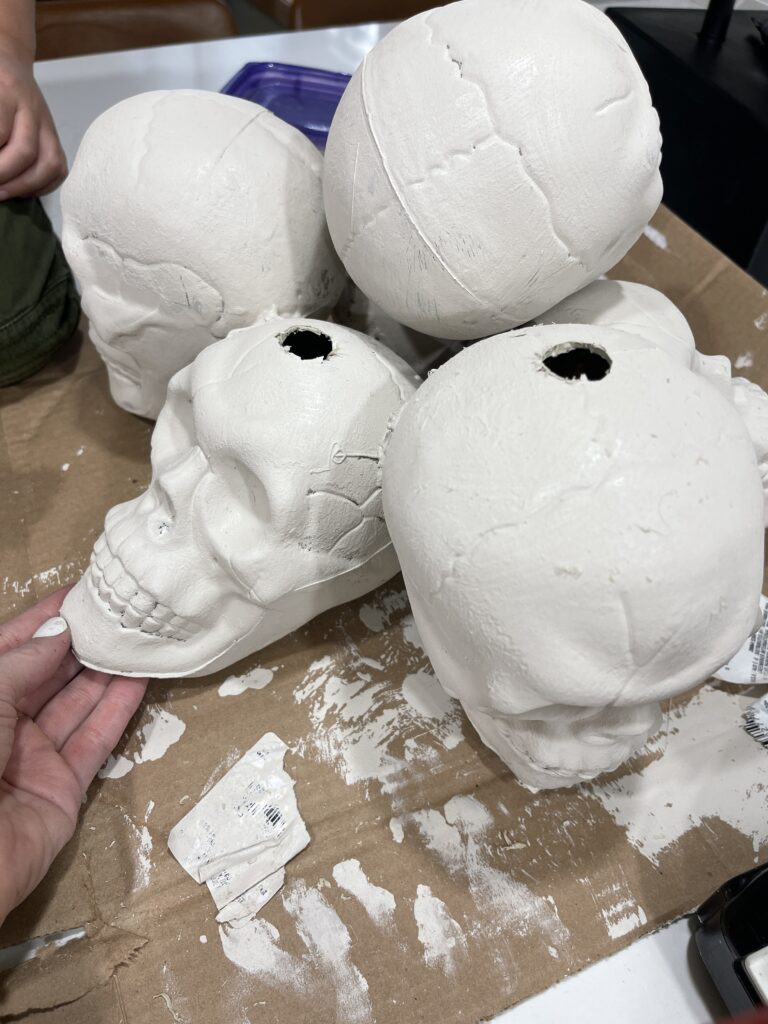
Once the skulls were glued together and dried nice and snug, I mixed up my paint and baking soda. Why baking soda? Well, for my Skull Centerpiece DIY I wanted the skulls themselves to have plenty of texture. The baking soda does just that! Adds texture and dimension without effecting the paint color or durability. I ended up doing just one solid coat. I liked the dimension it added and that it showed the skull color with the black eyes and teeth through the paint.
Once the paint was nice and dry (with the baking soda it dries even faster than normal so thats nice and convenient!) I used my spade bit and drill to drill holes in the top of the skulls. This was WAY easier than it sounds. I eyed where I wanted the candles to be and then marked it and the spade bit cut the perfect circle. I would recommend going slightly smaller in size than the width of the candle so that it fits nice and snug.
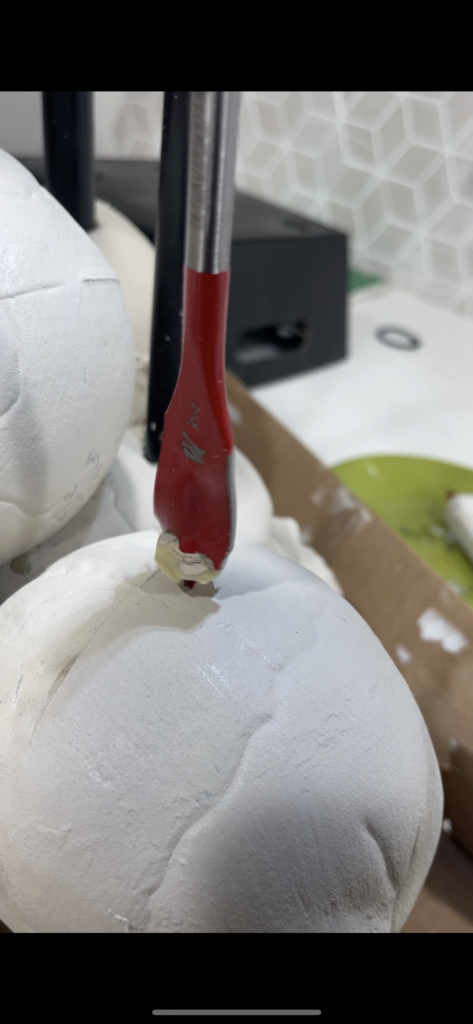
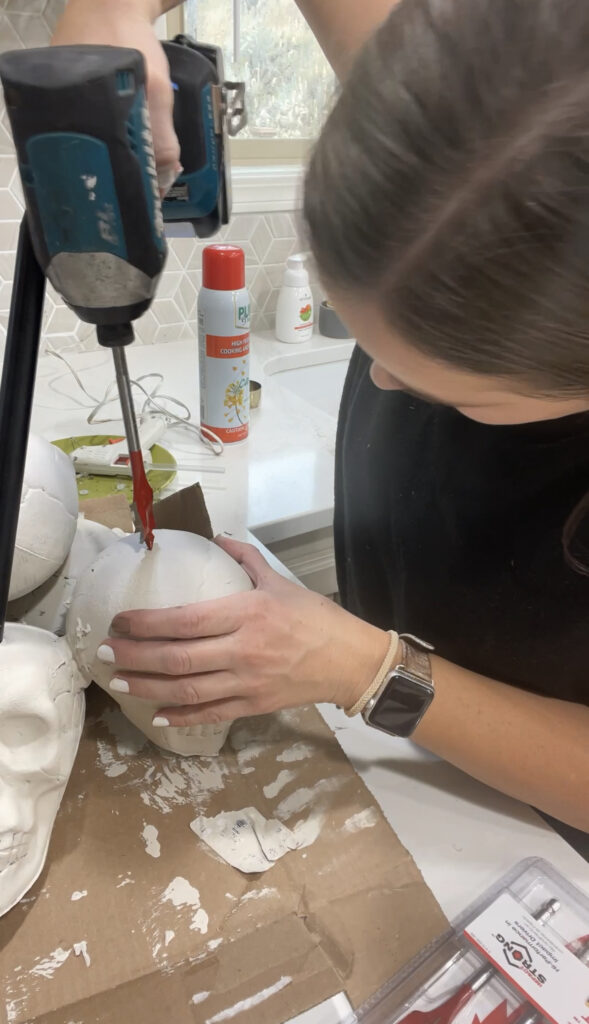
Now its time for the fun part! I used dollar store candles but these candlesticks come with a remote that would make this whole centerpiece much easier to turn off and on! Once your holes are drilled, stick your candles in and turn them on. I added a fun dollar store threadbare cloth to use as my table runner and voila! Spooky Halloween has officially entered the picture!
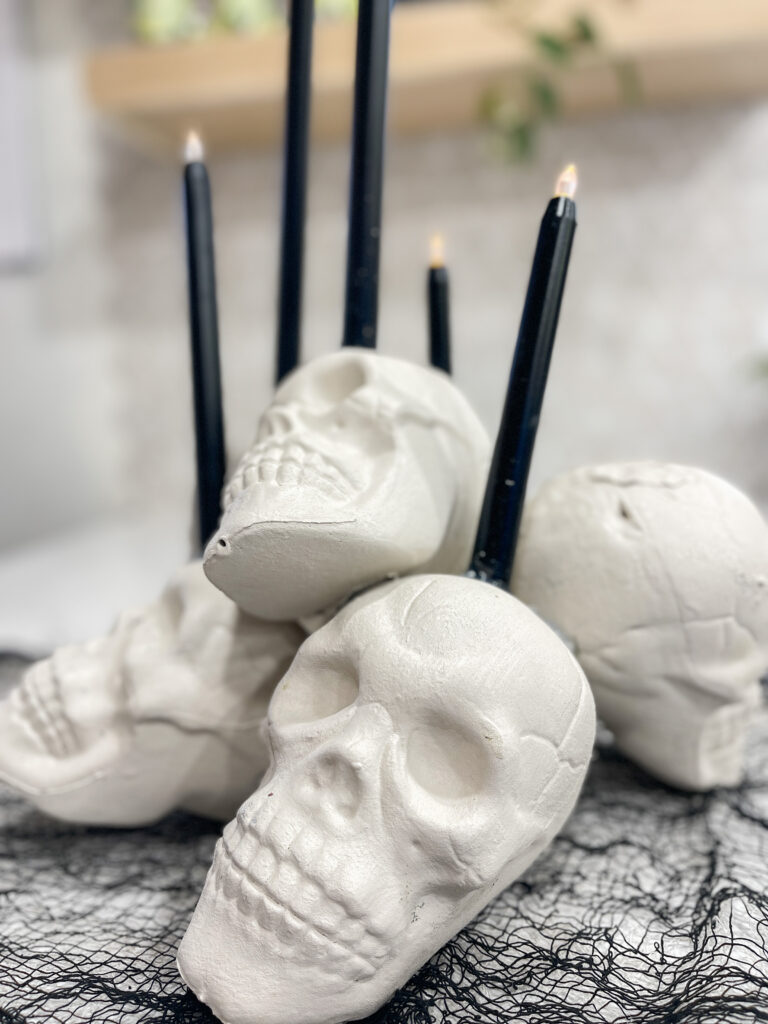
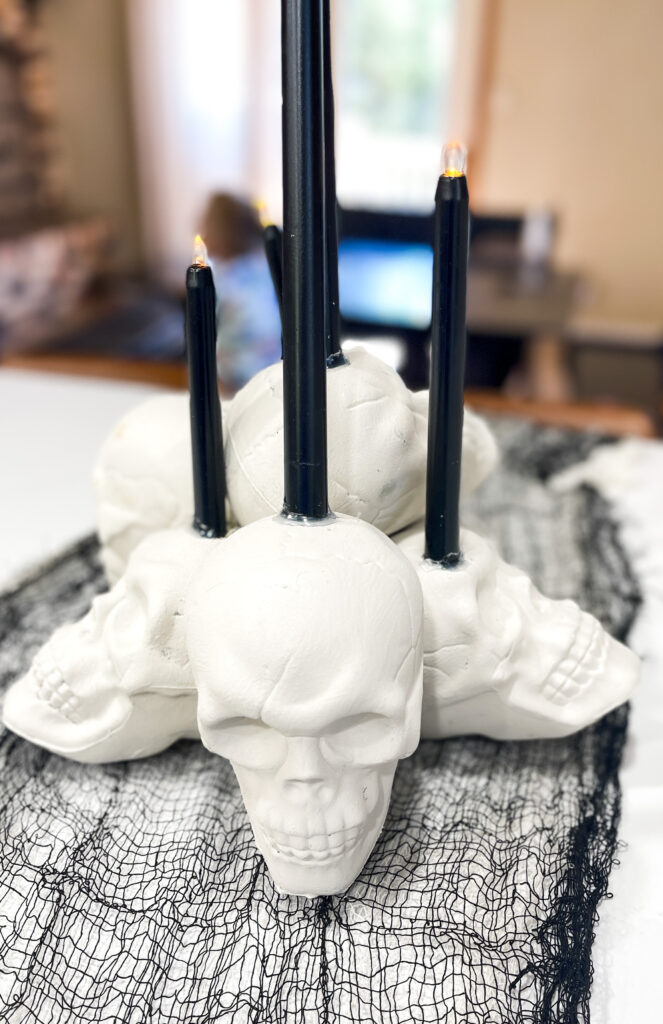
Happy Haunting my beautiful friends, if you’d like to see the full creation video you can check it out here. If you liked this DIY you’re sure to love this one, too.
See you soon!
