MCM Dresser Flip
October 12, 2022
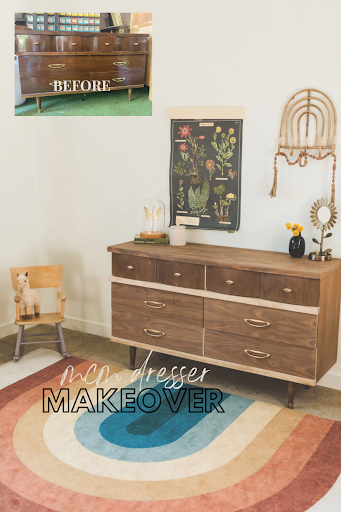
Sometimes the best furniture flips are the ones you are the most nervous to start. I got this beautiful dresser (see past that sheen, okay), and saw the potential right away.
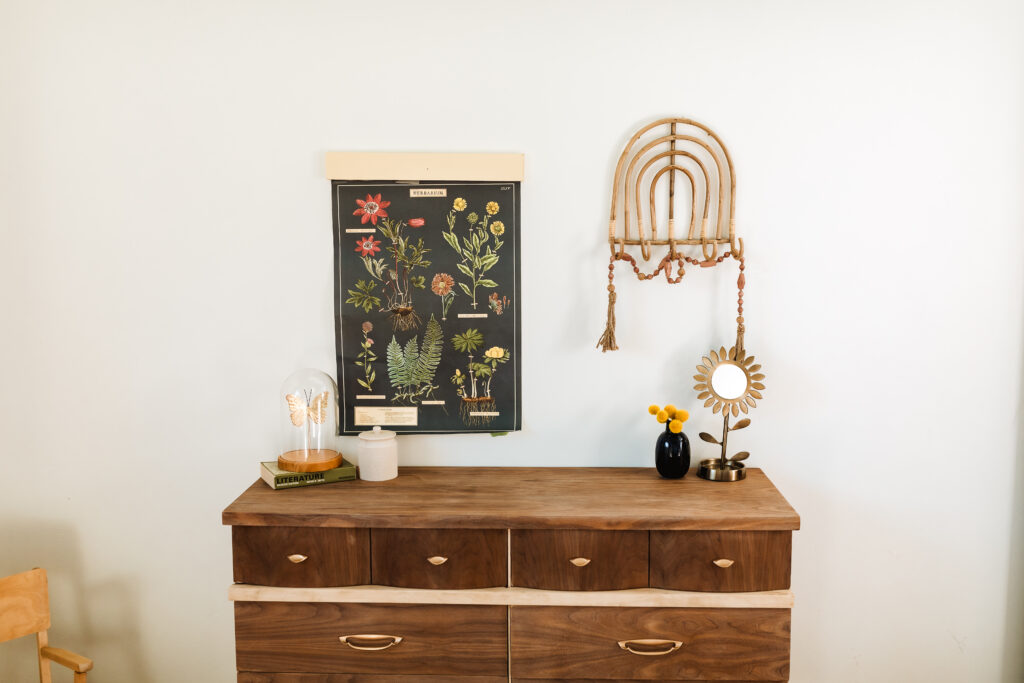
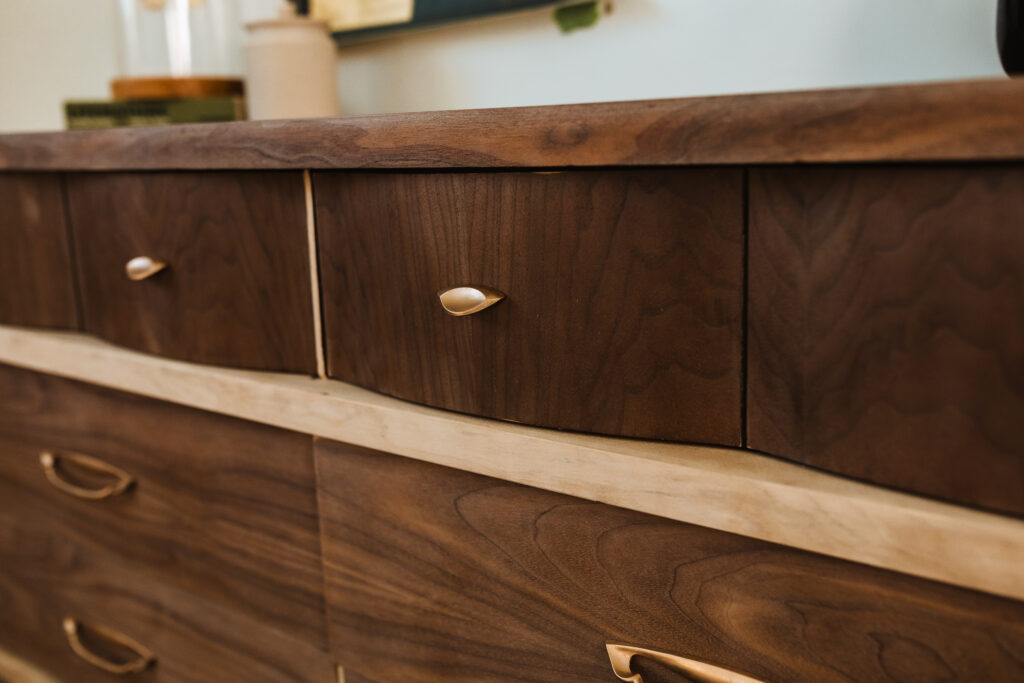
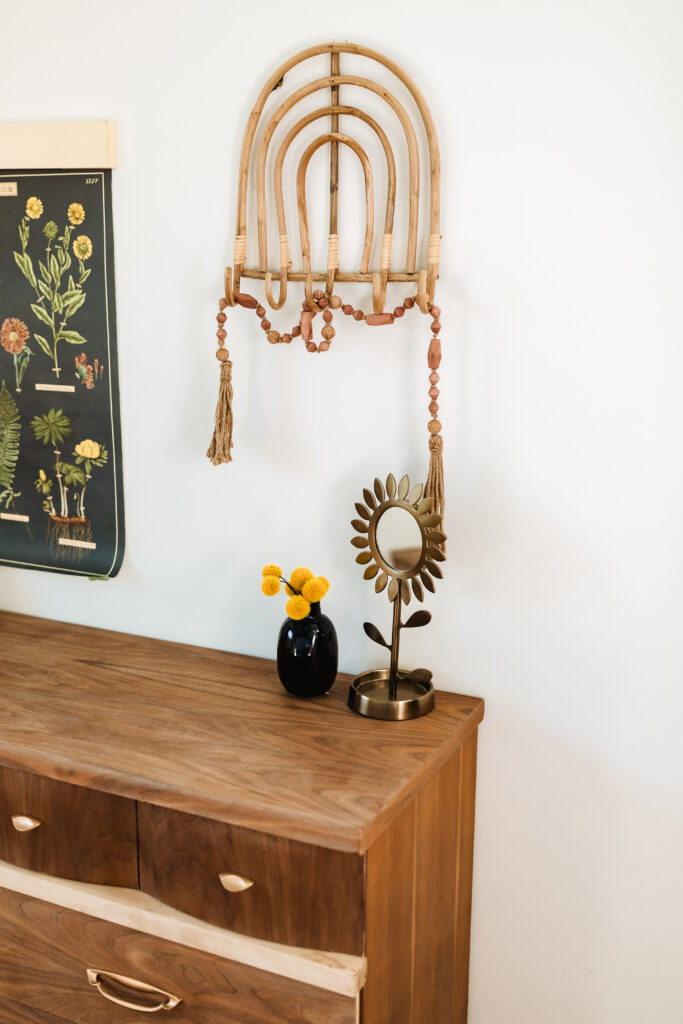
I found this piece through a friend who was helping another friend with an estate sale. They had this dresser and its matching tall boy and I couldn’t pass them up. I got to looking at the dresser (after it sat in my garage for six months because I have one too many projects), and found a gem – a tag. Not just any tag, but a Broyhill tag. This dresser set isn’t some department store knock off, it’s the real deal!! I was so excited, but that’s not all – it gets even better.
I knew I wanted something more natural looking but I also knew by the looks of this piece that it more than likely was some sort of veneer (a thin piece of real wood over particle board or some kind of MDF). Regardless, I had to give it a shot and decided to sand a bit of it to see what was in store. Remember how I said it got even better??? WELL…
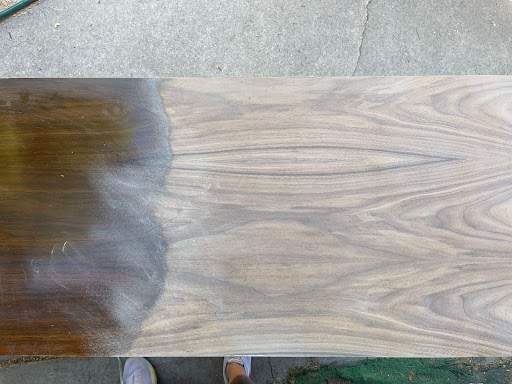
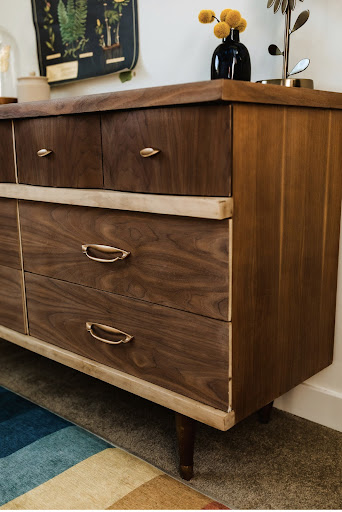
After a few minutes of sanding THIS is what I found. Yes, veneer over faux wood BUT thick and absolutely stunning Walnut. This has never happened to me in 10+ years of furniture flipping. Can you even believe how stunning it is?!
After seeing what was underneath the 80’s varnish, I used my favorite sander and 80 grit and then 120 grit sandpaper to remove and smooth it all off to reveal the stunning woodgrain beneath it all.
It took quite some time but the result was absolutely worth it, wouldn’t you agree?
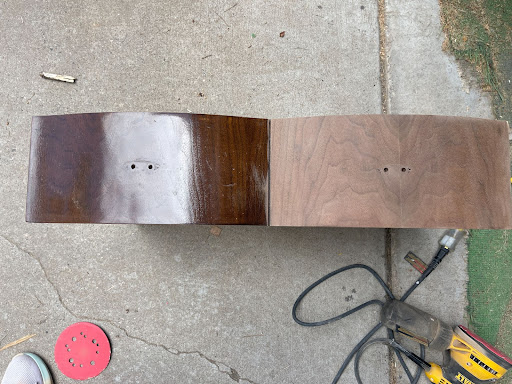
After I sanded it all down I debated what to do next. I gave half of the internet a heart attack by joking that I was going to paint it – not kidding when I say that I had messages from people letting me know they were going to unfollow, haha. I decided that the best thing to do was preserve the incredible wood grain and seal it as it was. The tricky part with sealing any wood, especially Walnut, is keeping the original color without the finish coat darkening or altering the color of the piece in any way.
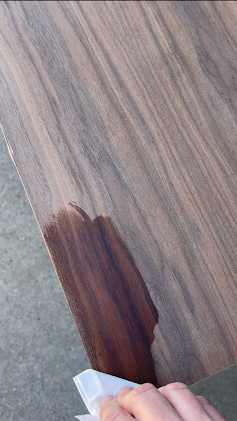
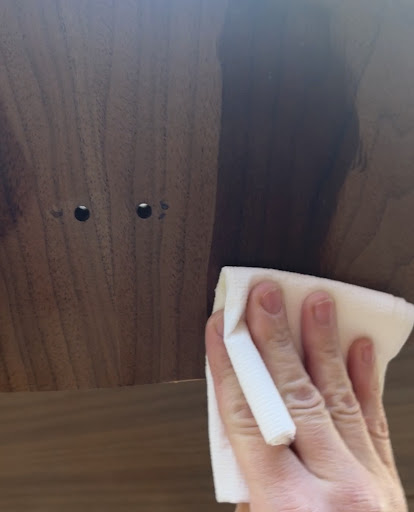
I decided to use my favorite furniture wax to seal it all without fear of the color changing. I used the wax as well as a lint free wax cloth to gently rub it in. Then I tested a small area first – the last thing you want to do is start front and center with a product before knowing whether or not it works! Lucky for me, the wax was perfect. It applies darker but once it is dry you couldn’t tell it was there at all, minus the fact that the piece was now protected of course!
The important thing with waxing a piece is allowing for the proper cure time. I got anxious in wanting to share it and placed a vos on the top, unfortunately it left a ring and I had to lightly sand and re-apply more wax. Do yourself a favor and learn from my mistakes – LET IT CURE.
I wanted to do something fun with the hardware while not taking away from the vintage look. I debated sourcing something new, but the existing hardware was in great shape. The color was pretty brassy for bringing it into this century, so I decided to try what I have seen so many do and use this to give the hardware a more modern look and feel.

It was super easy and took about ten minutes to do all of it. I will definitely be using rub n buff again and again!
I used the Antique Gold color and applied it with a small paint brush. You can use a rag or even your finger to apply it. I was amazed at how easy it was and how quickly it was dry and ready to go.
This route made it A LOT easier than replacing the hardware or even painting it. A win in my book.
After refinishing the hardware, it was time to put it all back together – also known as the best part.
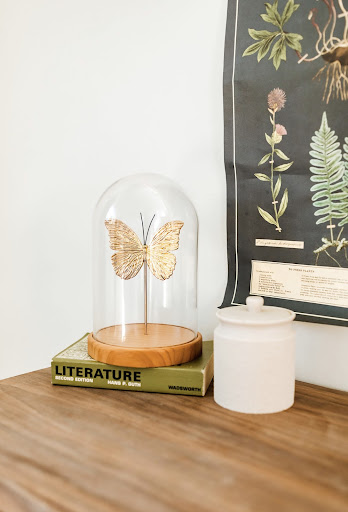
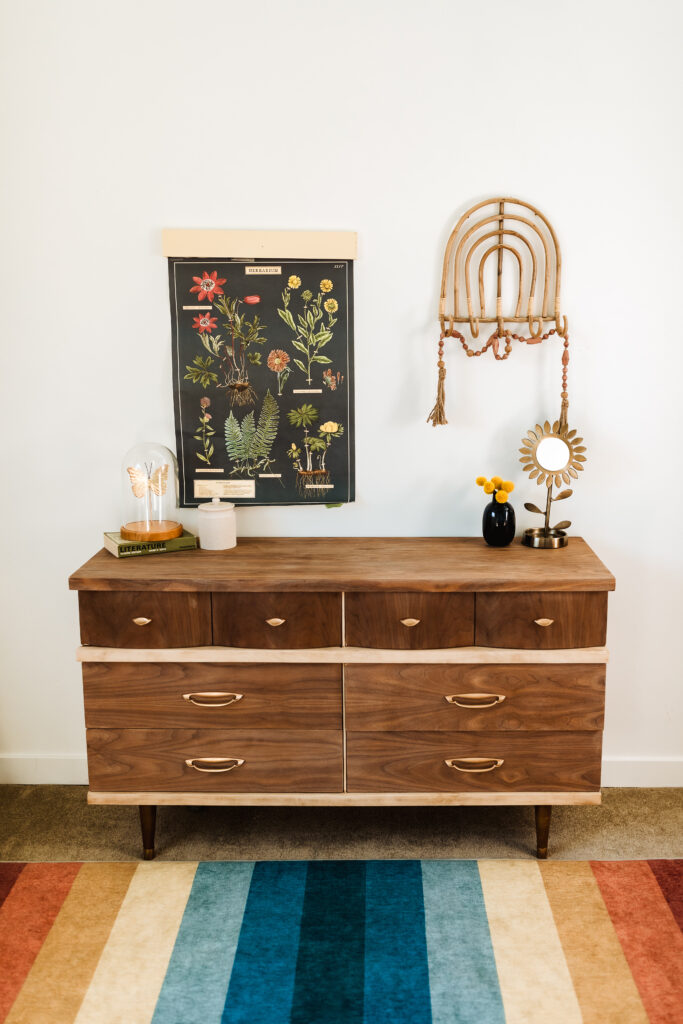
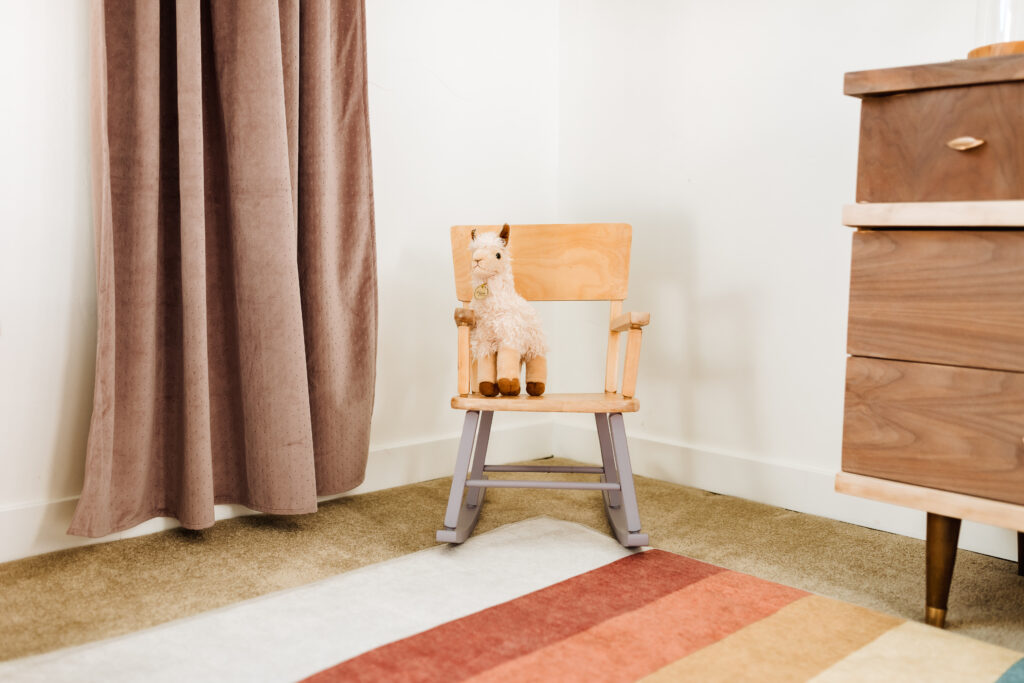
Here it is all finished, what do you think?!
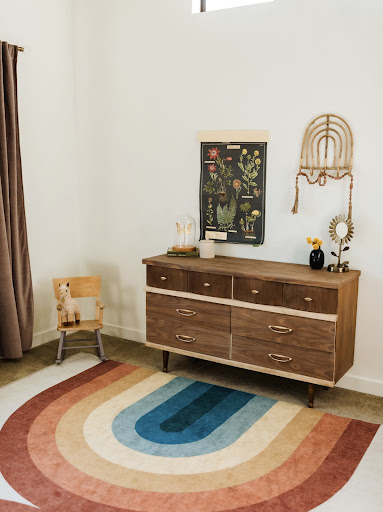
Do you love it?? You can watch the whole process here for even more of this beauty.
Now to decide what to do with the Tall Boy Dresser that came with the set!
Now it’s your turn, put down your phone and go pick up the hammer.
Xo,
Kenna