Easiest Hardware Install
November 21, 2022
We switched things up BIG time this month in the kitchen, finishing things off with the easiesy hardware install imaginable. Exactly one year ago I painted our oak cabinets (you can see them here) and loved every single thing about them… except I had one problem as time went on: they didn’t feel like ME. I decided to do as I say, and I switched them out with beautiful new door fronts.
Here is what the kitchen looked like before the new doors.
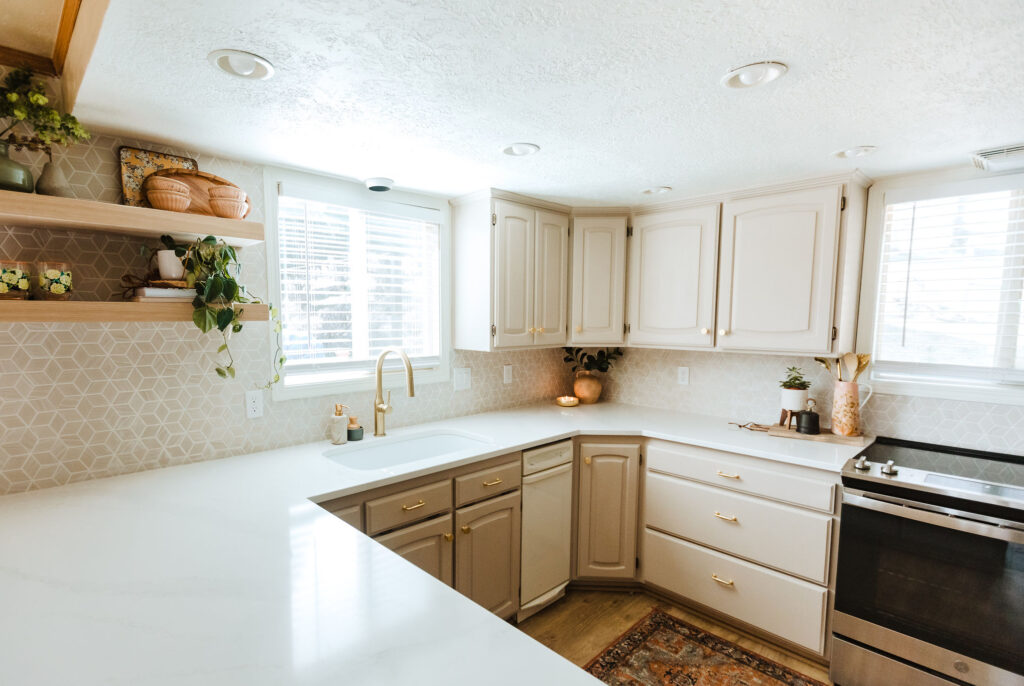
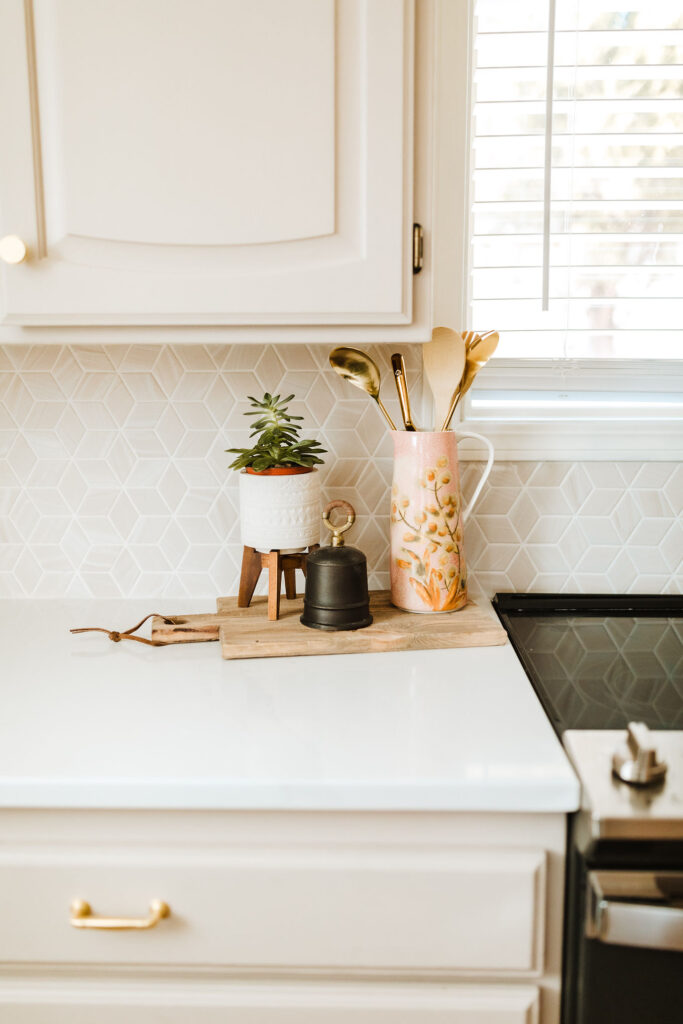
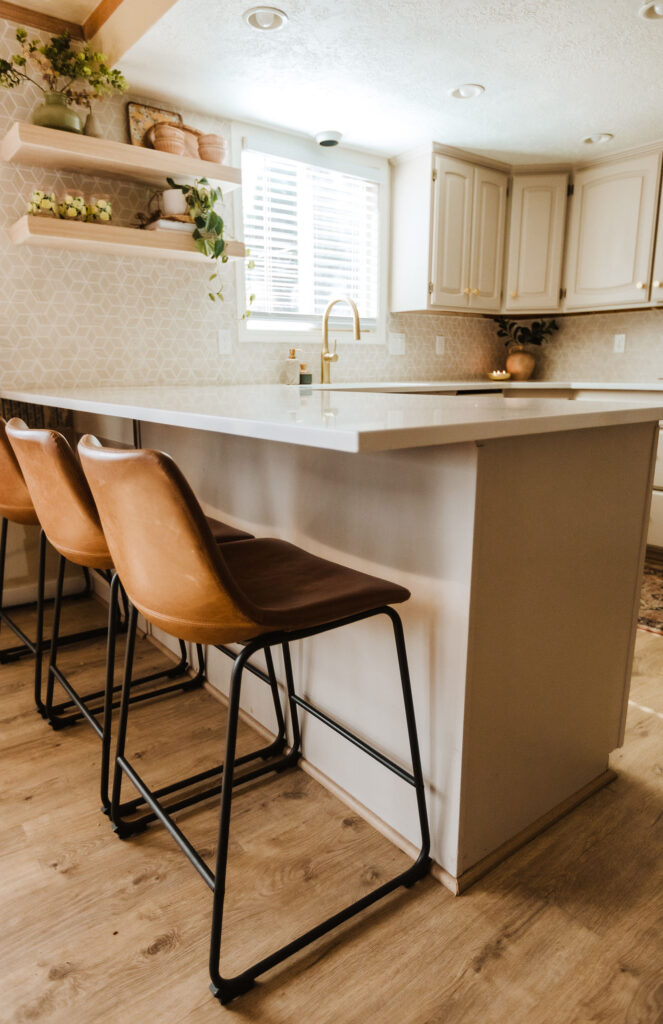
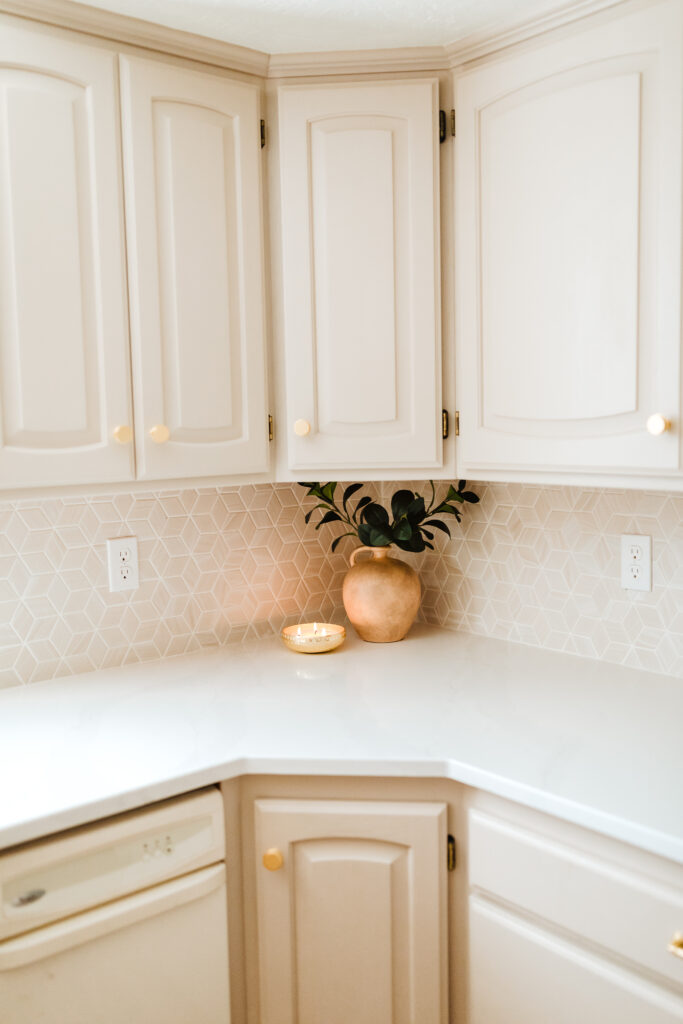
After they were installed I was in love but also knew that the dreaded deed of installing hardware was upon us. I was stressing. The last time we had to drill hardware holes (the last two kitchens I did had the holes already existing from previous hardware), it legit about ended my marriage. SO to avoid that little *issue* I did some research and found the MOST AMAZING tool for the easiest hardware install you can imagine.
Enter in the star of the show: Kreg Jig Cabinet Hardware Tool
This thing is literally MAGICAL. The time that it took me to install the doors was absolutely shocking in comparison to how long it has taken me in the past (lets not talk about it, okay?)
Here is the simple way to use this AMAZING tool:
- figure out where you want your holes to go – this will be different for knobs vs pulls but equally as easy, so don’t panic.
- Mark the center – for drawers you will measure the face and whatever the half way point is, is your center. Using the back of your guide you will be able to set your stop right where that center measurement is. My drawer faces were 7″ so I set the jig to 3.5″ to ensure it was centered with the horizontal resting plate on the top of the drawer to hold it in place.
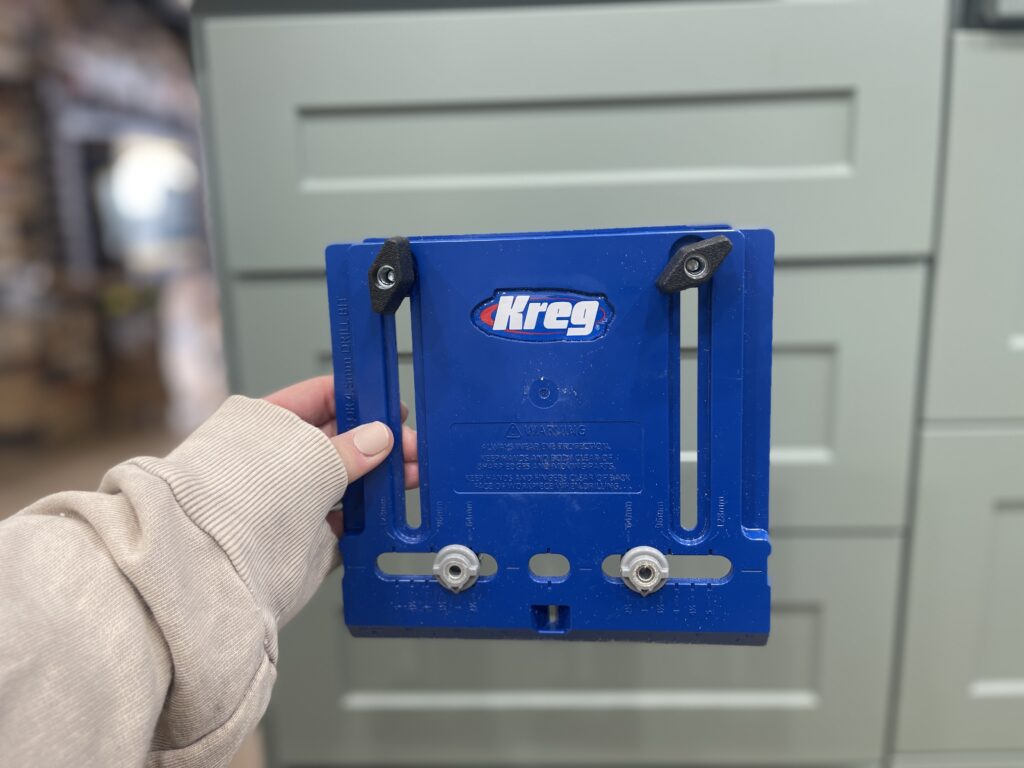
4. Once you have your measurements, set your jig and clamp it to the drawer front / cabinet door.
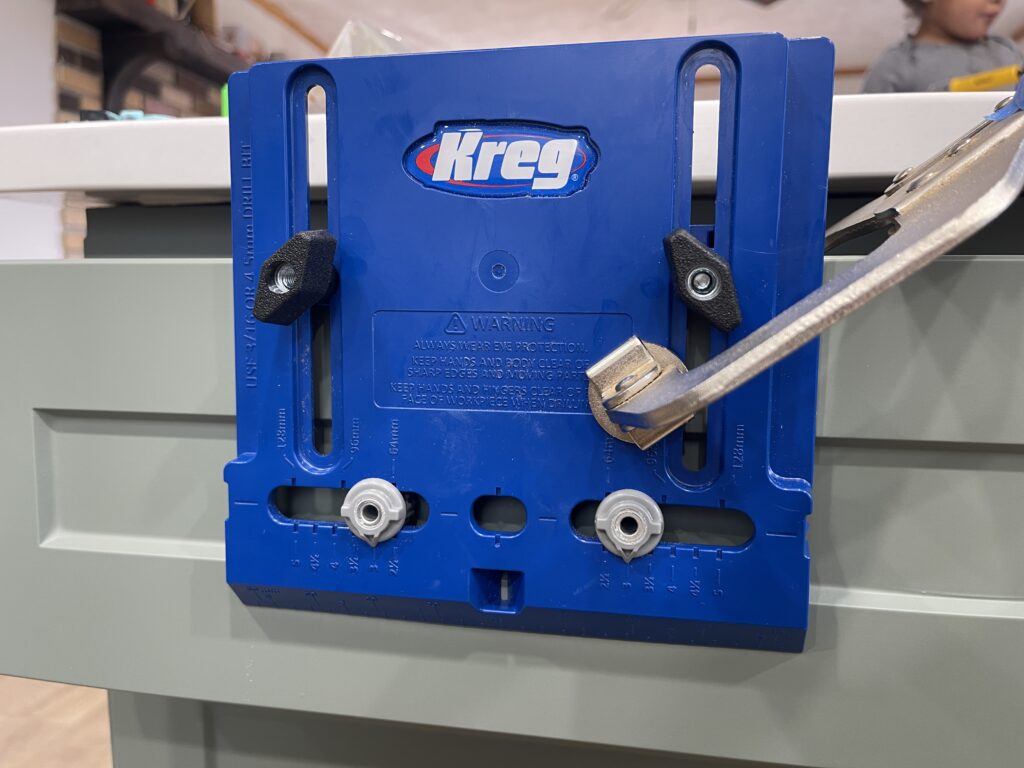
5. Then, using a 3/16 bit you can drill your holes directly into the drill guides. The guides and most hardware are 3/16 in diameter and the guides are great because they ensure a straight hole.
6. Once you have drilled your holes, undo your clamp and remove your jig. Admire those perfect holes!
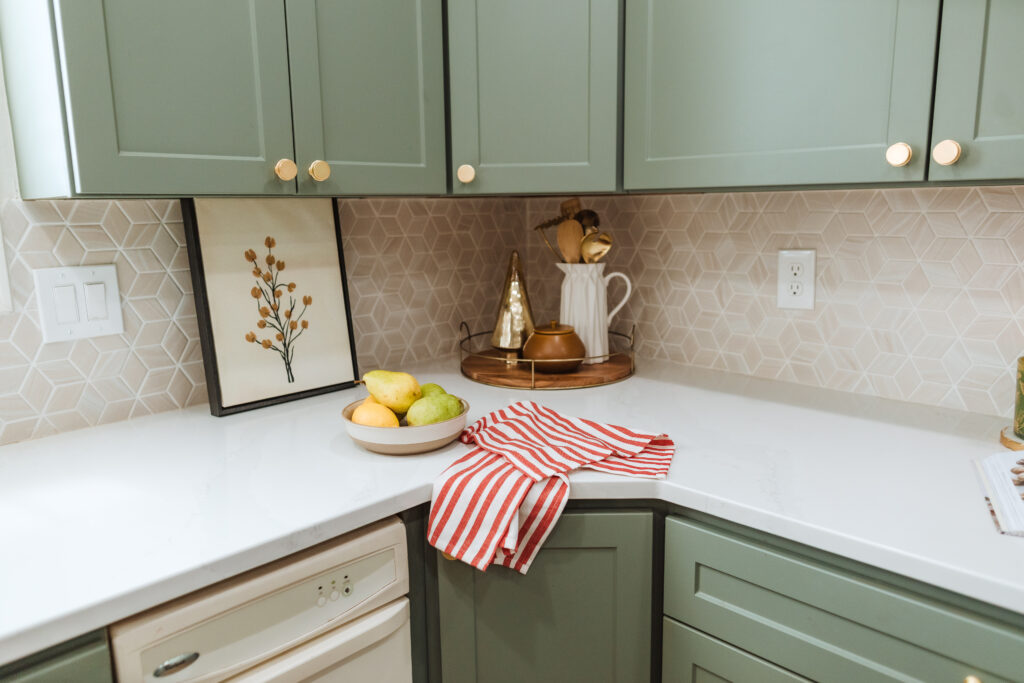
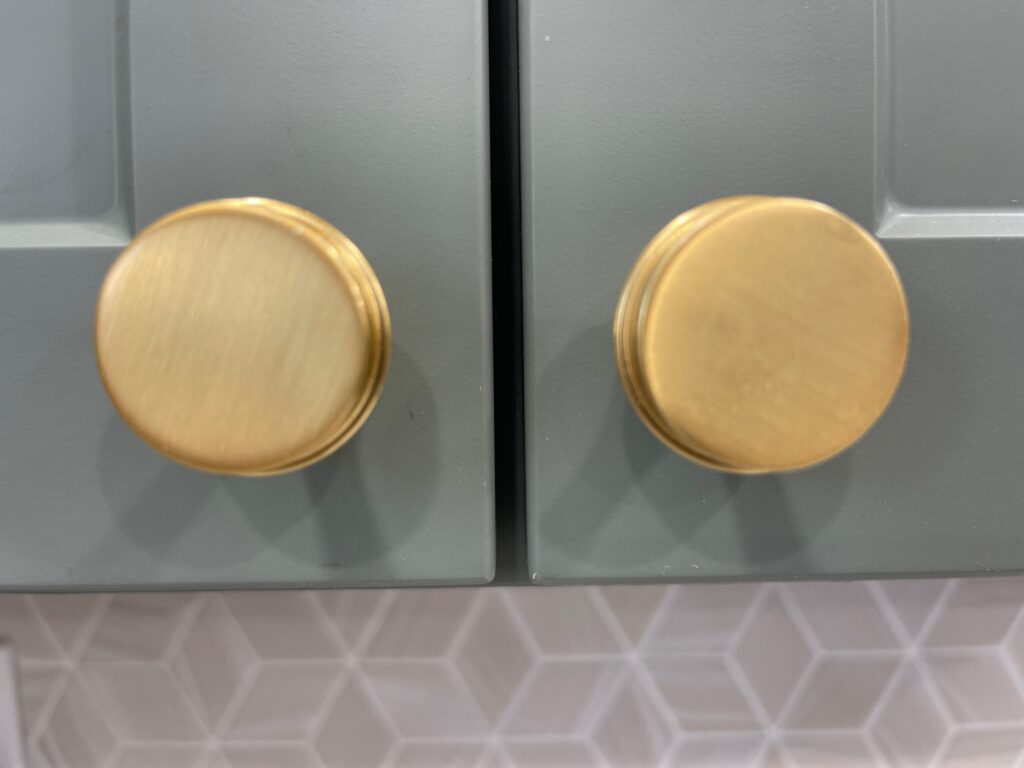
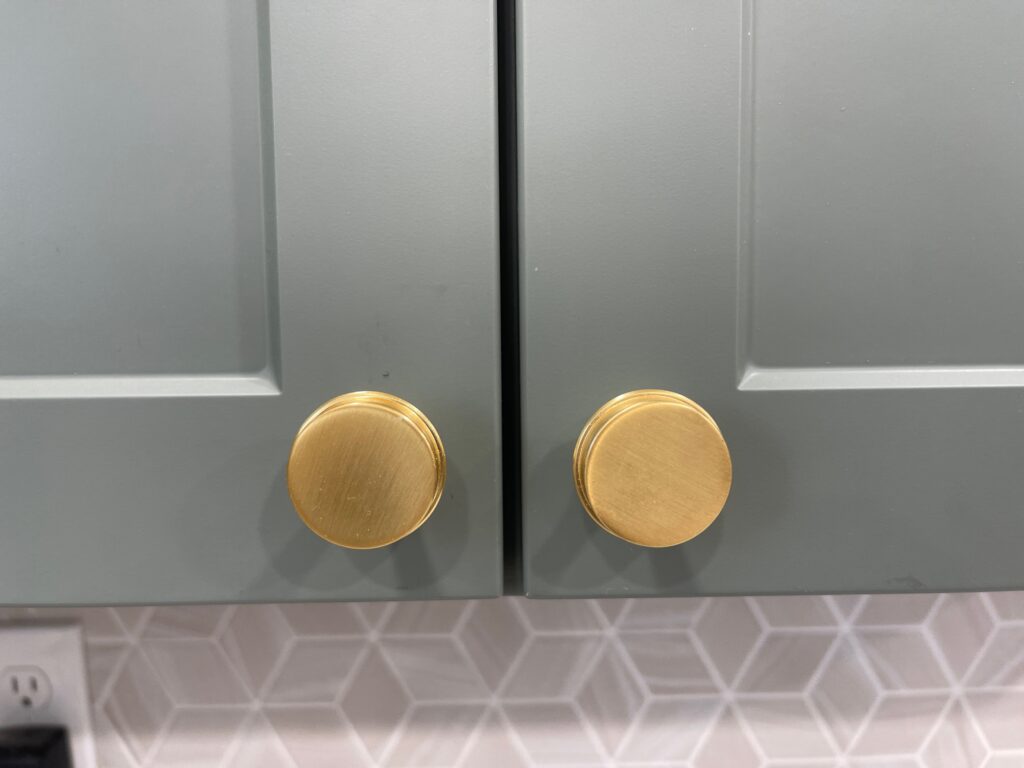
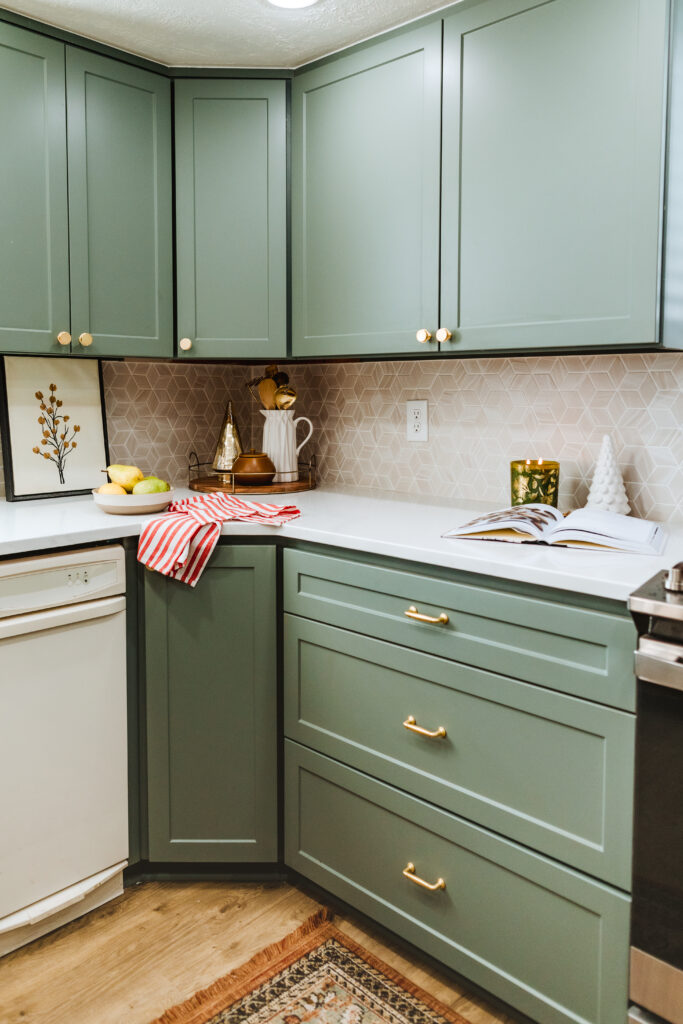
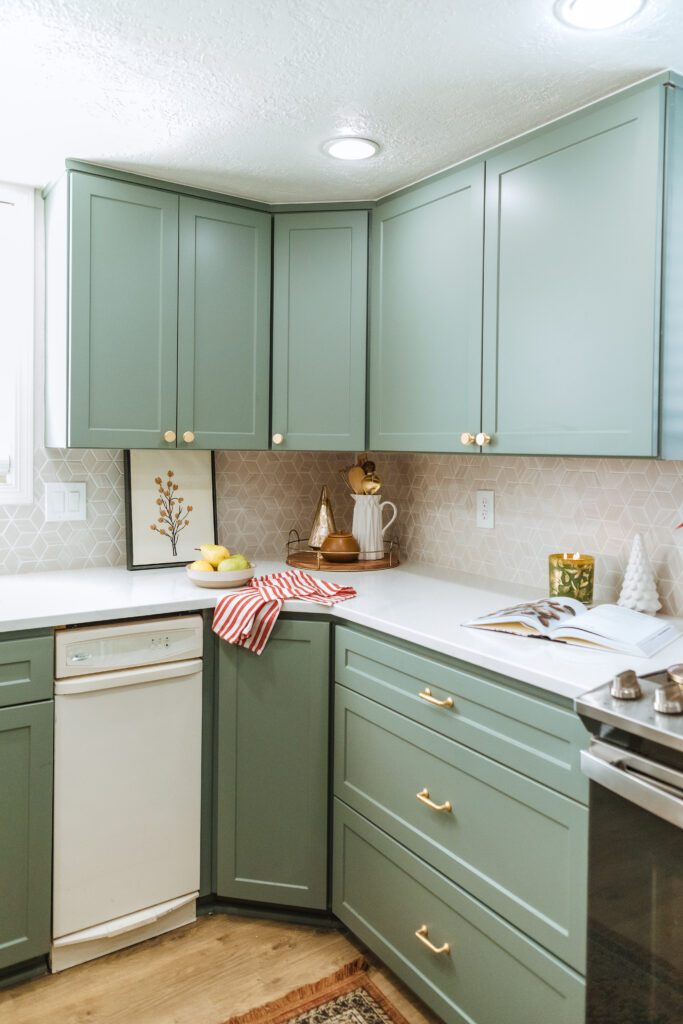
I could not be happier with how the handles and knobs look. I was stressed that the gold wouldn’t look good with the sage cabinets like it had with the taupe, but I am happy to say that I love them more than I did before!
Let me know if you have any questions in the comments below!
