Brick Fireplace Makeover: Phase One
November 28, 2022
When we bought our house one of my favorite features was the fireplace in the dining room. Let me be clear, not the fireplace itself because it was BAD. So here it is, my brick fireplace makeover: phase one. I love the idea of the fireplace, mine in particular just needed more than a little love. With the full dining room makeover at hand I was beyond excited to make it look just how I wanted. Now that it’s done I want to show you exactly how I did it. Starting with Phase One: Painting the brick.
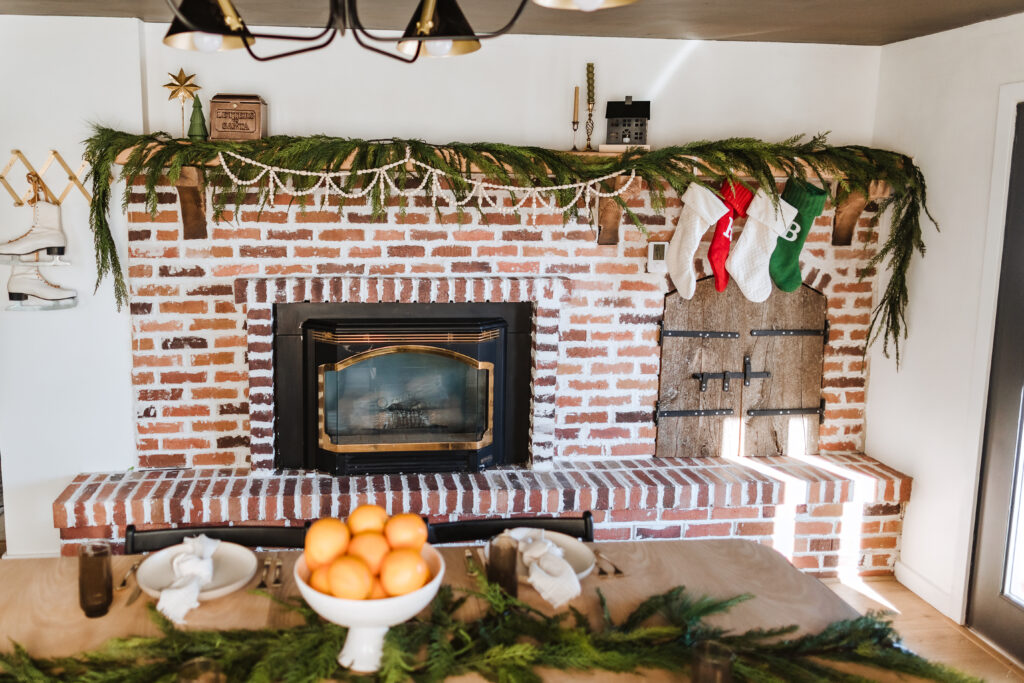
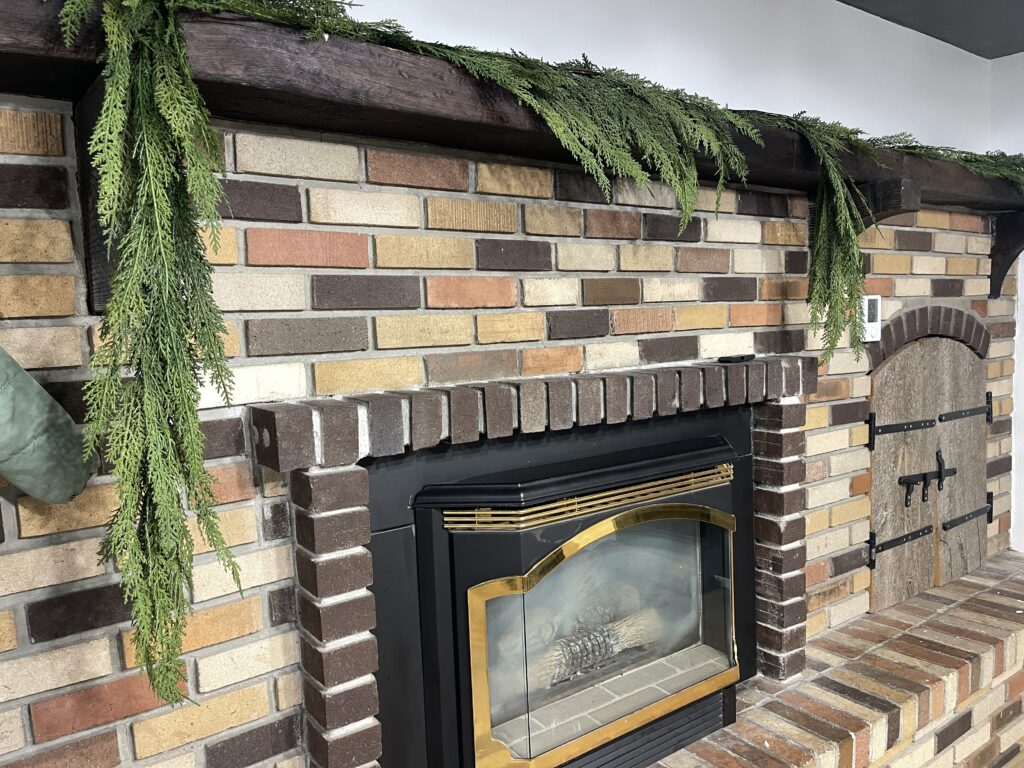
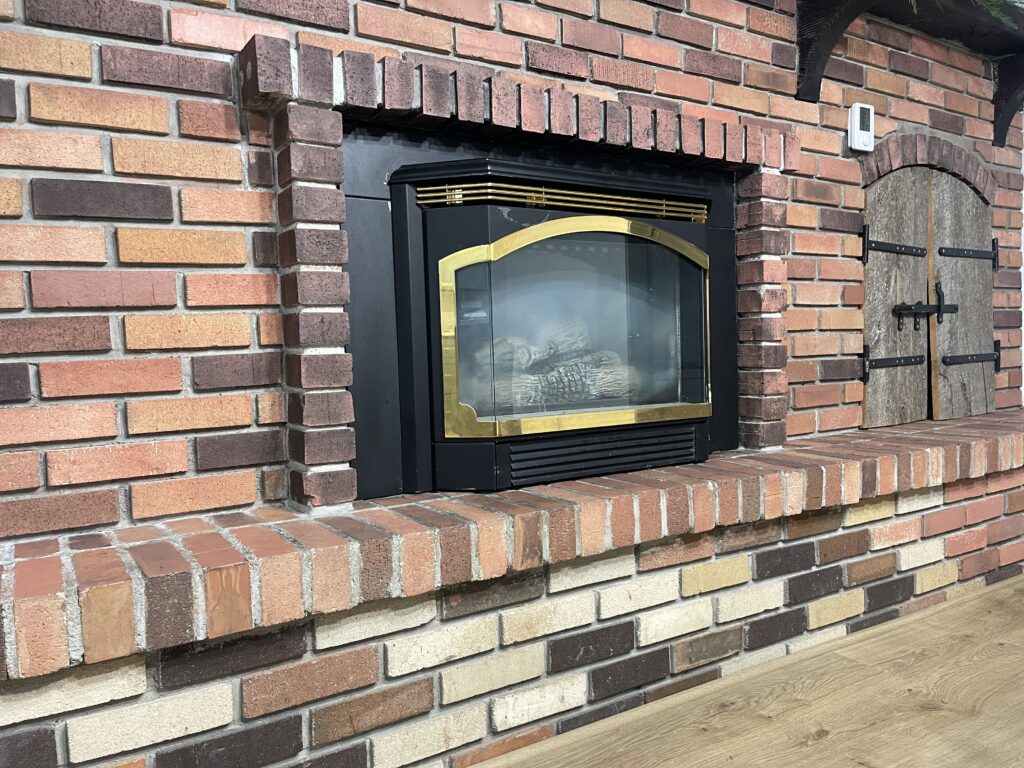
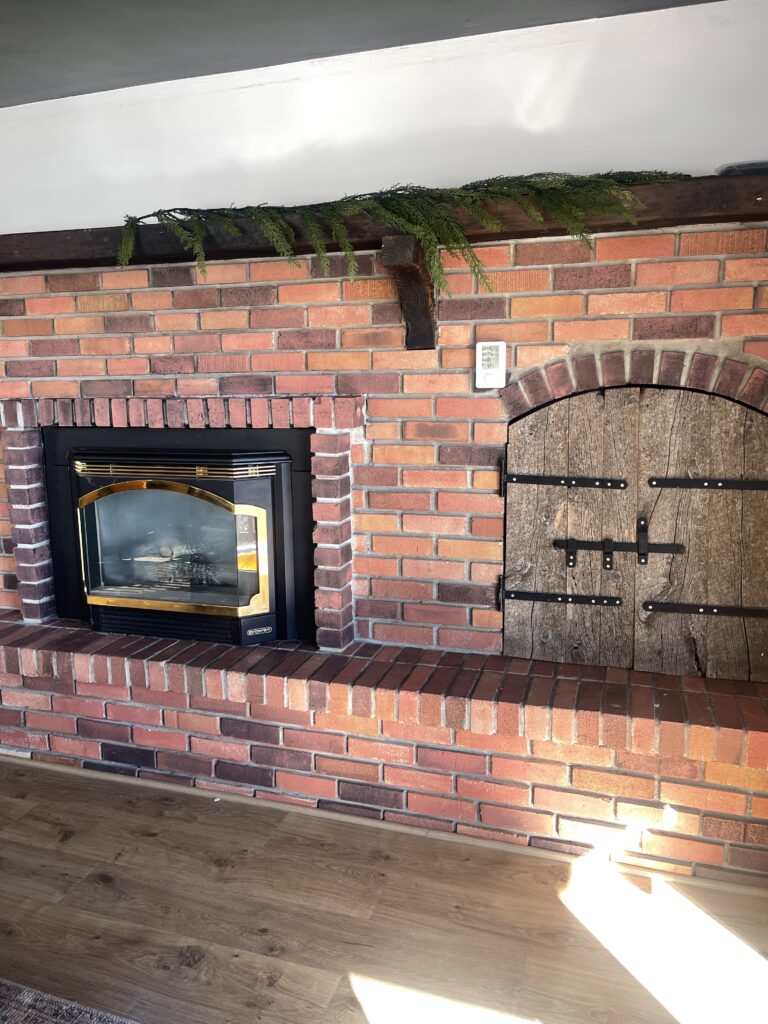
Lets get started with the Brick Fireplace Makeover: Phase One. My brick was very seventies inspired with yellow, red, brown, and all sorts of in between colors. Regardless of decor or the rest of the room, the oddness of it remained a very distracting eye sore. You can see my last project in this area where I added new hardware to my cabinets right here. For starters, I had to even out the color of the brick. To be honest I wasn’t completely sure how I would. But I had a whole lot of faith in my all time favorite tool: paint.
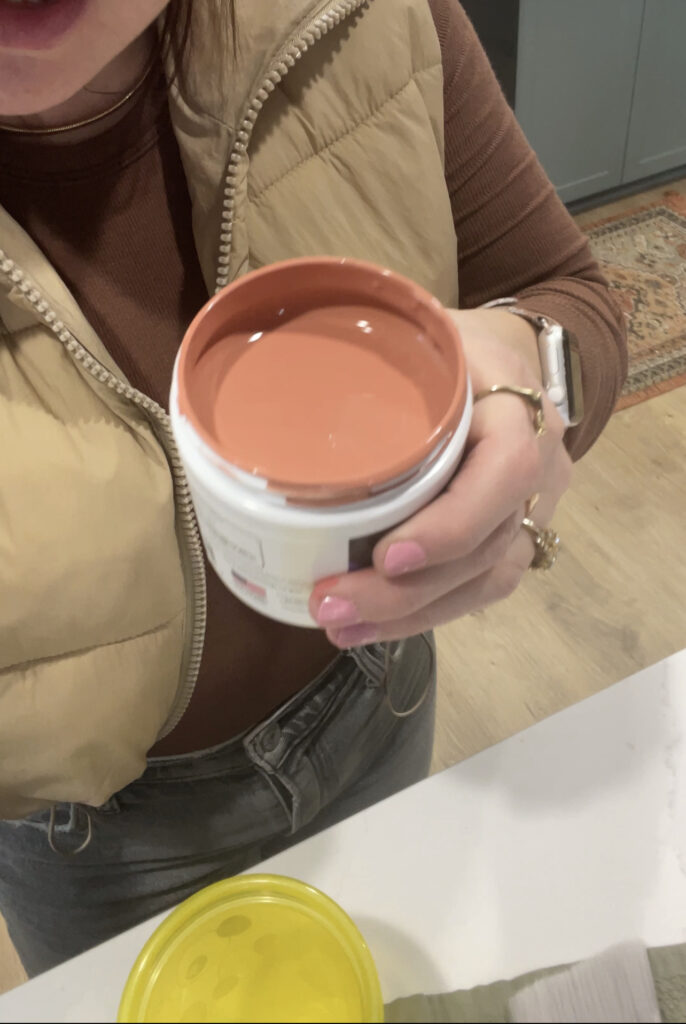
I headed to the local hardware store and got three samples, I was basing them off of THIS photo above and trying to match the red tone as closely as I could. The color I needed was far less red and much more pink/salmon than I thought. I ended up using the color: Spoon Full of Sugar by Benjamin Moore in Satin. Keep in mind the color you use will depend on your brick, and really what color you are wanting as the end result. I tested mine out and prayed that I would love it. I did know that if I hated it I could wash it off… hopefully. Ha!
Needed Materials:
- paint brush
- cleaning supplies: dawn soap, rag & water – I also used my favorite shop vacuum.
- paint – I used a Benjamin Moore sample in satin.
- Sandpaper (in case of mistakes)
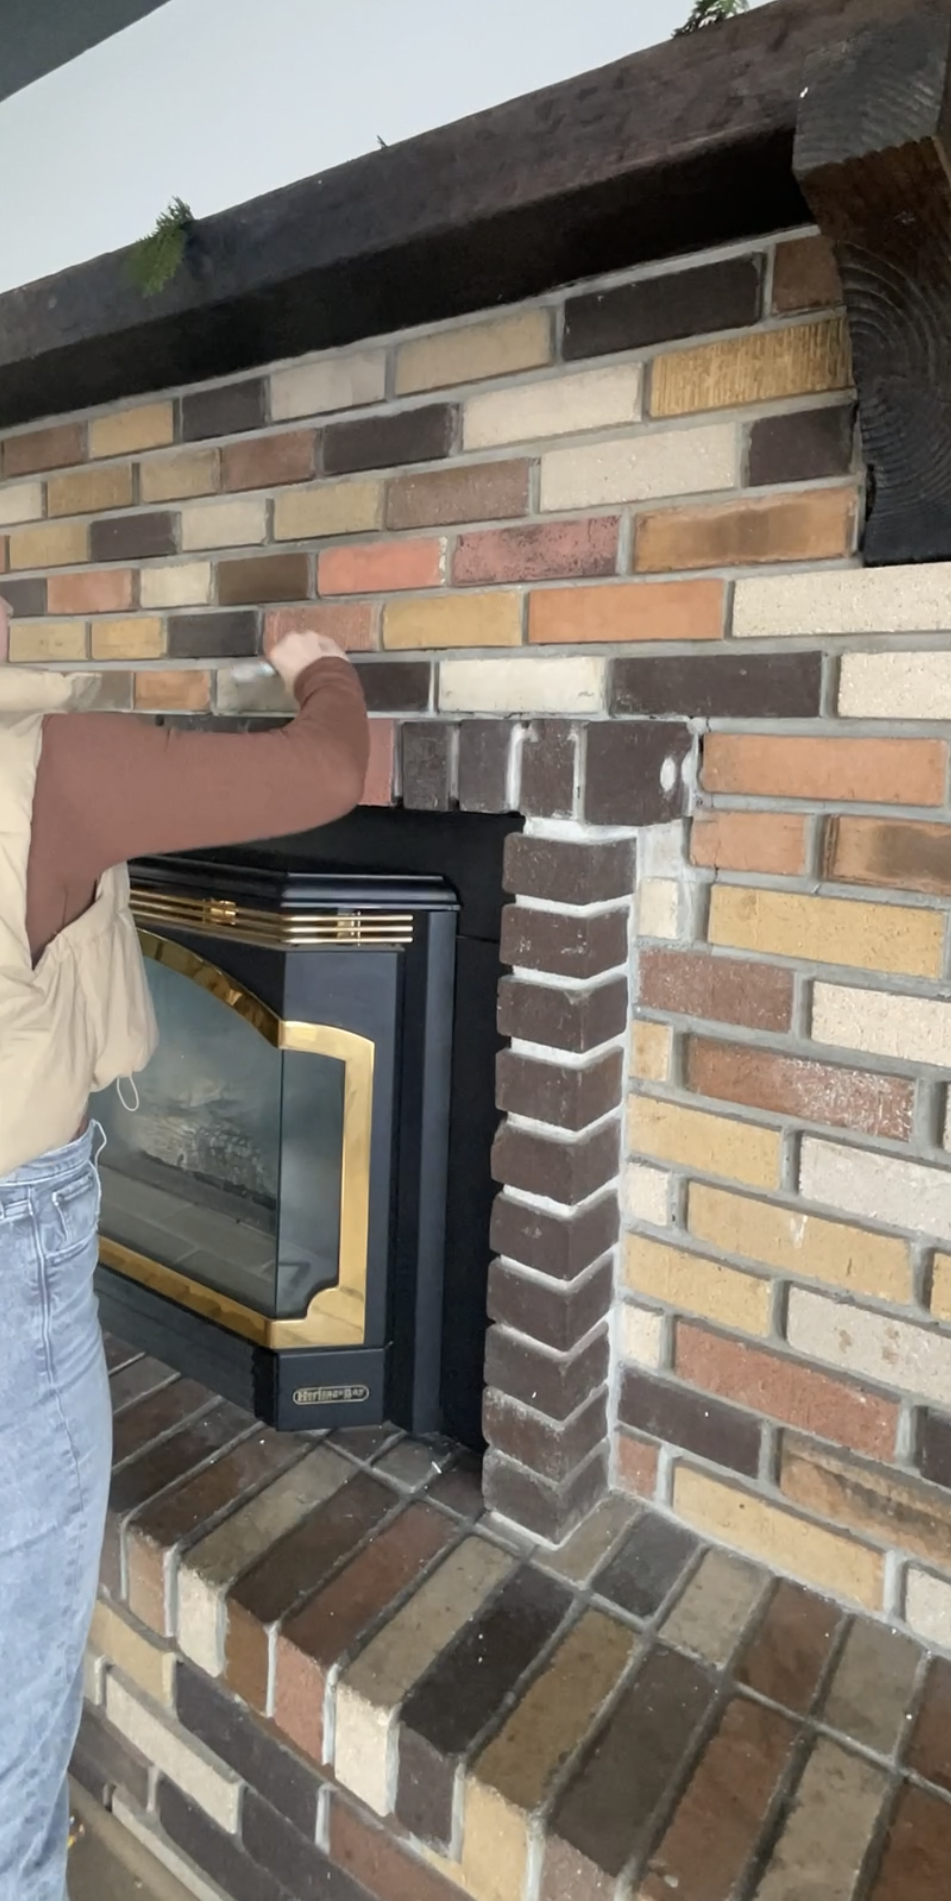
You can see that it the color varies slightly from brick to brick due to the brick being different colors. Once I got a few painted and got my paint consistency right it all went really fast.
How To Paint Your Brick:
Lets be clear that this is not a full, fill in the holes, cover-up-the-brick-completely paint job. The goal was to bring old english o my 70’s disaster and lessen the sores it was causing my eyeballs. Cue the Brick Fireplace Makeover: Phase One.
- Pick your paint. I wanted my brick to match as closely as possible the brick I had that was the most red/traditional looking. Because this is more of a “wash” than a full paint job, I only used half of a sample container of paint and my surface area is abnormally large. The color I used was Benjamin Moore’s, “A Spoonful of Sugar” in a satin sheen.
- Prep your brick. I vacuumed my brick first with my shop vacuum, just to make sure to get all of the dust dirt that might be there. After I vacuumed I wiped everything down just with a rag and my go-to cleaning solution: dawn dish soap and water. This isn’t a scrubbing, just a surface clean. you don’t need to use a fine tooth comb, you’re just cleaning the surface.
- Mix your paint. I used a small cup I had on hand, any container will work. I then mixed my BBFrösch with my water making sure there were no lumps. I used about a tablespoon of powder to water ratio. Basically you want it donut glaze consistency. Next I added in my paint, about half of the sample jar and mixed it together with the BBFrösch/water mixture. At this point your paint is normal consistency, but we want it to be a wash which means it’s time to add water. Start small here. Say 2-3 tablespoons to start. You want it watery but not to the point that its unmanageable.
- Apply your paint! Using your paint brush – this is what I used, test it out in a small area to make sure you have your color and consistency right. Now you are set! This is more of a “feel as you go” paint project. You’re not worried about perfect lines or thickness. Brick has variation, and although you’re adding a consistent color, you still want the natural variation and look. Add water as needed – I added more to mine about half way through.
- The Finish. This may be controversial but I didn’t add a topcoat. Brick soaks up paint really well and I with adding the BB Frösch I wasn’t at all worried about it coming off on its own. Of course I will keep you posted on how it holds up, but I am not at all worried.
You can also watch the video process here for more insight!
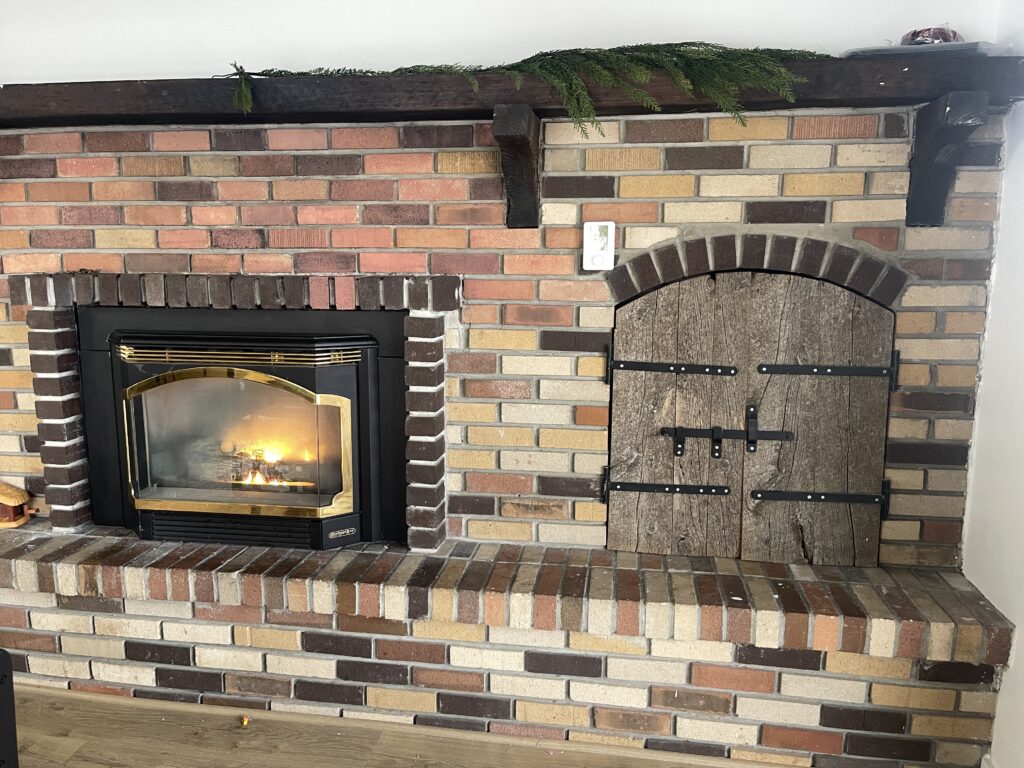
The Process…
Some of the brick was darker than others so I did a few more coats of paint. There was only two times where I felt I added too much and just used a wet rag to wipe it off a bit. The BB Frösch aids in helping it adhere but before it was completely dry wiping it wasn’t an issue. Below you can see the top half after one coat. I only did a second coat on some of the brick that didn’t match or blend as well as I wanted it to.
Here it is completely painted! Phase one: Painted Brick Fireplace, complete! There is no filter on this so you really get the idea of the color and how it still has character and variation. I am in love with it!
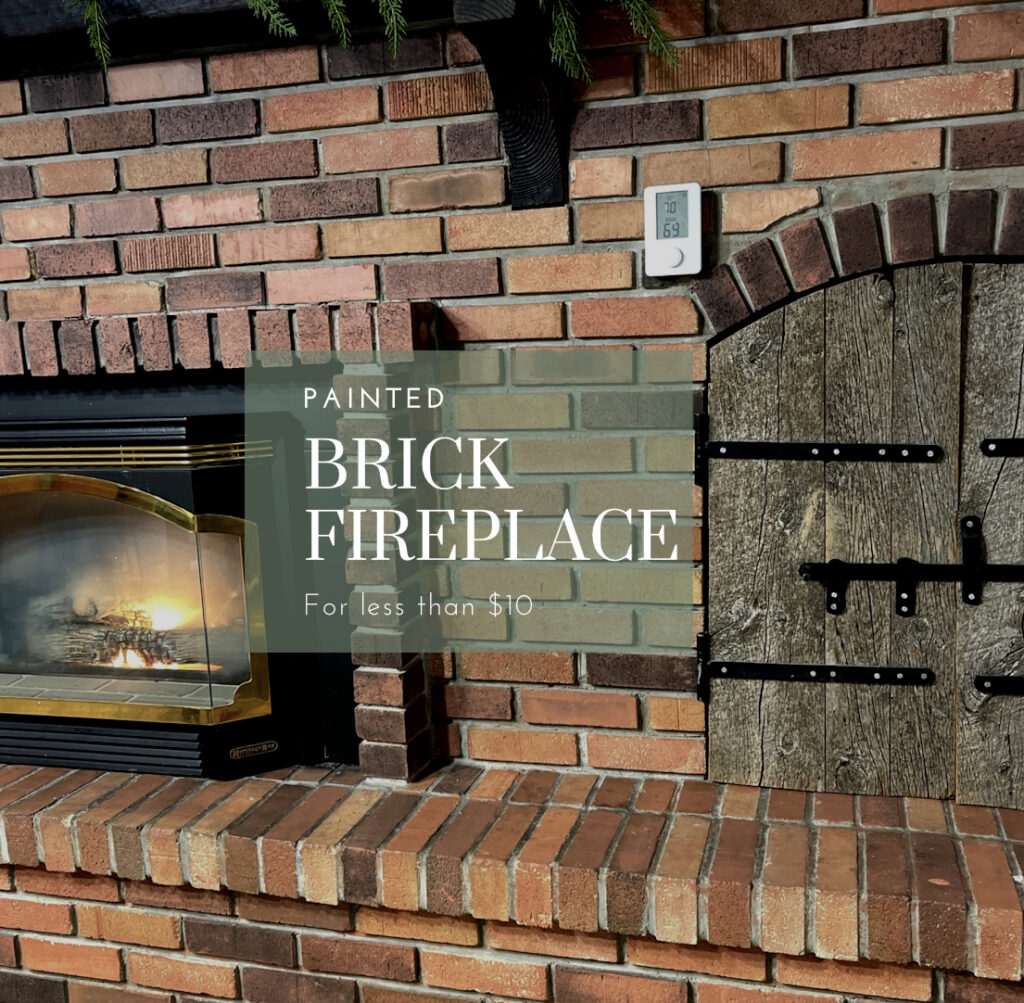
Get ready for phase two because you can see how deep those lines are in between the brick and they need to GO. Next I will be showing you the process of filling in the horrific grout lines. As always, drop any questions below & follow along on Instagram for more of the behind the scenes process!
