Antique Dresser Makeover
August 3, 2023
About a year ago I got a phone call from my great aunt. It just so happens that we live pretty close to one another since we moved about two years ago. It’s been really great being able to grow closer with family that I only ever saw once every few years. She was calling to talk to me about some furniture she had. She knew that flipping furniture was something that I did and had some she wanted to show me. Cue this antique dresser makeover I am here to tell you all about.
I got to her home, a beautiful tree-surrounded, red brick rambler that is the quintessential picture of a country house, encircled on all sides by lush green farm fields. In the distance you can hear the roar of a tractor as the leaves gently sway in the summer breeze.
She leads me to the shop which again, is exactly what you picture a farm shop to look like. Large machinery inside, the smell of oil and for me, my childhood. Growing up with a dad and brother always working on an engine of some sort in the garage. We wander to the back and tucked in like Tetris pieces up against the wall are two solid wood dressers. These weren’t just any dressers, but ones that my great grandma had used in her home. Dressers that my grandpa grew up using, and that my own dad was familiar with as well.
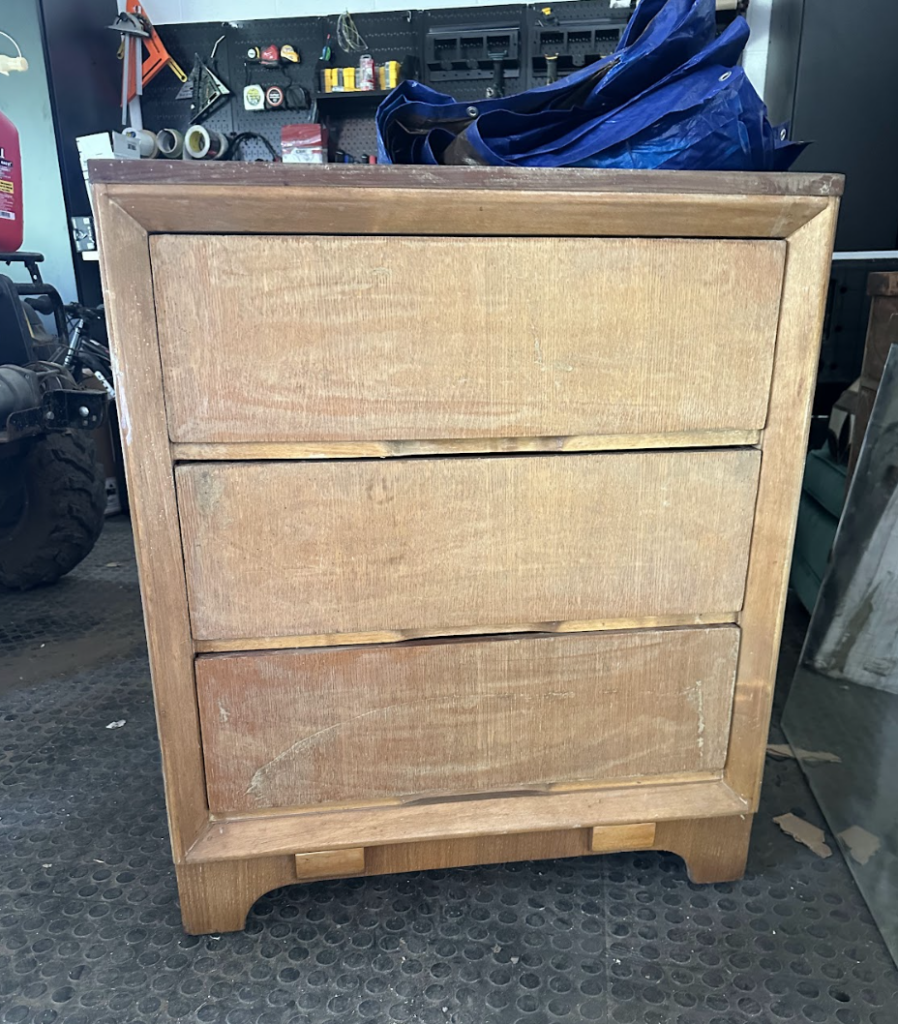
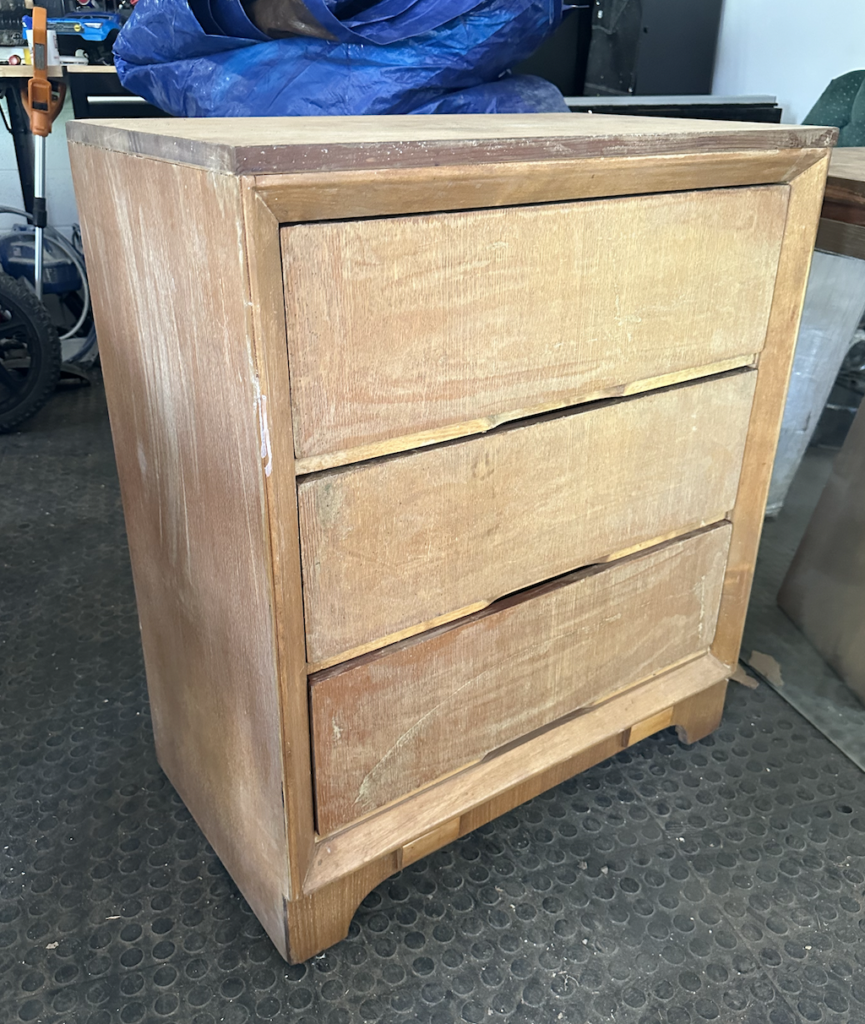
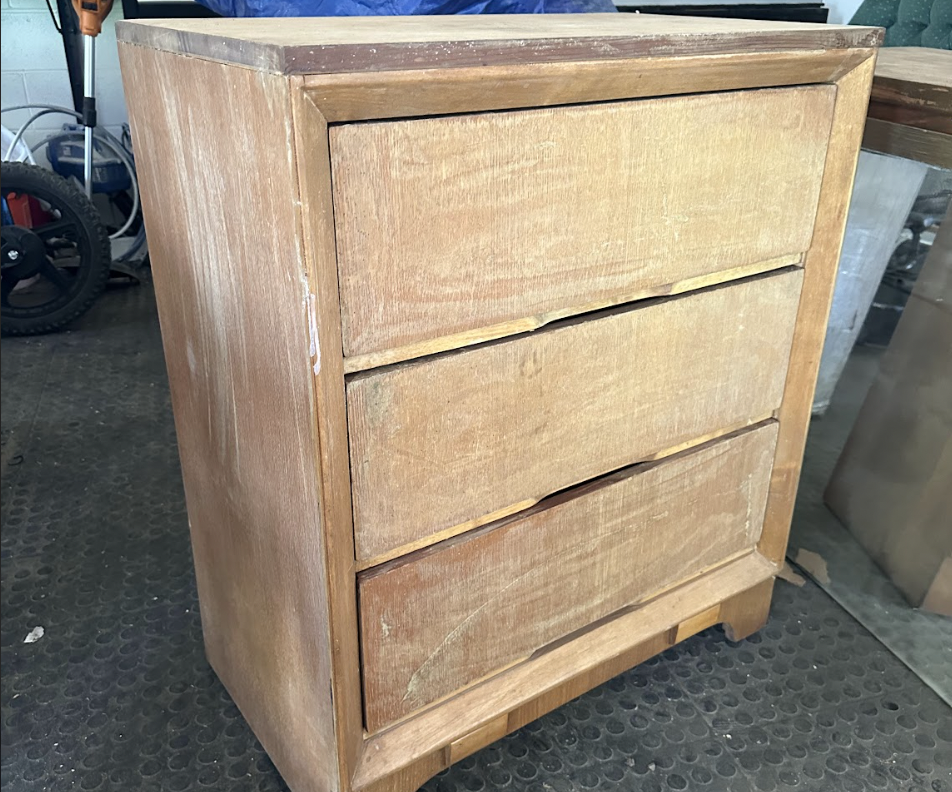
I could hardly contain my excitement. I started my journey of furniture restoration by inheriting a bedroom set from my dads maternal grandmother. Now I had come full circle receiving furniture from my dads paternal grandmother, to create yet another antique dresser makeover. The sentiment was not lost on me. Both of the pieces were in pretty rough shape, but nothing I hadn’t seen before. I was confident I could transform them and bring back the life into two pieces that are truly family heirlooms.
I decided to tackle the smaller of the two first, I loved them both but didn’t (and still don’t) know exactly what I wanted to do with the larger of the two yet. Sometimes it’s nice to have a project that takes two days instead of a week or two, you feel me?
My aunt had previously stripped and sanded most of the dresser down. In other words: she did the hard part and I got to pick up where she left off and finish the fun. I did have to sand it down a bit to get it to where I wanted. I started with a 120 grit sand paper using my orbital sander and worked my way up to 220 grit. When you are sanding you want to start with a lower number of sand paper and work your way up. The lower the number, the rougher the grit. If the piece had layers of paint or stain I would have started with probably an 80 grit and then worked from there.
The biggest trick with sandpaper is not using something so rough or pressing so hard that you are leaving swirls on your piece. There is nothing worse than completing the painstaking work of sanding only to see swirls from the wrong grit or too much pressure from your sander. Generally I say that 120 is going to be a safe base starting point. You can test a few other grits if needed and see how they work with the condition of your piece.
I REALLY wanted to keep as much of the natural wood as possible. The top had a serious water ring that unless I sanded it down completely or replaced the top veneer, wasn’t going away. I decided to do the next best thing and give it a really subtle coat of paint that would accentuate the stain and wood grain of the rest of the dresser.
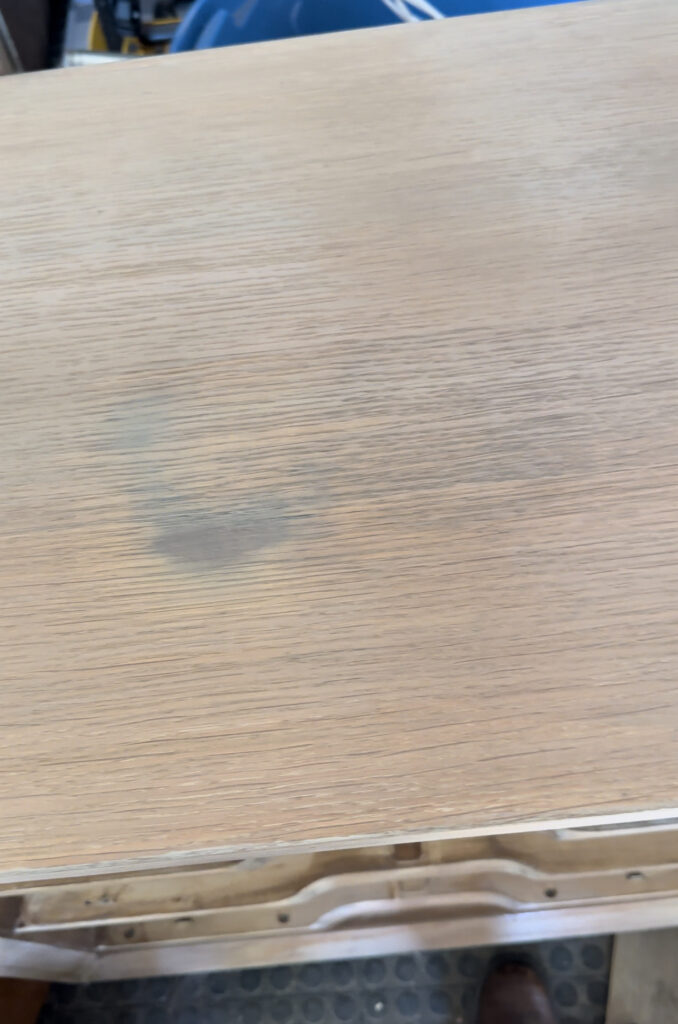
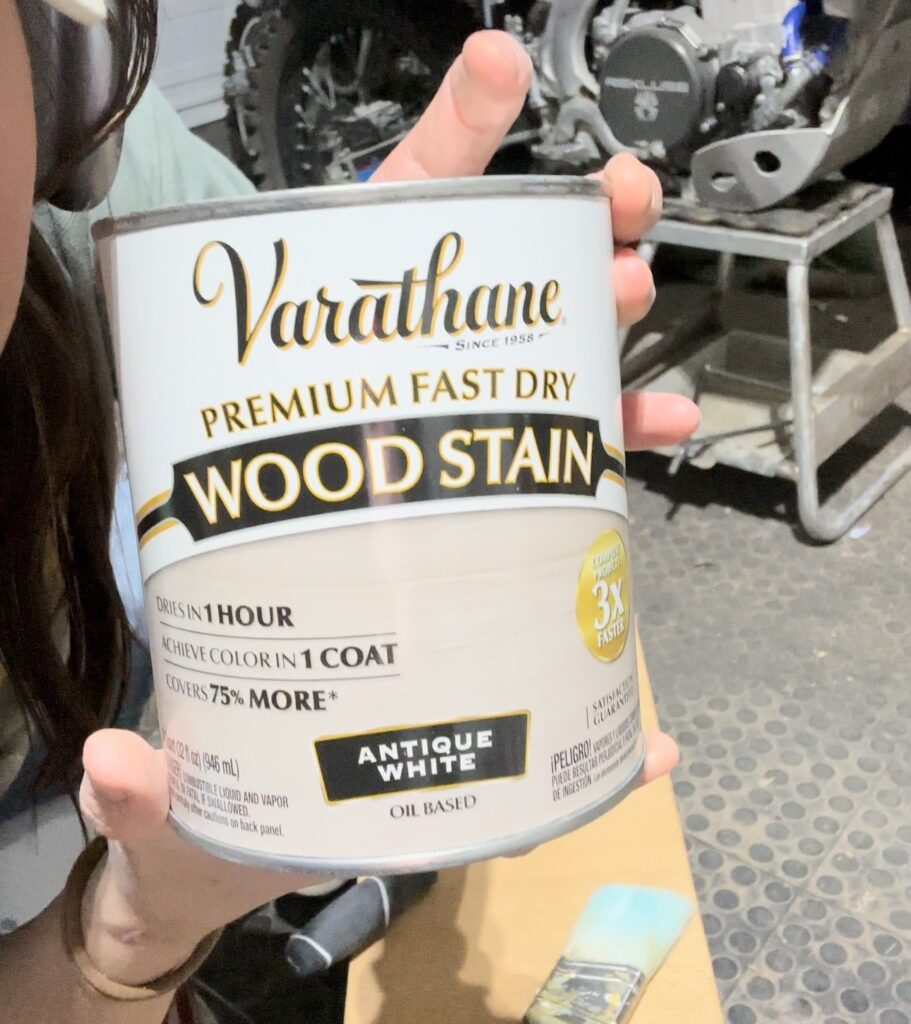
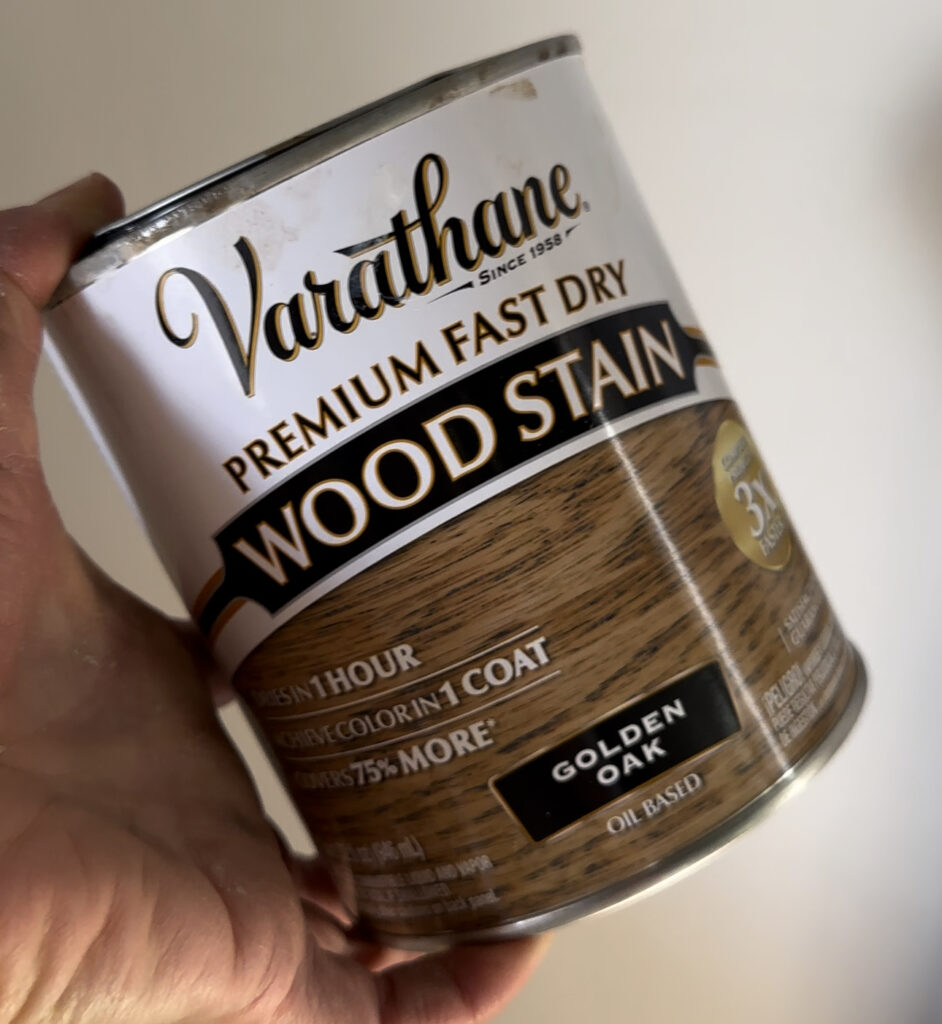
For the stain of the drawers and body of the dresser I mixed two stains. I began with antique white but wanted to bring out more of the natural look so I then added just a bit of golden oak. To achieve the right look I brushed on the antique white, let it sit for a minute or so, then added the golden oak on top of it. After letting that sit for a few minutes, I used a lint free cloth and wiped off the excess. This gave me just the right amount of warm and cool to really make the wood pop. The key with staining is that its messy and you need to be ready and know what exactly you want to do. I suggest testing a small area of your piece or even a scrap piece of wood that is the same material as your piece and testing the stain options that you like. Stains can pull all sorts of different tones from wood and often your ratios of stain will need to be adjusted from piece to piece. This is especially common with most antique dresser flip, so TEST the area before!
I ended up painting a bottom portion of the dresser so that it tied in with the top.I had a sample of a greige paint in my stash that I liked and decided it would go perfectly. Next I used BBFrösch powder mixed with water and added to my paint to help the overall durability and look of the piece. I have used BB Frösch for years and have always been happy with the results.
A few tricks for getting the perfect paint finish: as always, use the right brush. These are the ones I use and will stand by forever and ever. I also love the BBFrosch because it helps the paint level. If your paint isn’t self leveling as well as you’d like, I recommend using a spray bottle as you go. Apply your paint, spray with the spray bottle and adjust as needed OR spray/add water directly to the paint you are using if needed. The first coat of your paint when using BBFösch should always be done in a cross-hatch pattern like this:
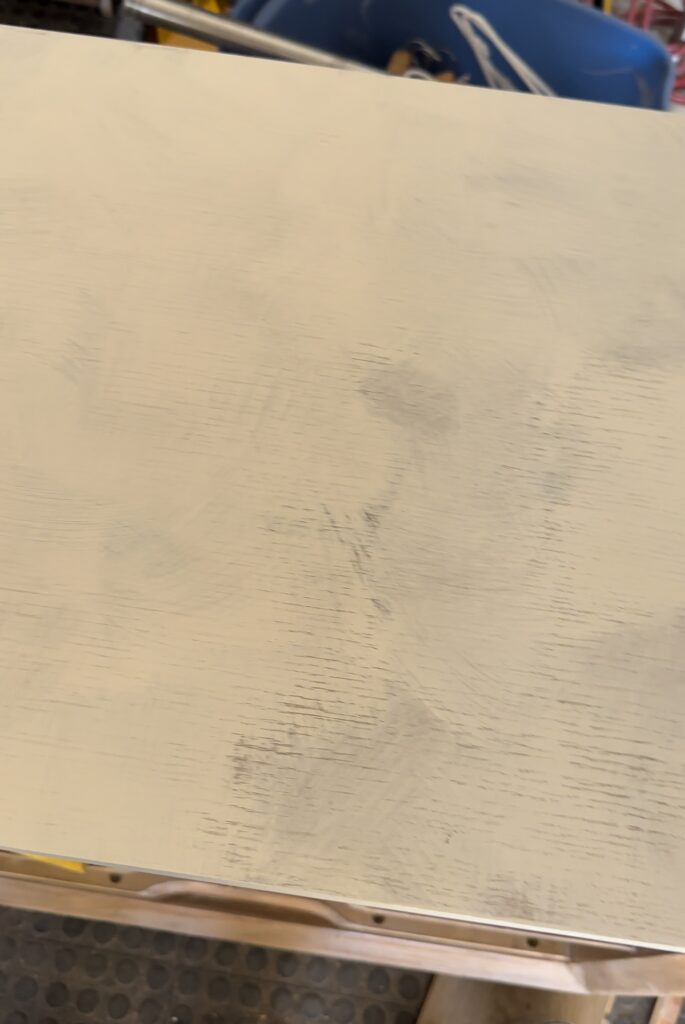
This creates a surface that allows the next layers of paint to self level and go on as smooth as butter. I wrote an entire ebook on how I paint my projects and finish them as well here if you’re looking for more details.
I sealed the piece using my favorite brush and my favorite poly top coat, I have used SO many top coats and I swear this is the only one I have found that doesn’t yellow.
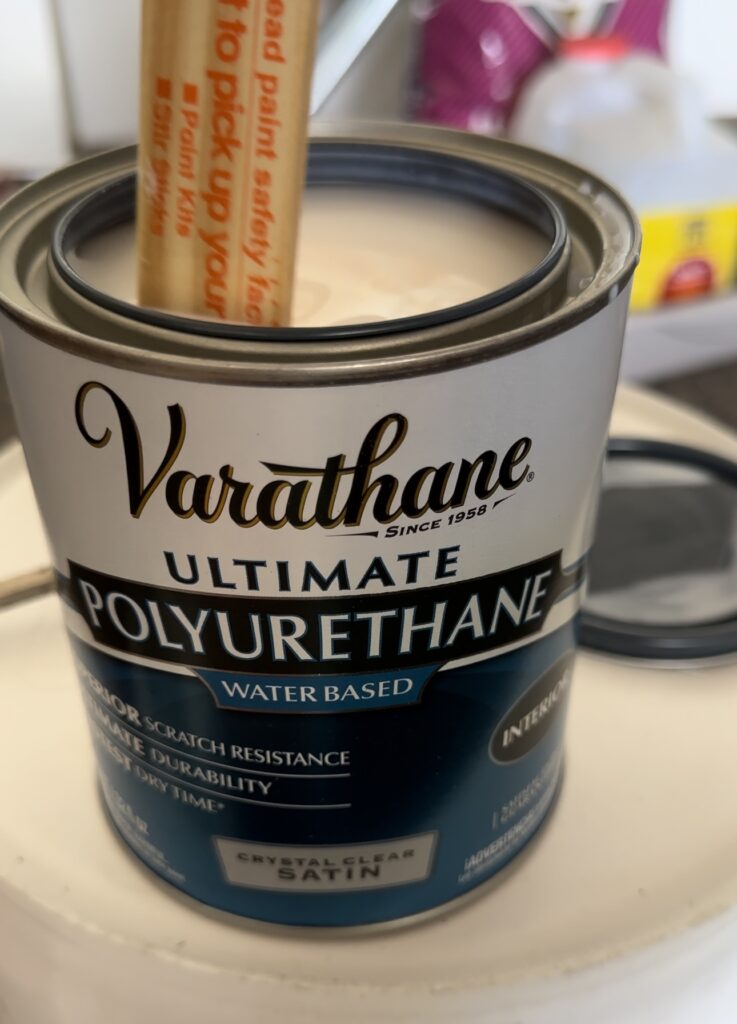
Here are a few tips for applying Polyurethane. Firstly, don’t ever. EVER shake your poly. Shaking the poly DOES mix it up but what it also does is creates bubbles within the product that are then going to inhibit your application from being as smooth as possible. I always stir my poly with a paint stir stick in the same circular motion, mixing the product together but being careful not to agitate it too much. Next, make sure you are using the right brush. This is the one I use and recommend. It is going to allow the best application that will go on smoothly and help the poly self level really well. I use water based polyurethane because it is the easiest to apply, it doesn’t stink or ruin my brushes AND it has the simplest clean up.
Don’t skimp on the quality of your brushes, they can truly make or break your projects! Allow your polyurethane to dry the appropriate amount of time. Generally with this poly I wait about thirty minutes to an hour in between applications. This is in accordance with the instructions on the can. After the first one to two coats of poly I like to sand with a 220 grit sandpaper block to smooth everything over. Make sure your piece is fully dry before you do this or it can remove literally every layer or poly AND paint that you have applied off. Sand lightly all over to remove any bumps from dust or bubbles that may have appeared out of thin air (I SWEAR the dust and fuzzies are impossible to keep at bay).
Sometimes I will use tweezers like these ones to help pick out any hair or flecks that have tried their best to mess up my finish. I generally do 4 coats of poly on any piece that I am doing. After sanding use a damp lint free cloth to wipe away any dust from sanding. You will then apply your third coat and let this one sit for at least an hour before sanding once more with the 220 grit, wiping down and applying your fourth and final coat of polyurethane.
I debated back and forth on what hardware to use. I had two handles that would both look great BUT were both very different styles. These were my two options:
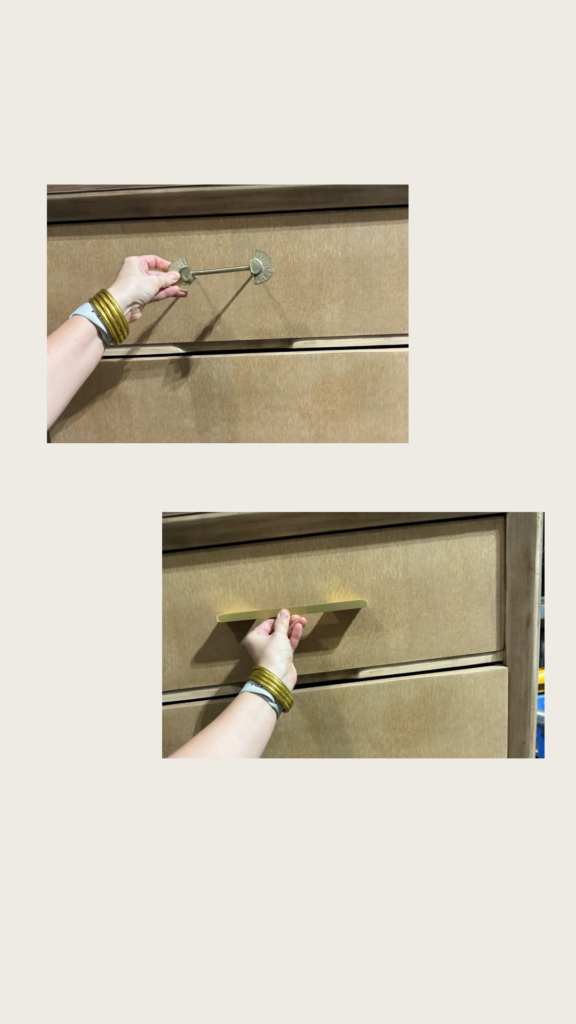
Can you believe i’ve just been hoarding them for almost two years?! I knew would use them eventually. Turns out Grandmas antique dresser was what I had been waiting for.
It was either a modern or traditional look. Lately I feel more of a pull toward traditional than the modern, and felt the more abstract handles really complimented the piece.
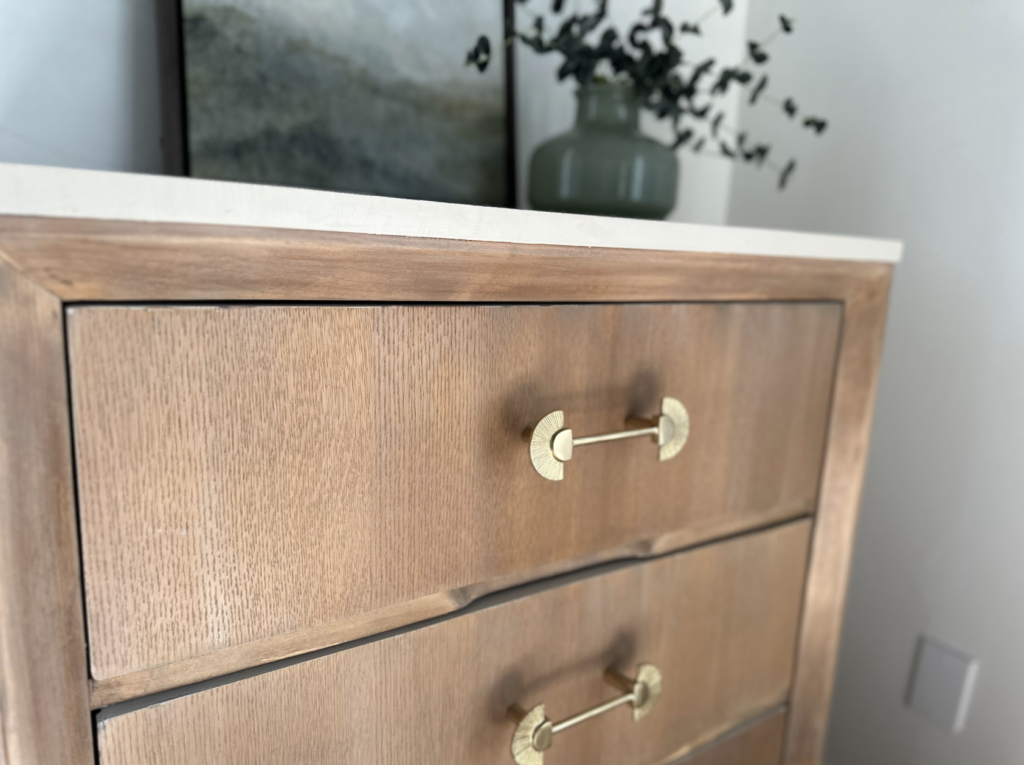
THIS is how the antique dresser makeover turned out. I won’t lie – I don’t have the perfect spot for it in my house currently. With so many spaces waiting to be renovated its hard to fit in the perfect pieces before hand, but I cannot wait to get it settled in its “official” home soon. I couldn’t be happier with how it turned out AND I think my great grandma would be happy to see something of hers now being loved and used again by her great granddaughter and great GREAT grandchildren.
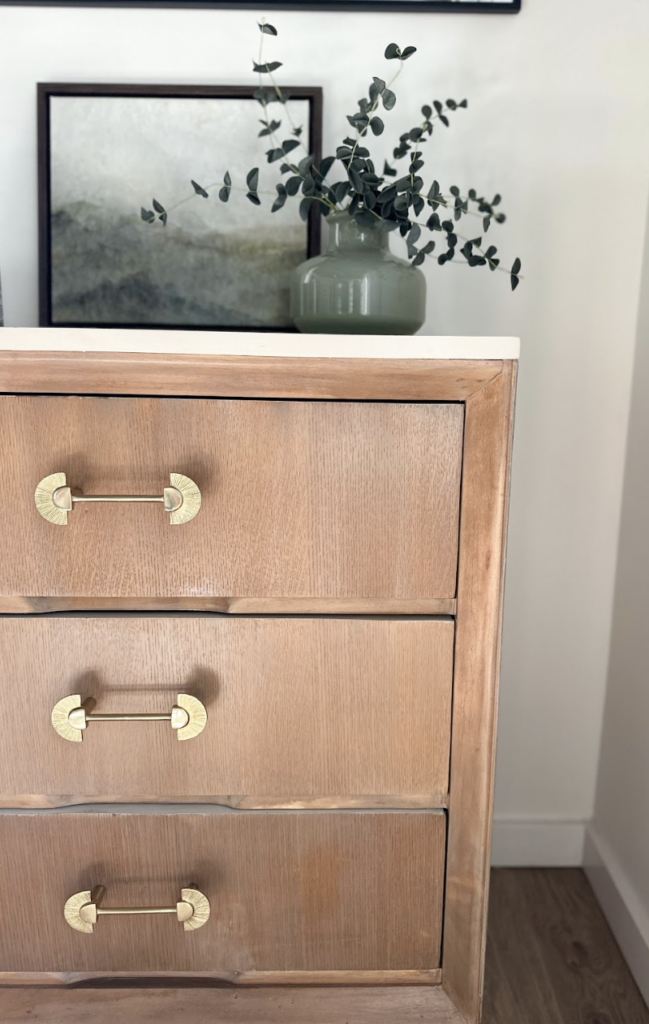
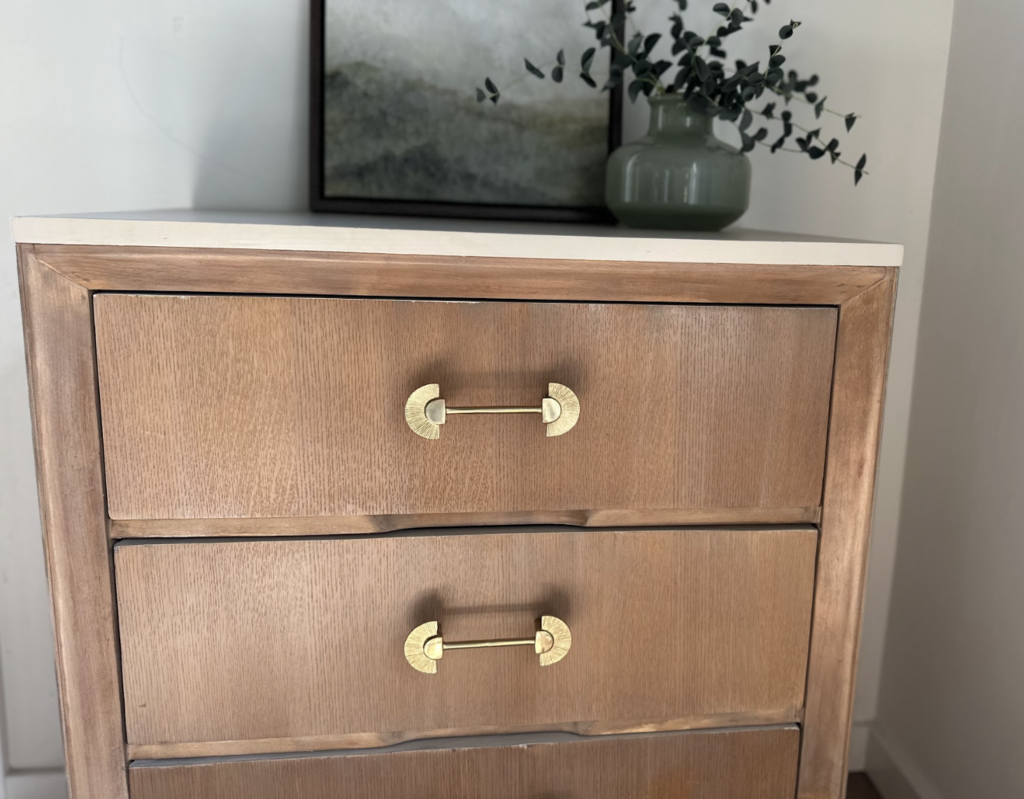
It’s been a long time since I did a dresser flip, but I we’ll have another soon with the OTHER dresser from great grandmas set and add to the antique dresser makeover list! As always, let me know if you have any questions and whatever thoughts you have, too. I hope you love this transformation as much as I do!!
