Penny Hits the Ground Running: Hewn Flooring Installed
March 6, 2024
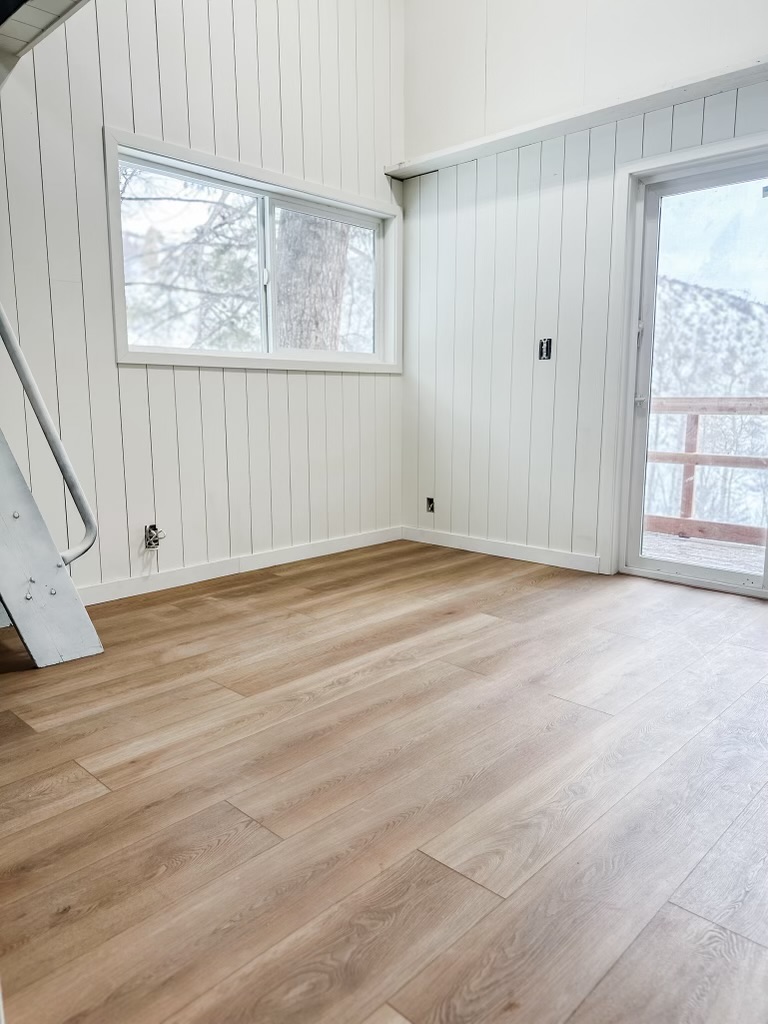
We’re working from the ground up to get Penny in tip-top shape on the inside! She now has new flooring, and it’s already making a huge difference in her overall vibe.
This is a sponsored post. All information and opinions are my own.
We wanted flooring that would be up to the test for the elements at Penny. Dirt and dust in the summer and spring and rain and snow in the fall and winter. Hewn truly is the perfect fit. As a stone product, it is PERFECT for literally any weather wear issues. The flooring has beveled edges and is so beautiful. The installation is super easy; it basically clicks into place, but I’ll give you the rundown just in case. After getting some samples (they can send you whatever ones you want to test – its perfect), I went with the Hewn Flooring Stoneform in Knox and I’m obsessed!
Prepping for Flooring Installation
Hewn recommends that your subfloor be dry and level to 3/16” per 8 ft. radius. Pressure from subfloor moisture can cause the flooring to cup, warp, or fail, so you want to ensure your subfloor has been through the necessary moisture tests to ensure that doesn’t happen. Also, ensure that for 48 hours before installation, the temperature and humidity match normal, year-round conditions.
Installing the Flooring
Open up your flooring and “dry lay” it out to plan the pattern, texture, color, and sheen you want permanently installed. Starting from an outside wall, measure an equal distance from the wall and mark a straight working line with chalk. Stagger end joints by at least 8” for the most realistic look. Once all the pieces are laid you can install any transition pieces as needed.
Here are the tools we used for installing the flooring:
- Hammer/edge blocked – this makes it so you don’t damage the tongue and groove of the planks
- A soft mallet
- Edge tool
- Measuring tape
- Pencil
- Knife
- Pliers – to grab and break off any smaller pieces.
- Square
- Circular square (not 100% necessary)
- Knee pads – THE MOST IMPORTANT.

The edges are made to essentially fall and snap into one another. Line them up as needed, and then snap them into place. For tightening/closing up any joints you will use your block and soft mallet. Around the edges, the edge tool will help to hammer those areas in tighter.
The easiest way to cut the flooring material is by scoring it. Do this by marking your line with a pencil and square, then use the square as you make your score mark with your knife. Once you score, you can bend and snap (just like on Legally Blonde), and your piece will break off perfectly.
For trickier cuts you can use a jigsaw or circular saw if you prefer.

After laying your floors and ensuring all gaps are tight you will attach your transition pieces. You can either nail or glue the transition pieces in place. We use a finish nail gun to attach ours.

Post-Installation
You’re almost done and we’re only on step 3! You can use rosin paper to protect your floors but don’t use plastic film or other coverings that have non-breathing properties. You want to let the floors breathe! To keep them looking their best, use PH-neutral cleaners, avoid long periods of direct sunlight, and correctly protect the bottom of your furniture.
Voilà! You’re done!

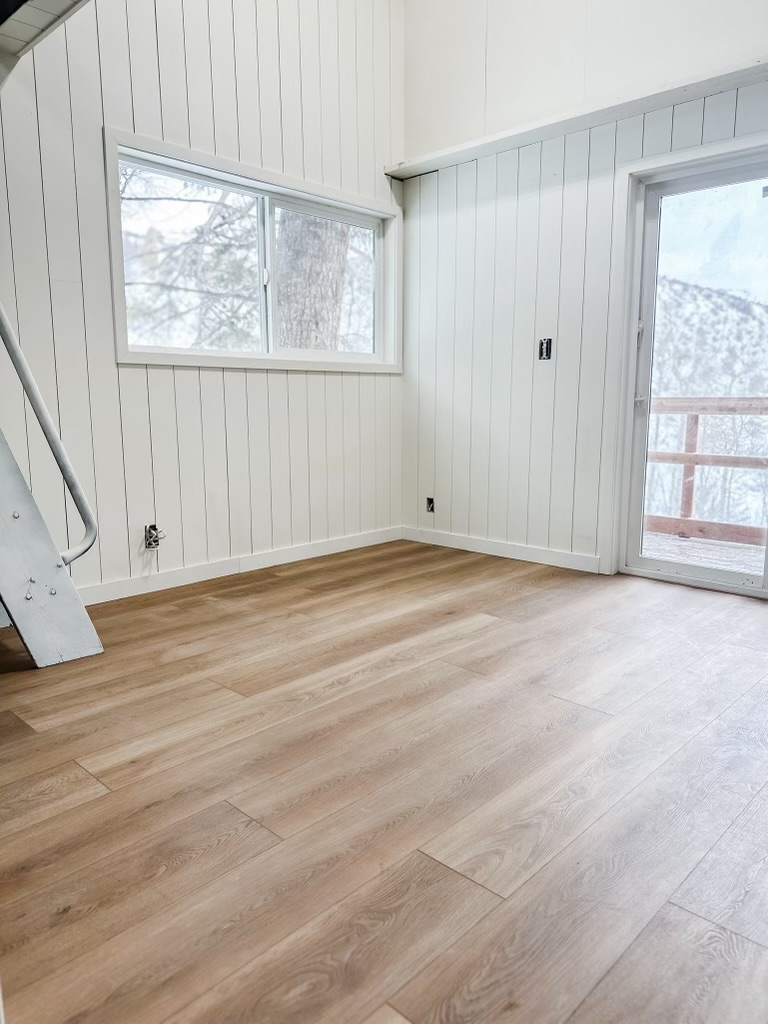
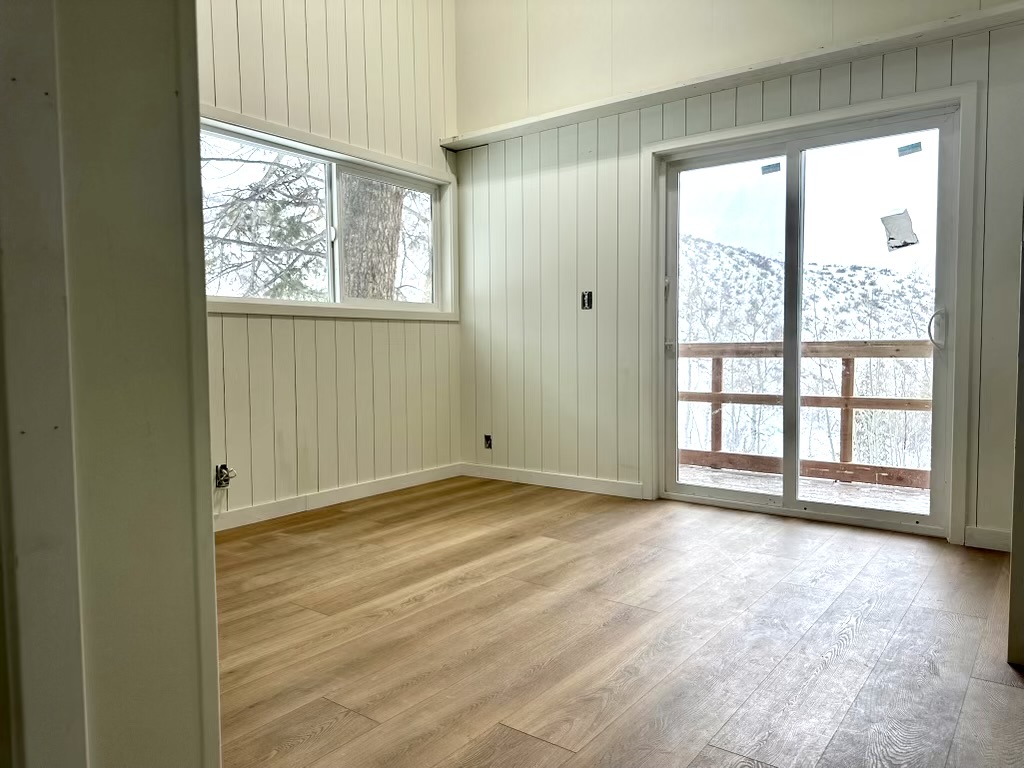
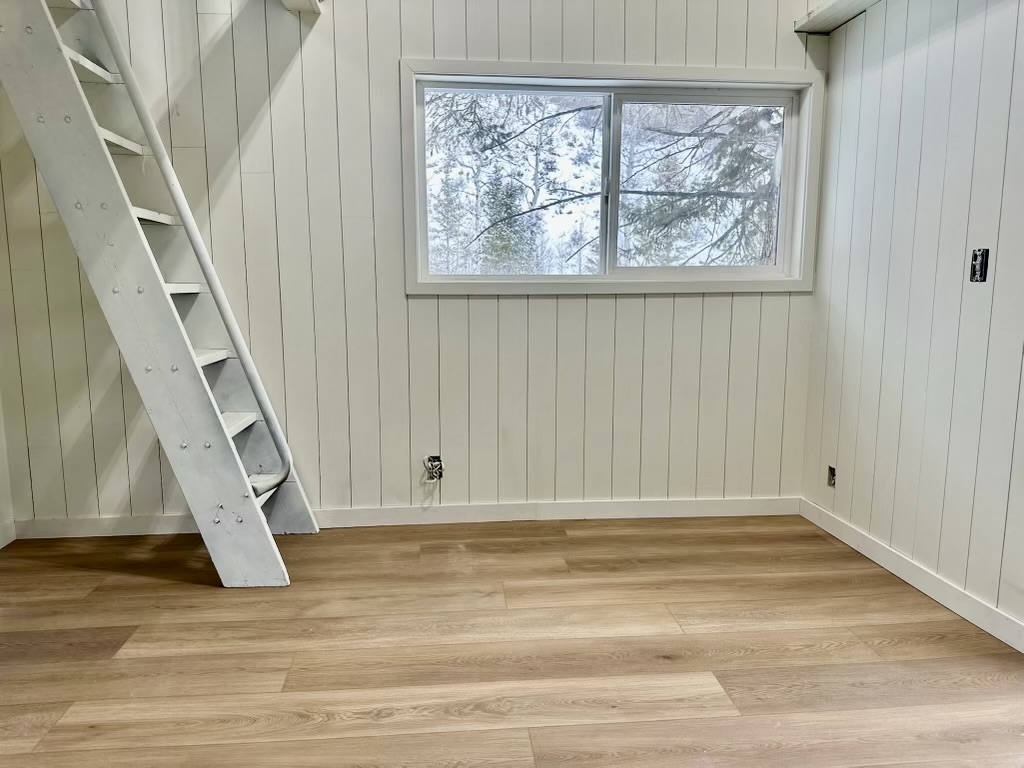
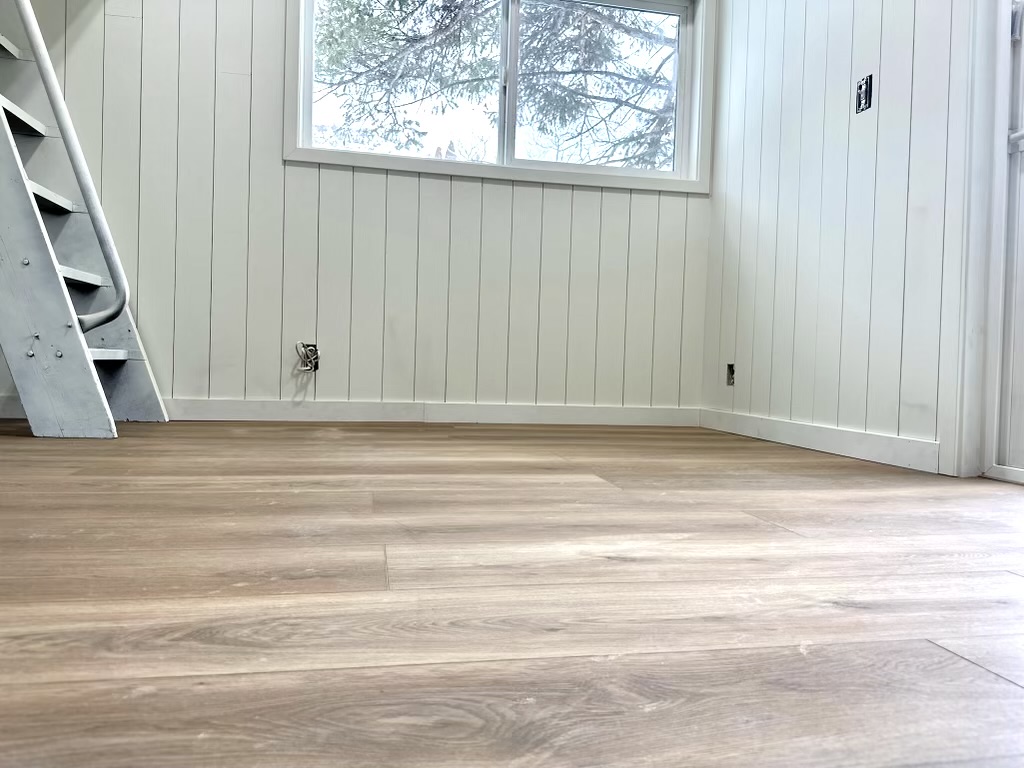
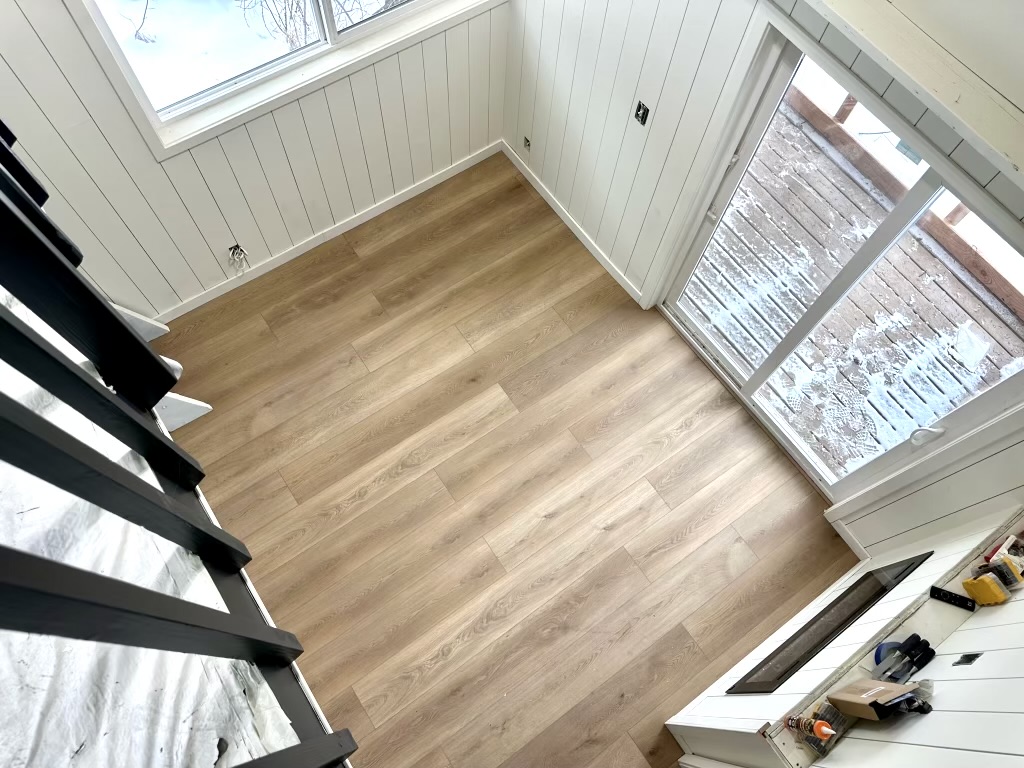
Hewn Flooring was so easy to work with. I will absolutely use them again in the future and recommend it to anyone doing floor work. These floors are the perfect foundation for the rest of the interior, and I’m so excited to dive into it! If you want some inspiration to incorporate into your next DIY home project, be sure to follow me on Instagram!
