Paint Stir Stick Bench
February 18, 2021
How to use painters stir sticks to create the ultimate slatted accent bench
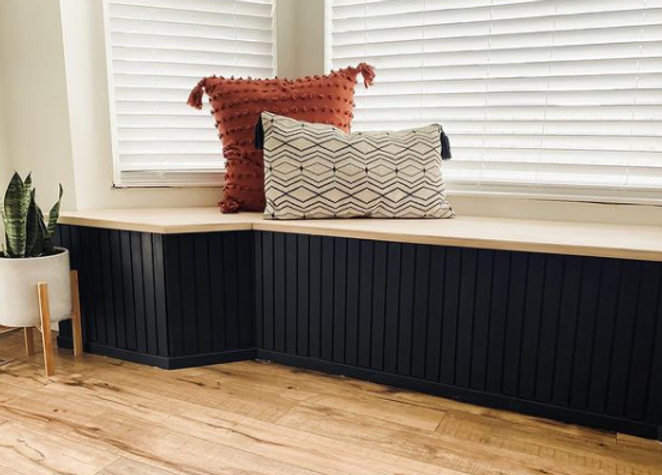
I knew without a doubt that I didn’t wintry bench to boring. Don’t get me wrong — the craftsman classic trim bench is great. But I wanted something dramatic and bold. Naturally with bold for me, comes black. So I knew black had to be involved as well.
I wanted to add some sort of accent to the piece that made it stand out and I had the image of vertical slats in my head from the very beginning. And then I let that slip away – I didn’t want to be overly trendy and figured I could go white and classic. Naturally things ended up dramatic. Because THAT is what I wanted. I decided on the slats. NO regrets there. So lets get to it – this is how I created a DIY slat look for my built in bench, and how YOU can use the same trick to give your own project a slat look on a budget!
Let’s Do This
1. I got inventive: I purchased 15 three pack bundles of two foot long stir sticks, and said a prayer.
2. I measured my bench from the top of the trim around the bottom (where the sticks would “stand on”, to the lip of my bench. I measured about 87 times.
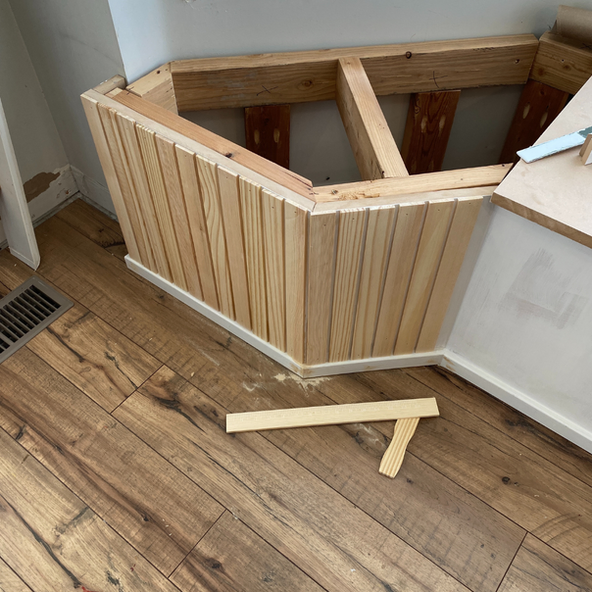
3. I created a stop on my saw, so that all of my cuts were the same length, and I didn’t have to measure every. single. time.
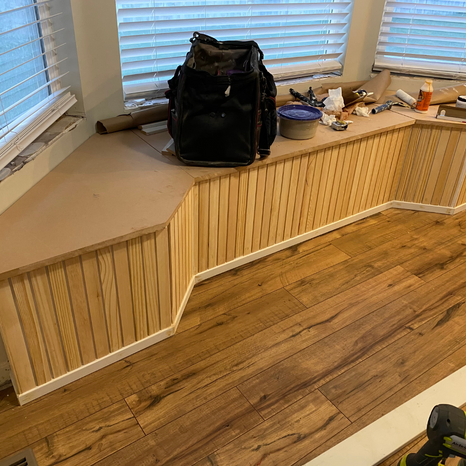
4. After cutting each stick (lets be real, the monotonous part of this was taking the plastic off of each bundle), It was time to haul the lumber inside and attach it to my MDF bench front.
5. I opted out of using glue with my nails to attach each stick. I really don’t feel like they needed it AND if I ever do get a really wild hair (I won’t) in the future and want to take them off (not happening) I totally can (not). Using 1.5’ nails and my Ryobi 18 gauge nail gun, I nailed in the first stick, used a spare stick as my spacer, and attached the next one.
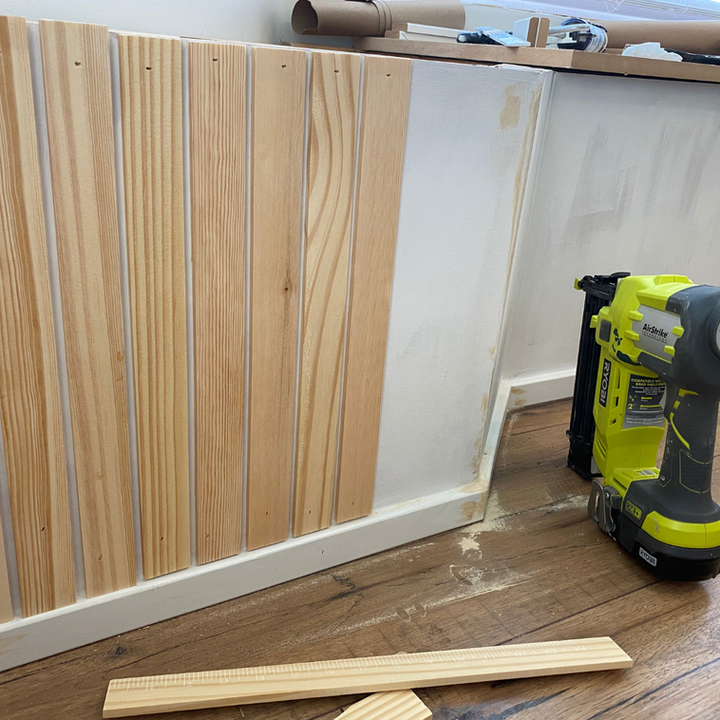
6. After each stick was nailed in, I used my favorite wood filler and the fingers I was born with to fill in each hole. The trick with wood filler is to leave it slightly raised out of the hole so that when you sand it blends really well.
7. Once the wood filler is completely dry — you will know because its the best (like I already told you), and it goes on purple but dries a natural wood color, you will then use a 220 grit sand paper (the higher the number, the finer the grit) to sand off the excess filler. I also sanded down the face of all of the sticks at this point. The beauty of buying the stir sticks as opposed to
say a piece of plywood, was that the edges
were already smooth, and the surface of each stick had already been sanded nicely.
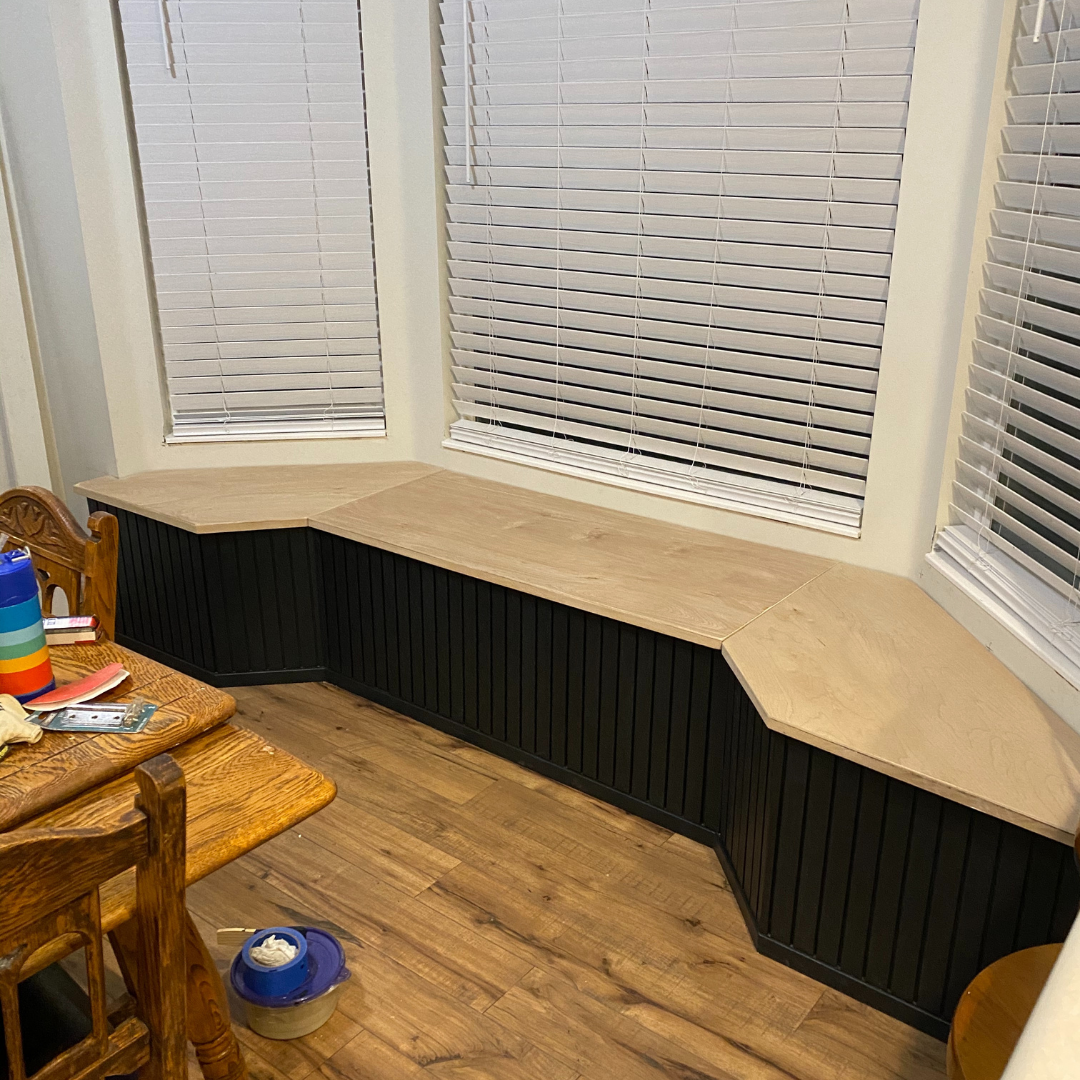
8. Now for the fun part — adding PAINT. If you know me, you know I love to paint and even more than that, I love a good paint product that makes my life (and yours!) easier, which I why I added BB Frösch powder to my Behr Marquee paint in a satin sheen. I brushed my paint on with this paint brush — also a favorite, and then used a tiny brush to touch up in between the cracks where I needed to! I did two coats for full coverage.
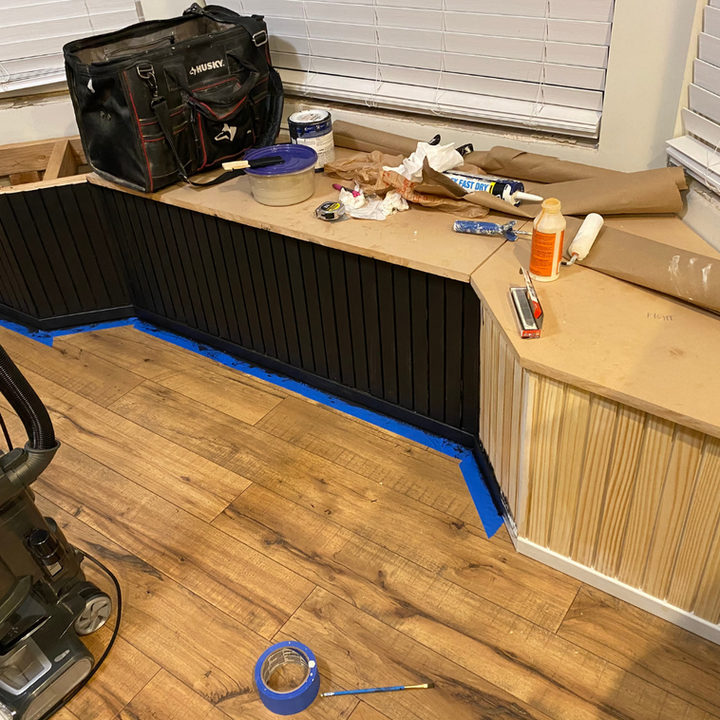
9. Finish and seal! after my paint was dry two hours later, I sealed with a polyurethane water based topcoat. Generally, I prefer to spray poly with my paint sprayer, but wince this was wood and I didn’t mind the texture AND because this brush leaves literally no brush marks, I also brushed on my poly!
Booyah!
And you are DONE.
So, how do you feel? Like a glamorous celebrity with your own fancy bench? Like a boujee millionaire with nothing on your mind except your glass of fresh squeezed oj that is sure to go
hand in hand with your new banquette? I thought so.
Questions? Comments? Love notes?
Leave them below.
xo
Kenna
All tools and items linked below:
– Polyurethane Water Based Topcoat
