

Ghost Candle Holder DIY: A Spooky-Cute Halloween Craft
There’s something magical about Halloween decorations that feel both spooky and charming. Instead of filling your home with store-bought plastic pumpkins, why not create something handmade and unique? This Ghost Candlestick Holder DIY is the perfect craft for adding a touch of whimsy to your Halloween décor.
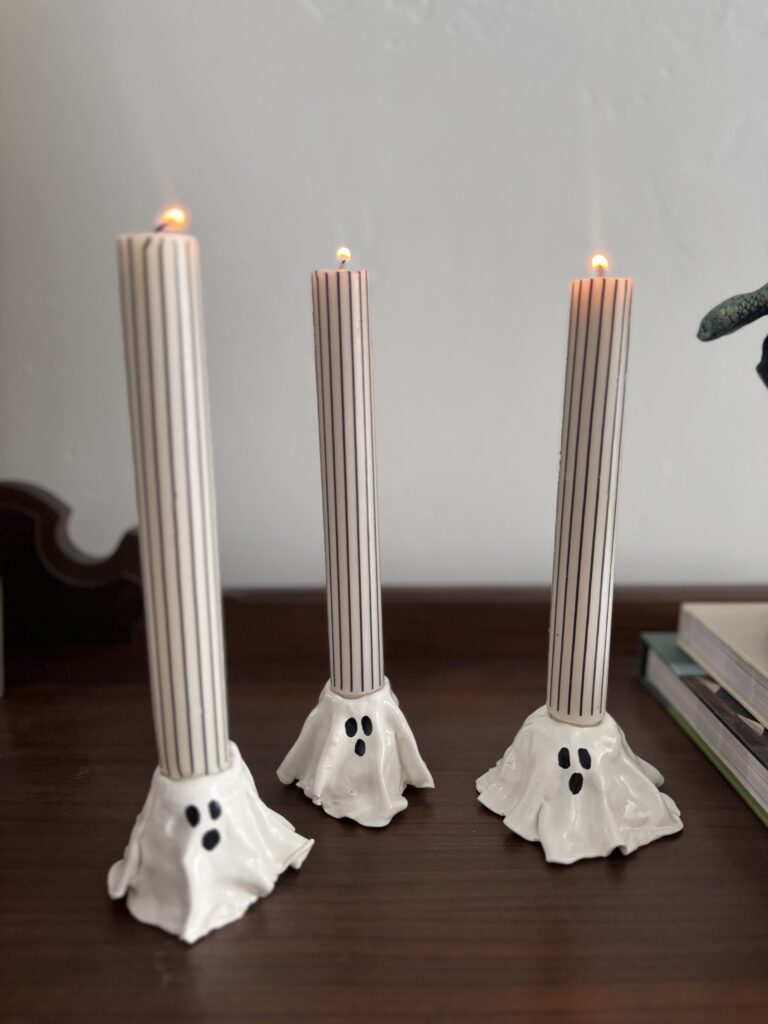
Made with white polymer clay, a simple foil form, and a taper candle, this little ghost looks like it’s carrying a candle right on its head. Whether you want a single ghost glowing on your mantel or a whole haunted family lined up on your dining table, this project is surprisingly easy and endlessly customizable.
In this guide, I’ll show you step-by-step how to make your own DIY ghost candlestick holder, including tips for shaping, baking, painting, and styling your ghostly creation.
Why Make a Ghost Candlestick Holder?
If you’re anything like me, Halloween is more than just one night of costumes and candy, it’s an entire season of decorating. But store-bought decorations often look the same in every house. That’s why making your own can be such a rewarding project.
Here’s why this DIY stands out:
- It’s reusable – polymer clay hardens into a sturdy form that will last year after year.
- It’s budget-friendly – most of the supplies are inexpensive and versatile for other crafts.
- It’s whimsical, not scary – this ghost is more cute than creepy, perfect for both adults and kids.
- It’s completely customizable – make tall ghosts, short ghosts, textured ghosts, even ghosts with funny expressions.
The end result? A decoration that feels handmade, unique, and perfect for setting a cozy Halloween mood.
What You’ll Need
Here are the supplies you’ll want to gather before starting. I’ve included links so you can easily shop for what you don’t already have:
- White Sculpey clay – forms the ghost body.
- Black craft paint – for the eyes and mouth.
- Tinfoil – used to create the base form.
- Taper candle – fits into the ghost’s head.
- Paint brush set – for painting the face
- Clear spray paint – seals and protects the finished ghost
- Sculpey cutting tool – optional, for shaping or texturing.
- Rolling pin for clay – to roll clay sheets evenly.
- Cooking spray – prevents sticking while baking.
- Cookie sheet – for baking the clay ghost.
Pro tip: Always work on a clean, flat surface and wear an apron if you want to avoid clay dust or paint on your clothes.
Step 1: Create the Foil Form
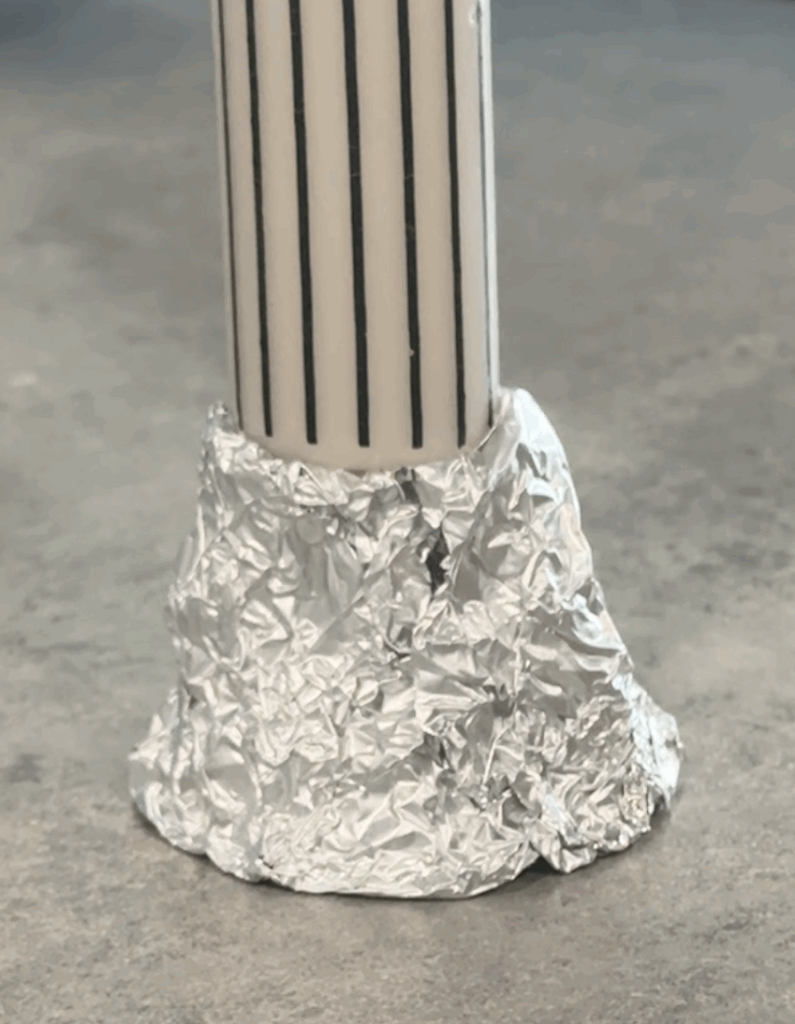
The secret to this DIY is the foil. It saves you loads of clay (since you don’t have to make your ghost solid) and gives the whole thing some structure to build on.
- Shape the base. Tear off a sheet of tinfoil and crumple it into a rounded little mound, this will be the “body” of your ghost.
- Make the candle slot. Take your taper candle and gently press the base into the top of the foil mound. This creates a perfect candle-shaped opening that your finished ghost will hold snugly.
- Refine the shape. Build up the foil around the candle, pressing and shaping until it looks like a soft dome with a neat slot at the top.
Quick tip: Don’t bake the candle itself! It’s just there to make the opening. Once you’ve shaped the foil, pull the candle out and set it aside until the final step.
Step 2: Prepare Your Clay
Before your ghost gets its spooky “sheet,” the clay needs a little love to make it workable.
- Warm it up. Break off a chunk of white Sculpey clay and knead it in your hands until it feels soft and pliable.
- Shape the clay. Roll it into a ball to smooth it out.
- Flatten it. Use your rolling pin to press the clay into an even sheet, about ¼ inch thick.
This flat sheet is what you’ll drape over your foil form in the next step, giving your ghost that classic sheet-over-a-head silhouette we all know and love.
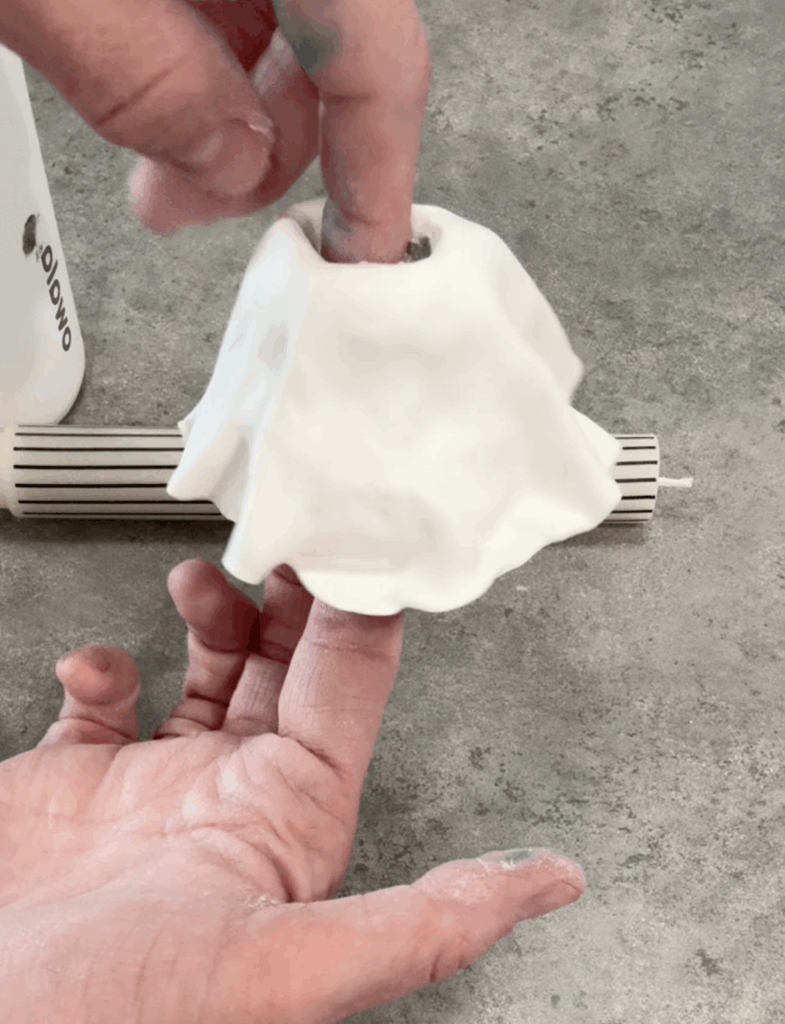
Step 3: Cover the Foil Form
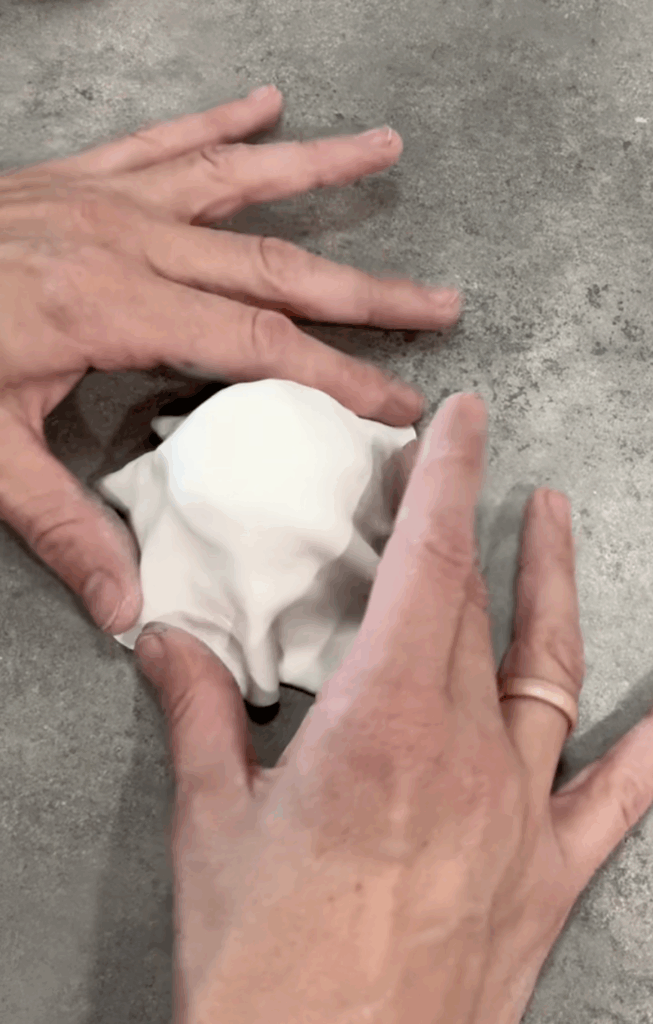
Here’s where the magic happens, this is the moment your little foil mound finally starts to look like a ghost.
- Drape the clay. Take your rolled sheet of clay and gently lay it over the foil form, letting it fold and droop just like a sheet falling over furniture. Those natural ripples are what make it look spooky.
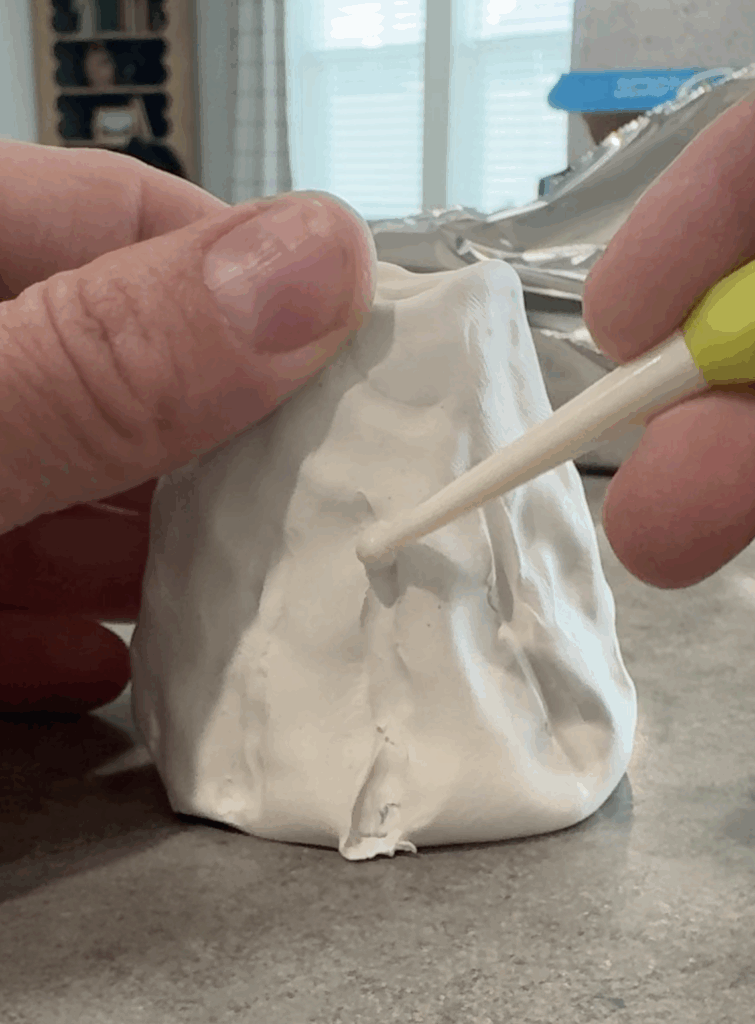
- Fill in gaps. If you see any open spots, press in extra pieces of clay and smooth the seams together with your fingers or a clay tool until it blends right in.
- Add texture. Use a sculpting tool to draw in soft waves or little folds if you want more movement, as if the ghost is swaying in a breeze.
- Check the candle slot. Press gently around the opening at the top to keep the space the right size for your taper candle.
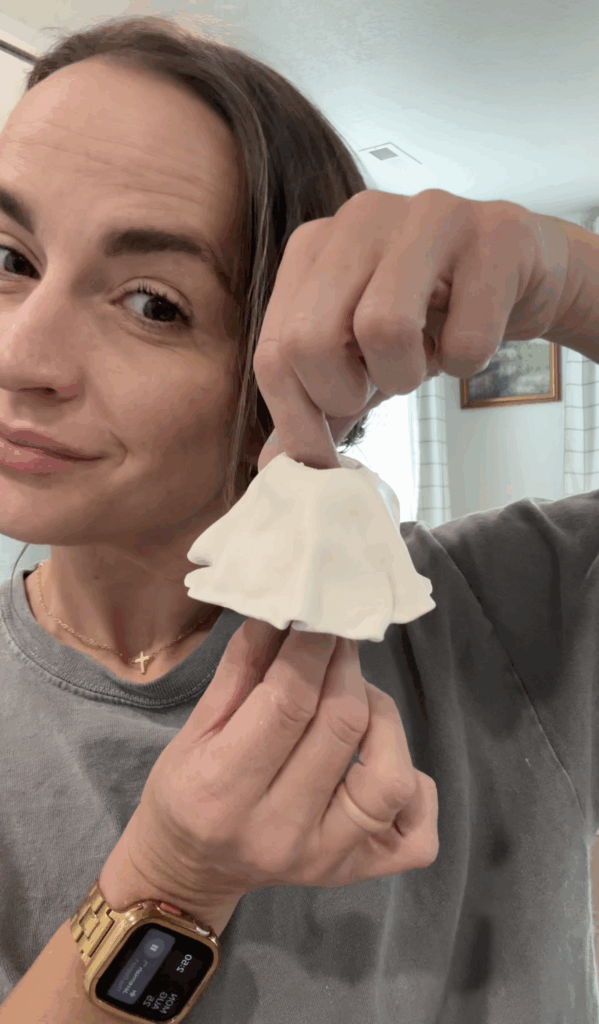
Remember, perfection isn’t the goal here. In fact, the uneven folds and quirky shapes are what make each ghost feel alive. A little wonkiness just adds to the charm.
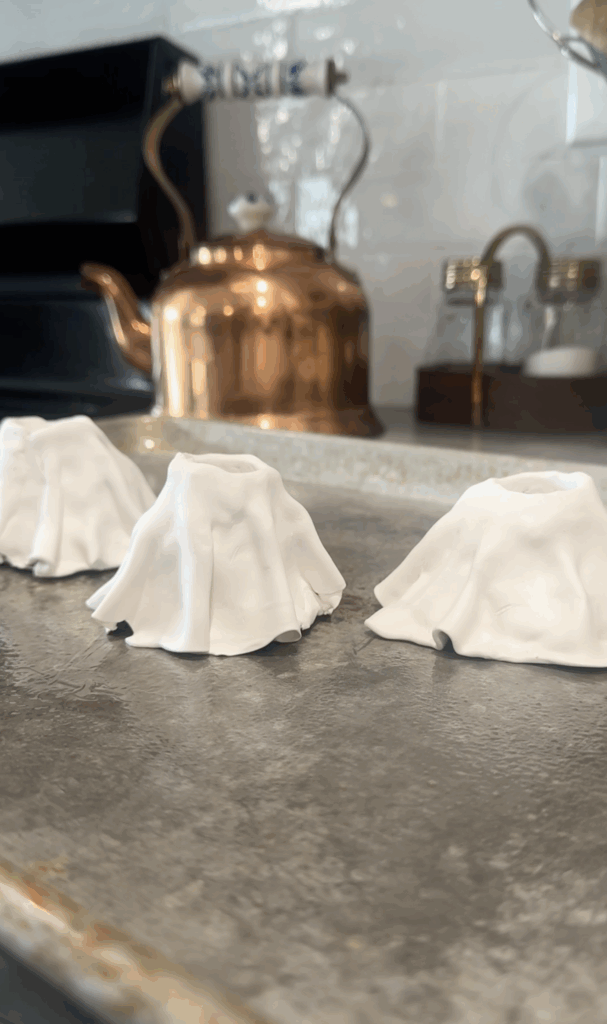
Step 4: Bake Your Clay Ghost
Once you’re happy with how your little ghost looks, it’s time to make it official. Baking is what takes your soft, floppy clay and turns it into a sturdy little decoration you can enjoy for years.
Start by giving your cookie sheet a light spray of cooking oil so nothing sticks. Then, carefully place your ghost on the tray.
Set your oven to 275°F (135°C) and follow this guide:
- Thin ghost (around ¼ inch thick): about 15 minutes
- Medium ghost (around ½ inch thick): about 30 minutes
- Thick ghost (closer to ¾ inch thick): about 45 minutes
When the timer goes off, take your ghost out and let it cool completely before touching it. Polymer clay is soft when it first comes out of the oven, but don’t worry, it will harden up beautifully as it cools. Before you know it, you’ll have a solid little spirit, ready for its makeover.
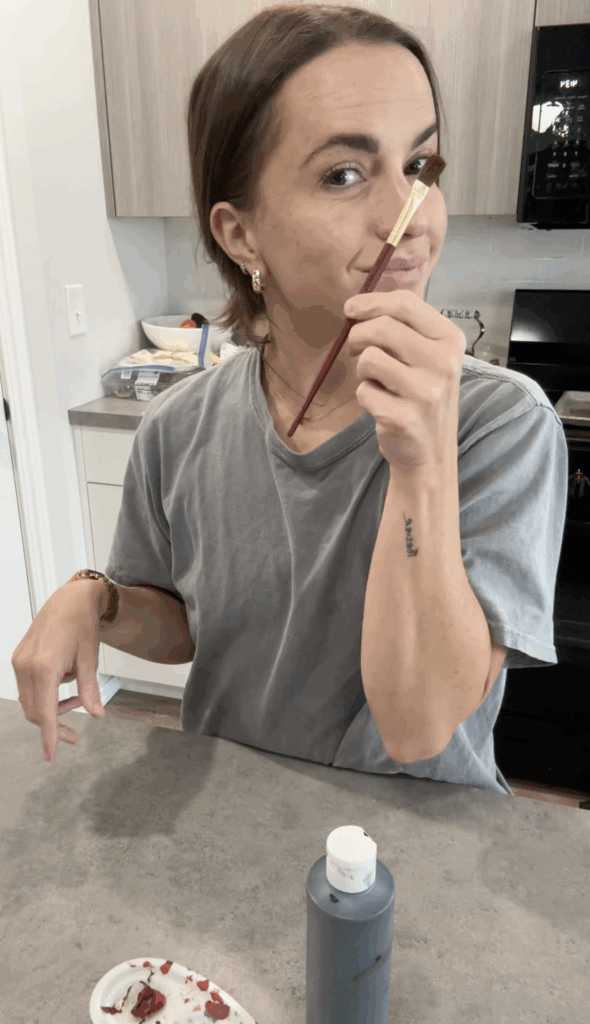
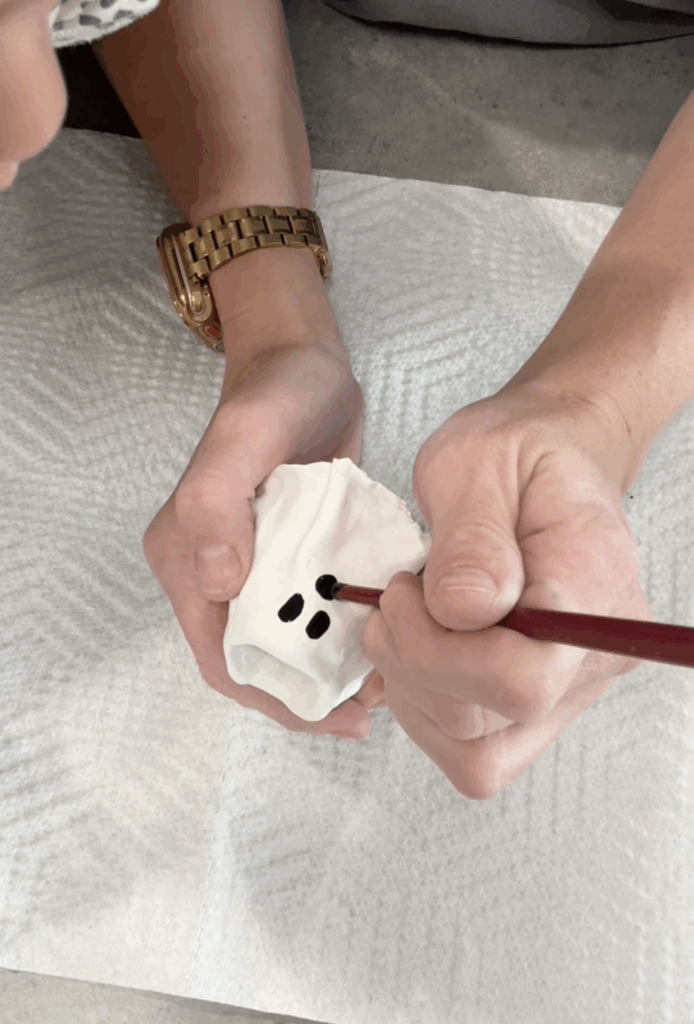
Step 5: Add the Face
Once your ghost has cooled and hardened, this is the part where it truly comes to life (or maybe the afterlife).
Take a small brush and a dab of black craft paint, and gently add its little features. Two eyes and a round open mouth will give you that classic “boo!” expression, but you can get creative here. Maybe wide, surprised circles for a cartoon look, or a cheeky tilted eye if you want your ghost to have some personality. Once you’ve painted on the face, set it aside to dry fully before moving on. It’s amazing how quickly a few simple shapes can give your ghost so much charm.
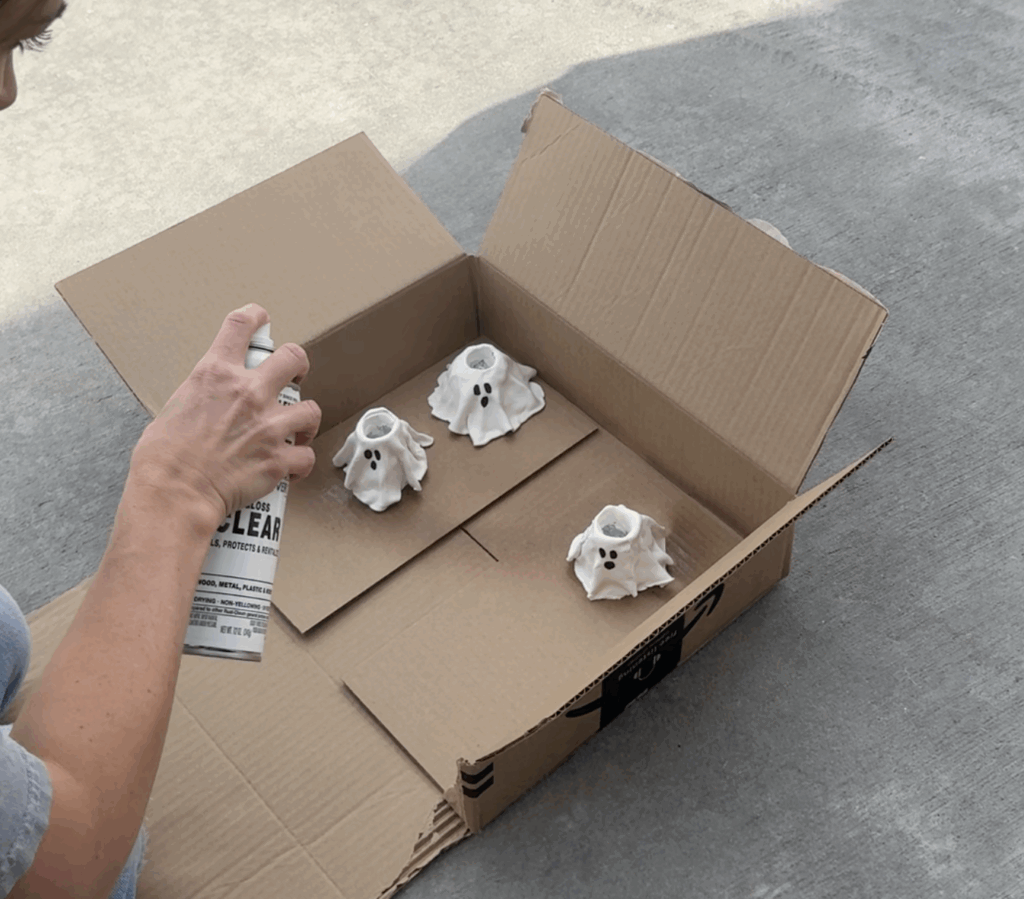
Step 6: Seal Your Ghost
Once your ghost has its little face painted on, it’s time to lock everything in so it lasts year after year. A quick mist of clear spray paint will do the trick, giving it a soft sheen and protecting it from fingerprints, dust, and tiny scratches. Take it outside or to a well-ventilated spot, and let it dry completely before moving on. It’s a simple step, but it makes such a difference. Your ghost will stay looking just as sweet and spooky when you pull it out again next Halloween.
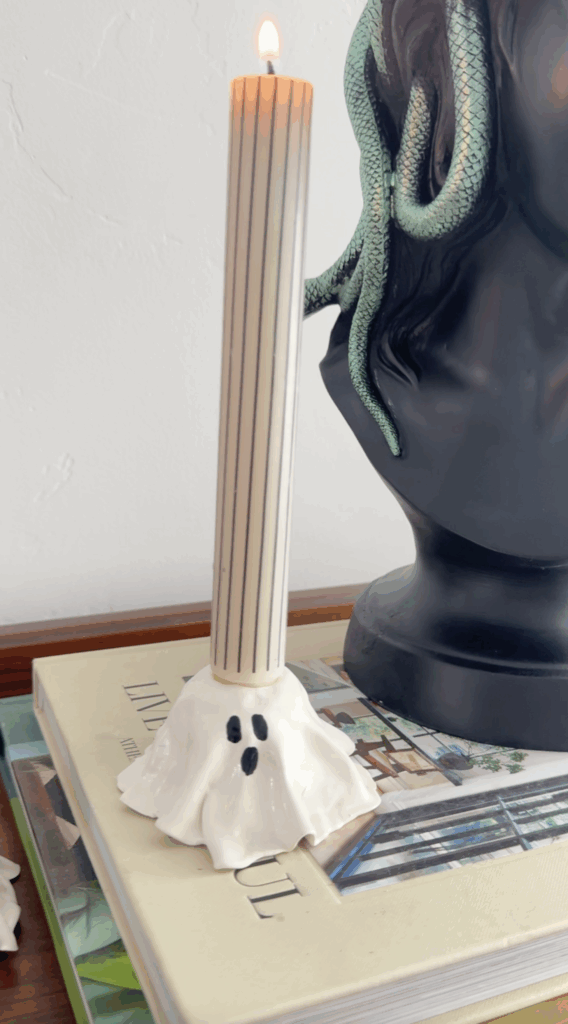
Step 7: Insert Candle and Enjoy
This is the moment your little ghost really comes alive. Take your taper candle and gently slide it into the slot you made at the top. When you light it, the soft flicker instantly transforms your ghost from a simple clay project into a glowing piece of Halloween magic. Place it on a mantel, a shelf, or in the middle of your table, and it sets the coziest spooky vibe.
Quick safety note: as dreamy as candlelight is, don’t ever leave your ghost candle burning unattended. If you’d rather not think about blowing it out, flameless LED tapers are a brilliant swap. They still give off that warm glow, and you can let your little ghost shine all evening long without worry.
Tips for Customizing Your Ghost Candle Holder
Want to take this ghost craft further? Try these ideas:
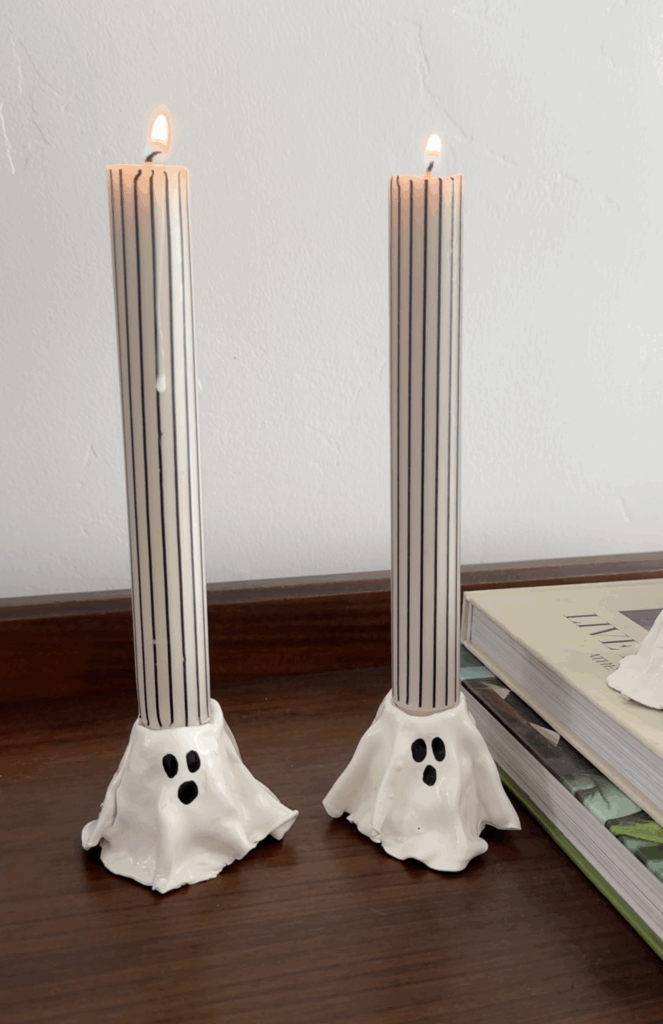
- Make a family of ghosts. Create multiple holders in different sizes for a grouping effect.
- Add color. Paint your ghost in pastel shades for a modern twist, or use glow-in-the-dark paint for a spooky nighttime effect.
- Try glow-in-the-dark paint. Add a spooky glow even when the candle is out.
- Change the shape. Add little clay arms or tilt the folds to make each ghost unique.
- Experiment with candles. White is classic, but pastel ghosts can be whimsical, while black clay gives a gothic vibe.
- Add accessories. A tiny clay pumpkin, hat, or bowtie makes your ghost even cuter.
Where to Display Your Clay Ghosts
Your handmade ghost candle holders deserve to be the star of your Halloween décor. Here are some ideas:
- On the mantel. Pair them with pumpkins, garlands, and cobwebs.
- As a dining table centerpiece. Scatter three or four ghosts down the middle with autumn leaves and mini pumpkins.
- By the front door. Welcome trick-or-treaters with glowing ghostly lanterns.
- On a shelf. Add them to your seasonal vignette alongside other fall decorations.
Wherever you place them, they’ll add instant Halloween magic.
Final Thoughts
This DIY ghost candle holder is proof that Halloween crafts don’t have to be complicated to be effective. With just a few supplies and a bit of creativity, you can make a charming decoration that will bring warmth, whimsy, and a hint of spookiness to your home.
Once you’ve made one, you’ll probably want to create a whole ghostly gang. These make great gifts, party decorations, or keepsakes you can bring out year after year.
So go ahead, gather your clay, roll out your ghost “sheet,” and craft something delightfully spooky. Your home will thank you for the handmade charm, and your Halloween celebrations will never be the same.
FAQ: Ghost Candlestick Holder DIY
Yes! Polymer clay like Sculpey works beautifully for making small candlestick holders, including this ghost design. Just remember to create a foil form underneath so you’re not using loads of clay, and always bake according to the thickness guidelines.
Polymer clay is safe for decorative candle holders when used with taper candles or LED candles. Always keep open flames supervised and avoid direct contact between the flame and the clay. If you’d rather not worry about fire safety, flameless LED taper candles are a great option.
A classic taper candle works best, as the ghost is designed with a snug slot to hold it upright. You can go with white for a clean, traditional look, or switch it up with black or orange taper candles for extra Halloween flair.
Polymer clay bakes at 275°F (135°C) for 15 minutes per ¼ inch of thickness. That means thinner ghosts bake in about 15 minutes, while chunkier ones might need 30–45 minutes. Always let the clay cool completely before painting or sealing.
After painting your ghost’s face, use a clear spray paint or clear varnish to seal the surface. This protects the paint from chipping, adds a slight sheen, and keeps your clay ghost looking fresh year after year.
Kids can absolutely help with parts of this project, like rolling the clay, shaping the folds, or painting on the ghost’s face. Just make sure an adult handles the oven baking and spray paint steps for safety.
Unlike paper or foam Halloween crafts, this DIY ghost candlestick holder is durable, reusable, and doubles as a functional candle holder. It’s a handmade piece you can bring out year after year, making it a timeless addition to your spooky season décor.
