Faux Marble Countertops
January 13, 2023
When I was working on my house bathroom transformation, the biggest eyesore was the granite countertops. Some people keep granite for the sake of it being granite. I didn’t love it and I’m a strong believer that your home should be a place that you love no matter what somebody else did to make it their version of nice in the past. So I did some thing that many people would argue is sinful. I painted my granite countertops to transform them into a faux marble countertop. It’s been almost a year since I did them, and I wanted to be able to give you a full tutorial on how I did them as well as share with you how they’ve held up for the last 11 months.
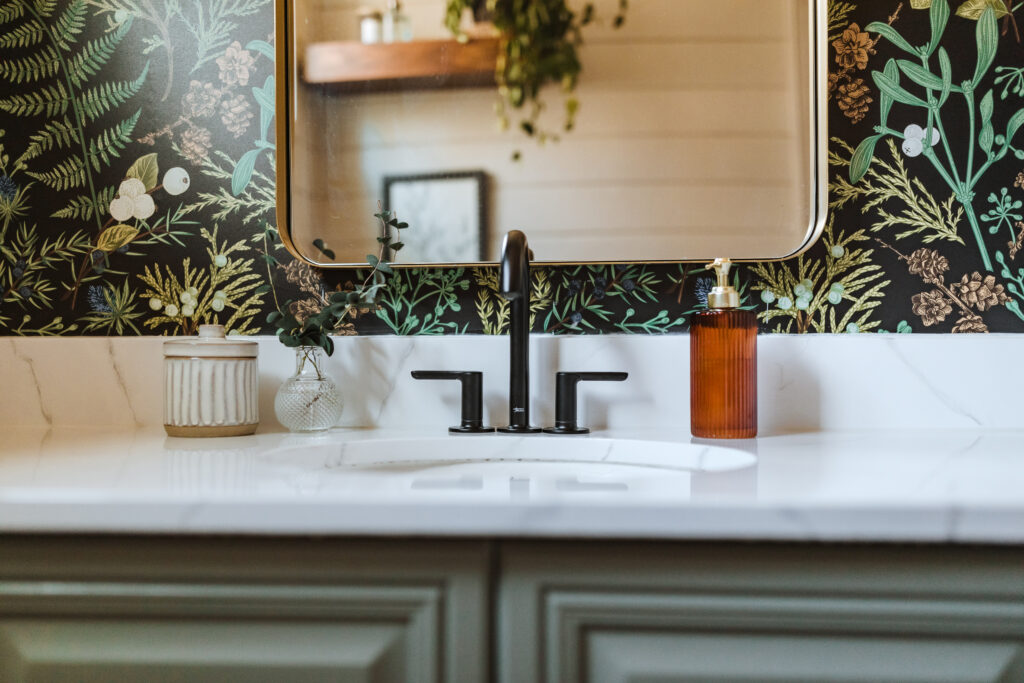
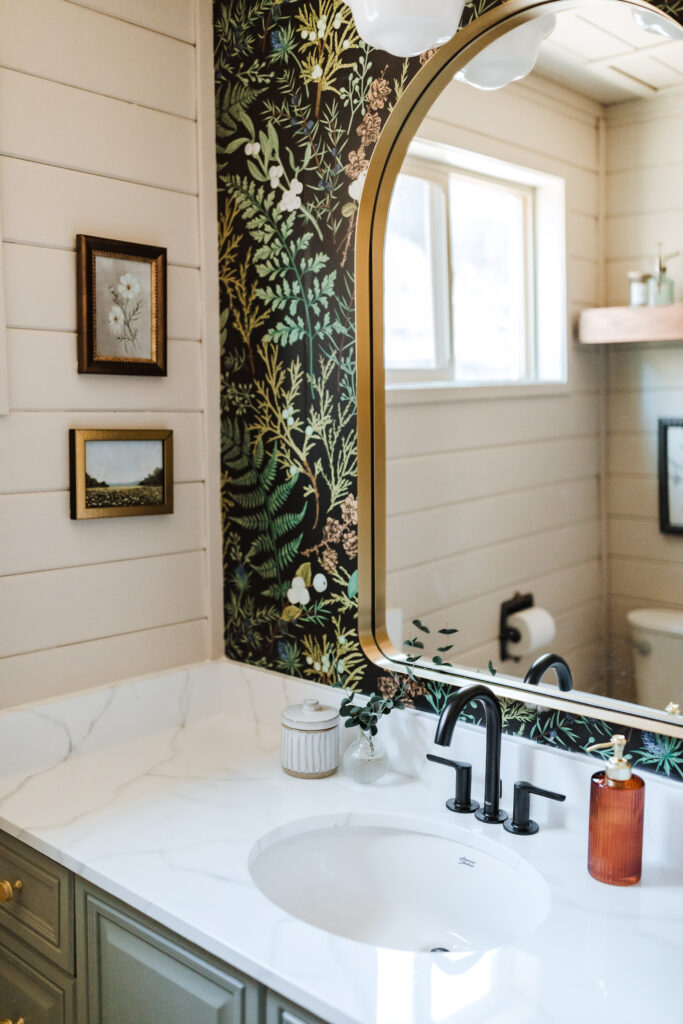
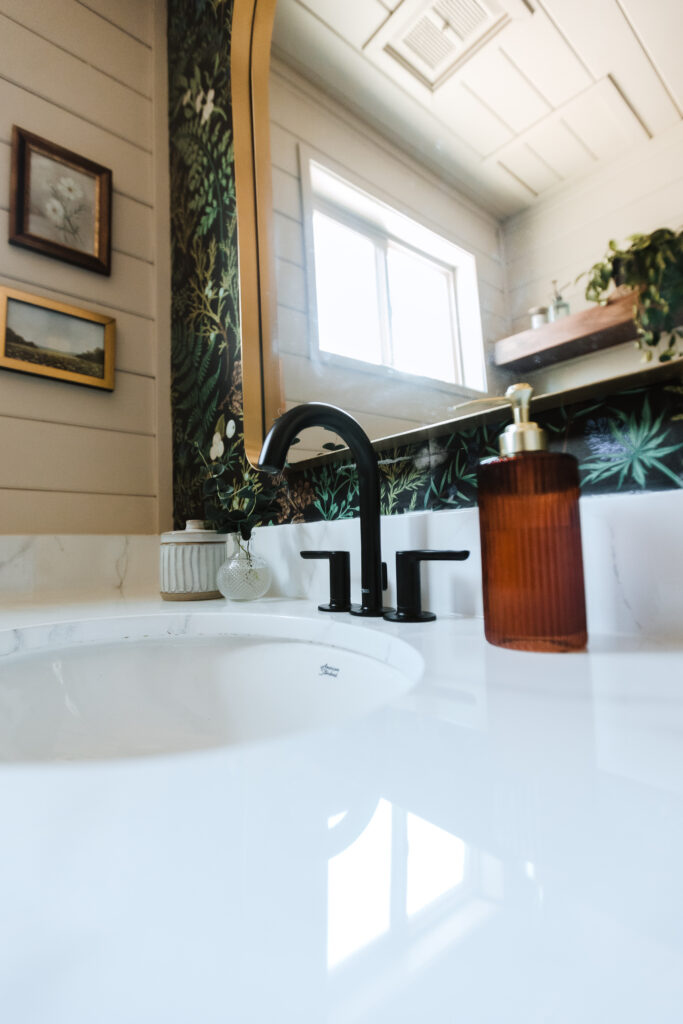
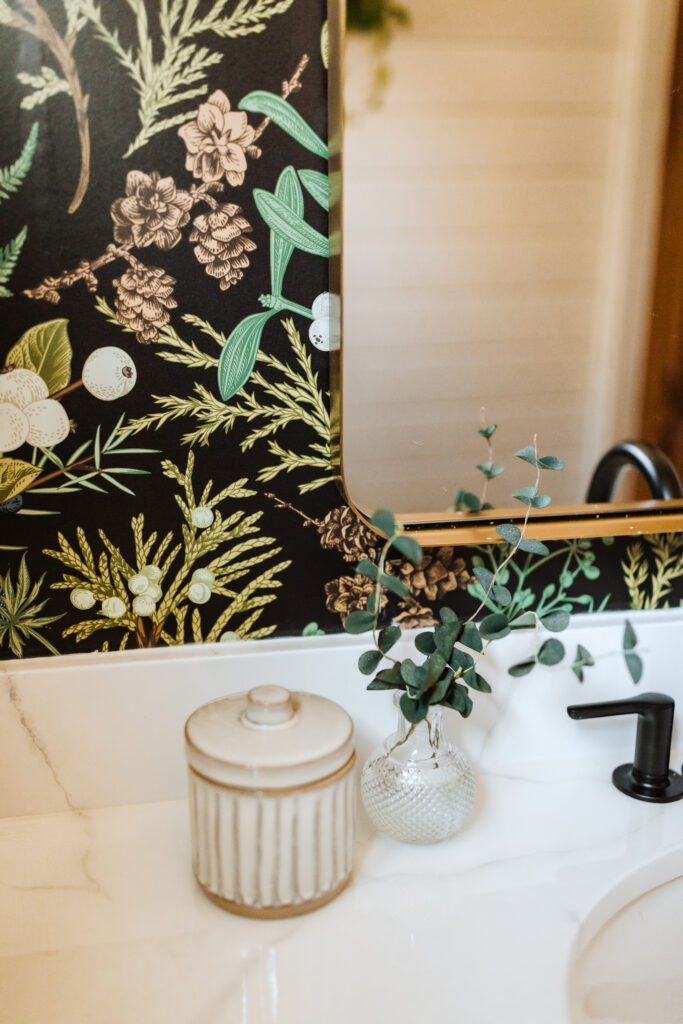
Here’s a list of the products you will need to do this project yourself:
The best part? The kit I used has everything you need from plastic sheeting to the paint for creating your own faux veining.
Here is what my countertops looked like before.
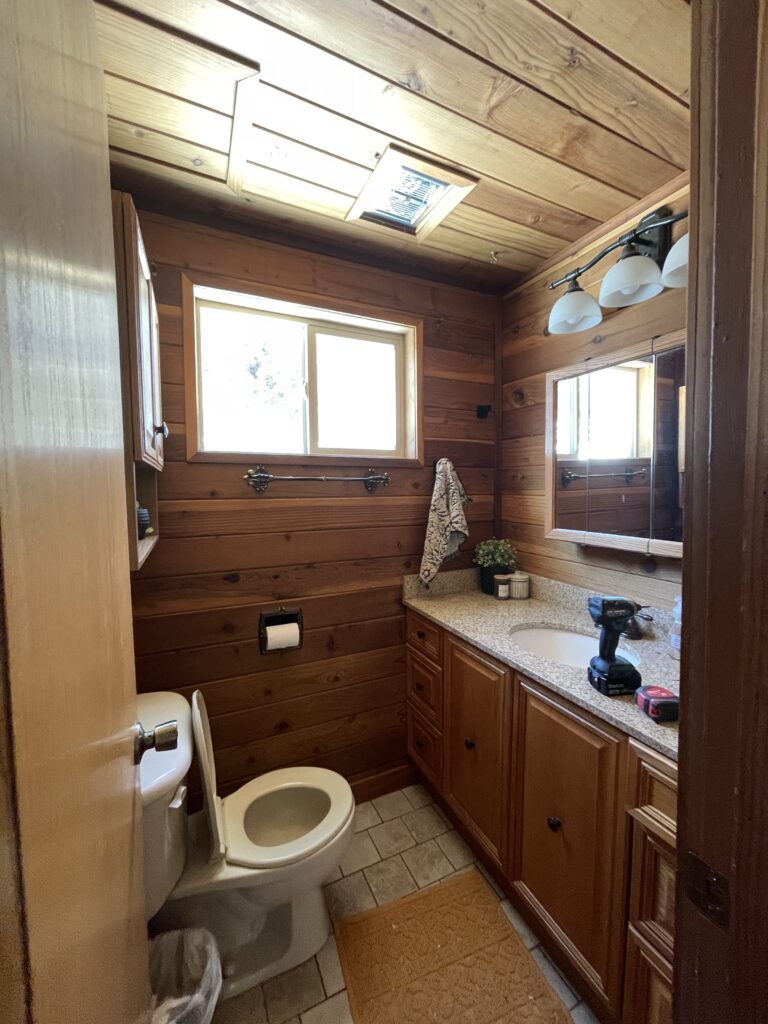
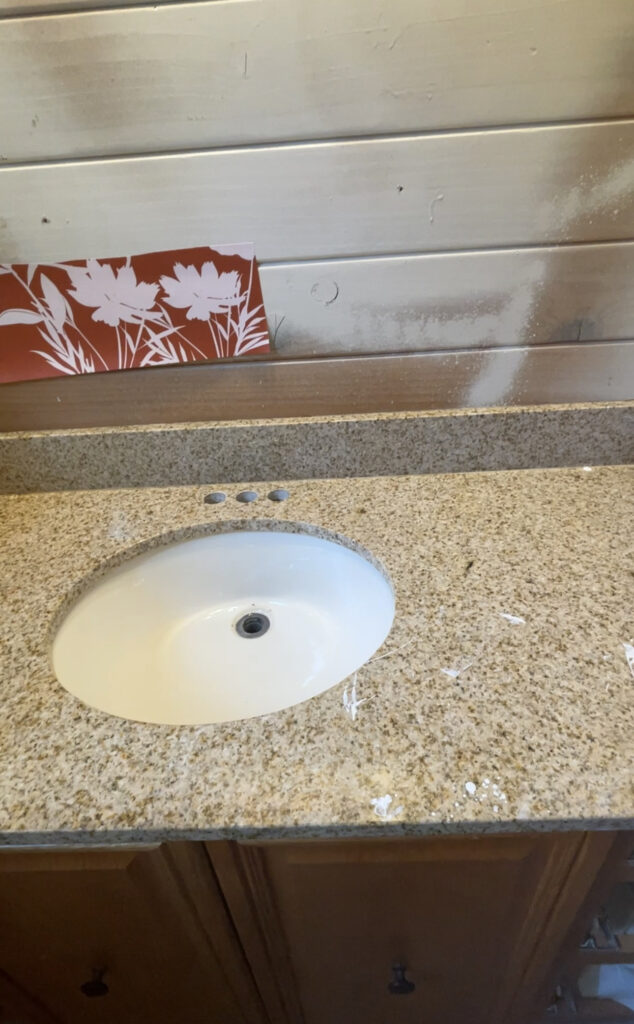
No it’s time to dive in to the HOW of this whole faux marble madness Although it can be time consuming and feel a little bit intimidating, but I promise it will be worth it once you’re finished with your faux marble countertops!
Getting Started
Prep! This part is crucial to a job well done. This Gianni Epoxy Kit has all of the prep items you need minus Painters Tape. I taped around the edges and used the provided painters plastic to cover the other areas. Although epoxy can be messy so it’s worth it to do the right prep and protection, I promise.
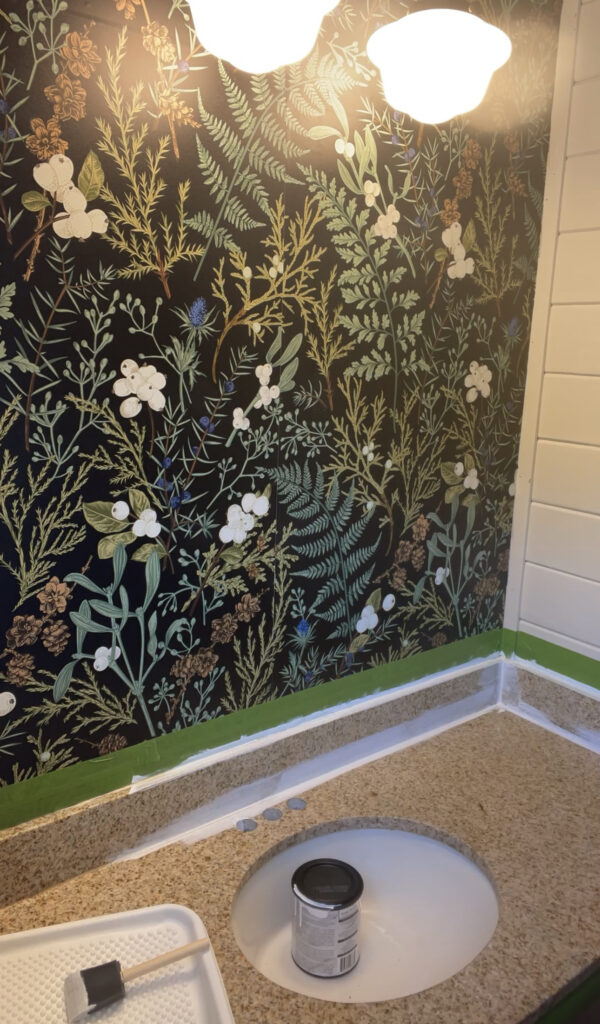
I was replacing my sink and faucet, so if you are doing that, you will want to remove them before you do any of the epoxy process.
To remove your faucet:
- Turn your water off. You don’t need to turn water off to the whole house, just the silver handle beneath the sink.
- Unscrew the faucet (this will vary depending on your faucet, if you get stuck you can google your specific faucet and usually find a tutorial online for removal and installation). Once you have unscrewed it, it should wiggle up and out.
- Remove the sink. IF you are removing it. If you aren’t just cover it up with plastic and tape.
Let’s DO THIS!
The Gianni Epoxy Kit I used has very detailed instructions and I followed them to a T. Here is the rundown:
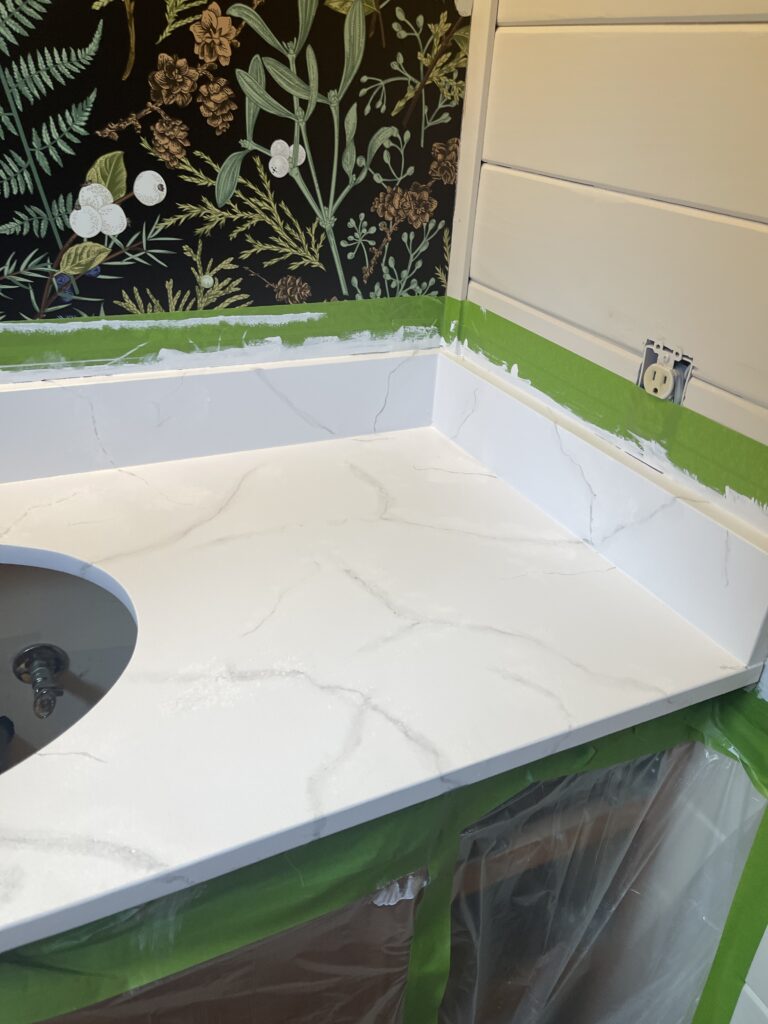
- First, I wiped the countertops down with warm water and just a basic disinfectant. After they were dry, I sanded them with the paper provided in the kit. Make sure you clean them off REALLY well after sanding. I would vacuum them and then wipe with a microfiber cloth if possible.
- Next up is your primer. I used the foam brush and primer provided, starting in the corners and working my way out to ensure that the brush strokes were even. I went back over the whole counter (while wet) to smooth everything out.
- You need to allow an hour between each coat of primer for proper dry time and adhesion. For lighter cabinets the recommendation is 2-3 coats, for darker it is 3-4. I thought I would need 4 but ended up only needing two.
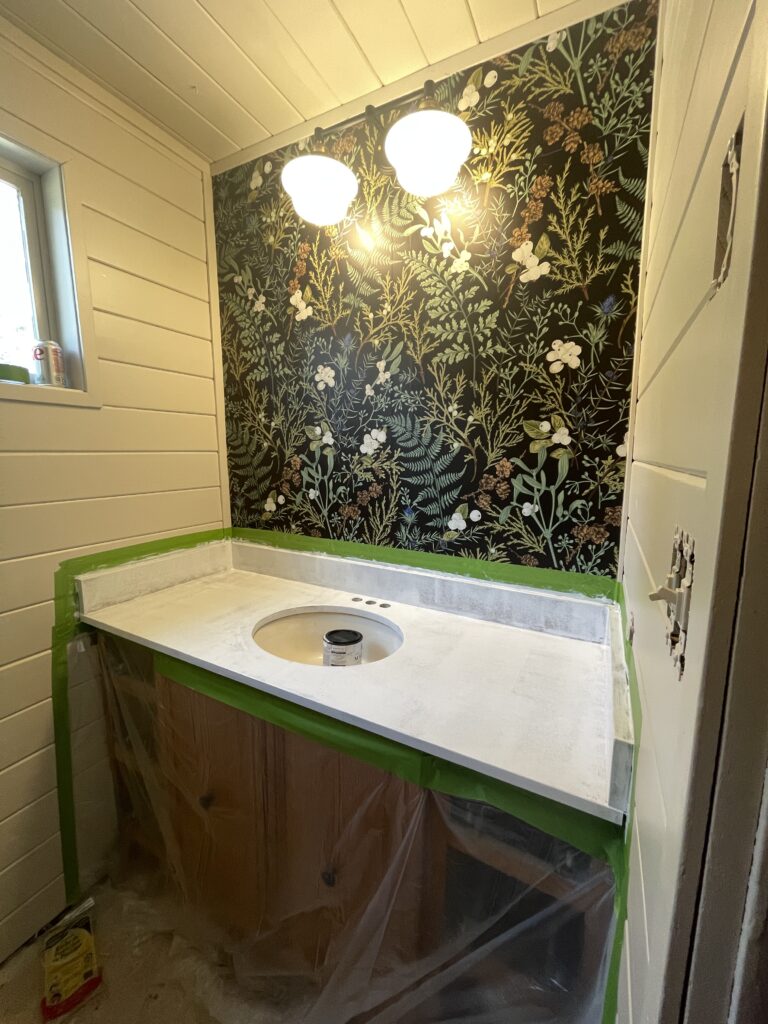
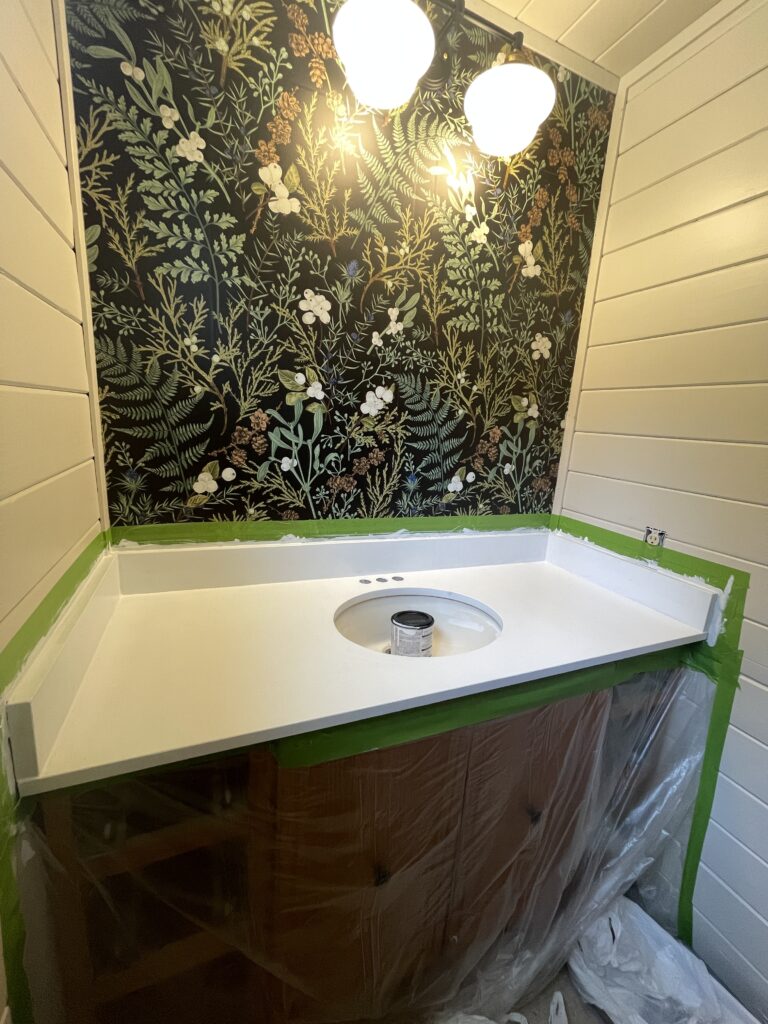
PS. If your countertops have dents or dings in them, you will want to fill them in. IF your countertops are tile and you have grout lines, GREAT NEWS! You can fill the grout lines in. I recommend Bondo for filling in nicks or uneven areas.
Getting the “Marble Effect”
While I waited for the primer coats to dry I practiced my veining technique. The Gianni Epoxy Kit actually comes with some foam board but I felt like it pulled the brush a little weird and I ended up using some pieces of cardboard.
For veining:
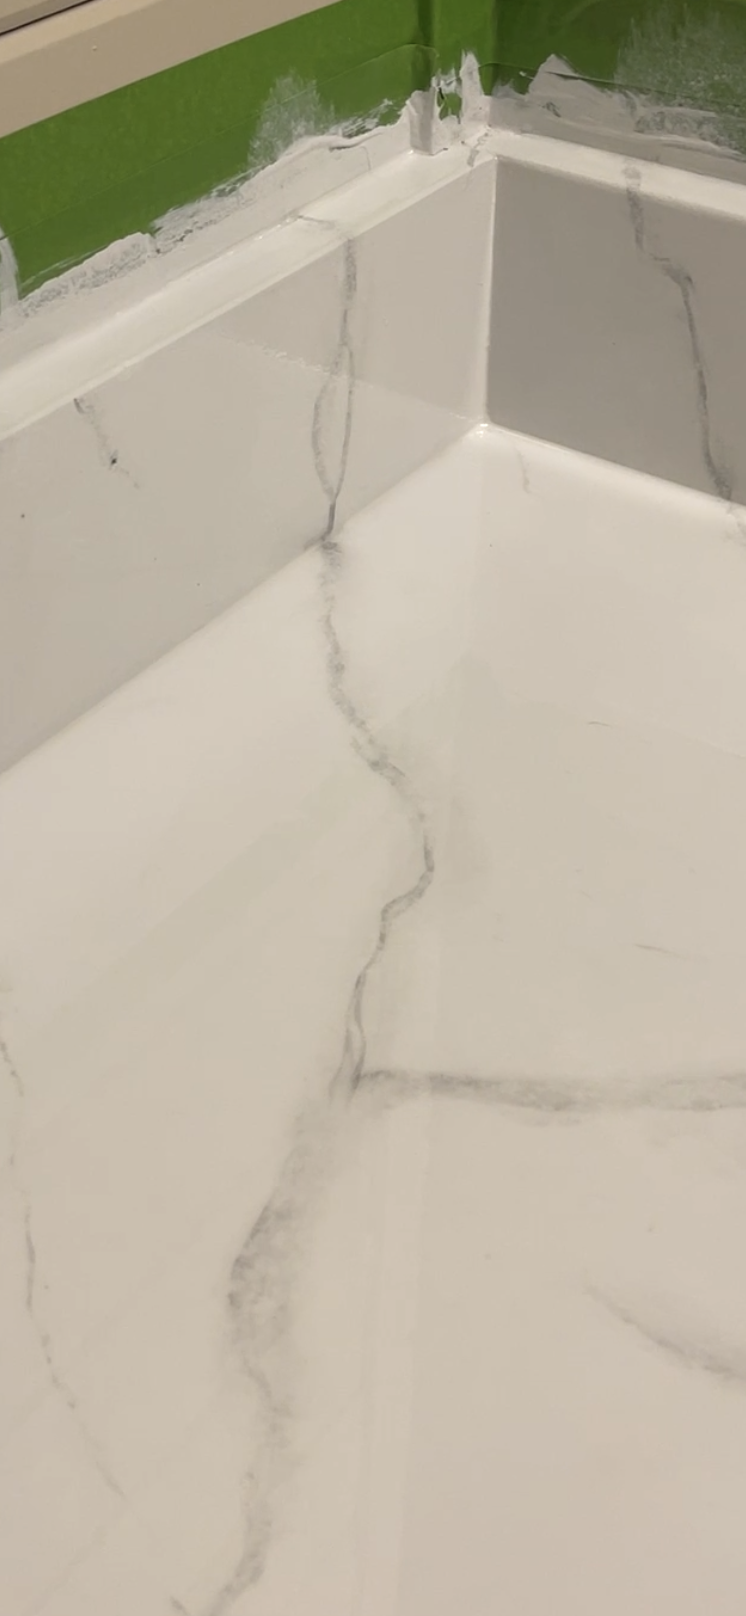
Dip the tip of your skinny brush that comes with the kit. Place it where you want your veining to start and pull the brush. The technique here is more of a “drag the paintbrush” than it is painting per se. It’s okay if the lines are thick and/or thin. Remember the goal is a natural look. Natural stone doesn’t have all of the same width veins. DO think of them as veins. Like you know, the ones in your body. They don’t need to be the same width and length but they should be connecting in some places, and not just random lines throughout. You can look up heavy veining and light veining for an idea of what you want. I went the light/medium route and love how it turned out!
Once you paint your veins on you will do a few things:
Spray the veins, “dab” the veins and highlight the veins. The whole purpose of these steps is to achieve the natural marble look.
Spraying the Veins: There is a water bottle in the kit. Lightly spray the veins you have painted (when you are practicing your veining, make sure to test this part out), then take your brush – I used this ZIBRA 2″ brush to dab the top with the bristles, helping it have a more textured feel. After the veins are painted, sprayed, and dabbed, let them dry for a bit.
Provided in the Gianni Epoxy Kit is the highlighting paint. I wasn’t sure about this but was shocked at how different and how much better it looked with the highlighting. I used the same ZIBRA 2″ brush that I used to dab the water and paint after to apply the highlight in the same “dabbing” motion.
The Epoxy Part!!!
Let’s be honest, this is why we are all really here. Once the veining is done and dry, it’s time for the fun part. The trickiest part is the timing but I HAVE FAITH IN YOU. If I can do this solo, you can too.
Epoxy How-To
Mix your chemicals together. There is little to no smell, but a mask, gloves and protective eyewear are never a bad option. When mixing, the timing is VERY SPECIFIC. The Gianni Epoxy Kit I used says three minutes and thirty seconds. Mix the epoxy and the activator together, stirring the whole time.
Once you have it mixed you have about 30 minutes of working time before the product begins to harden. It will harden faster in the can, so make sure once you mix it you’re ready to start!
Pour the mix on in a squiggle “S” pattern and then use your foam roller to LIGHTLY even it all out. It is self leveling so the main goal is ensuring coverage. Once it’s all applied and leveled out you might (more than likely) need to eliminate air bubbles. Some people use a heat gun to do this (it is the most effective), or even a toothpick to go through and pop the bubbles while the epoxy is still wet.
Proper cure time for your countertops is 48 hours. After 48 hours you can set light appliances/decor on the countertops. For heavier things such as microwaves you will want to wait the FULL cure time of 7 days. The last thing you want is to ruin all of your work by using it before it is cured.
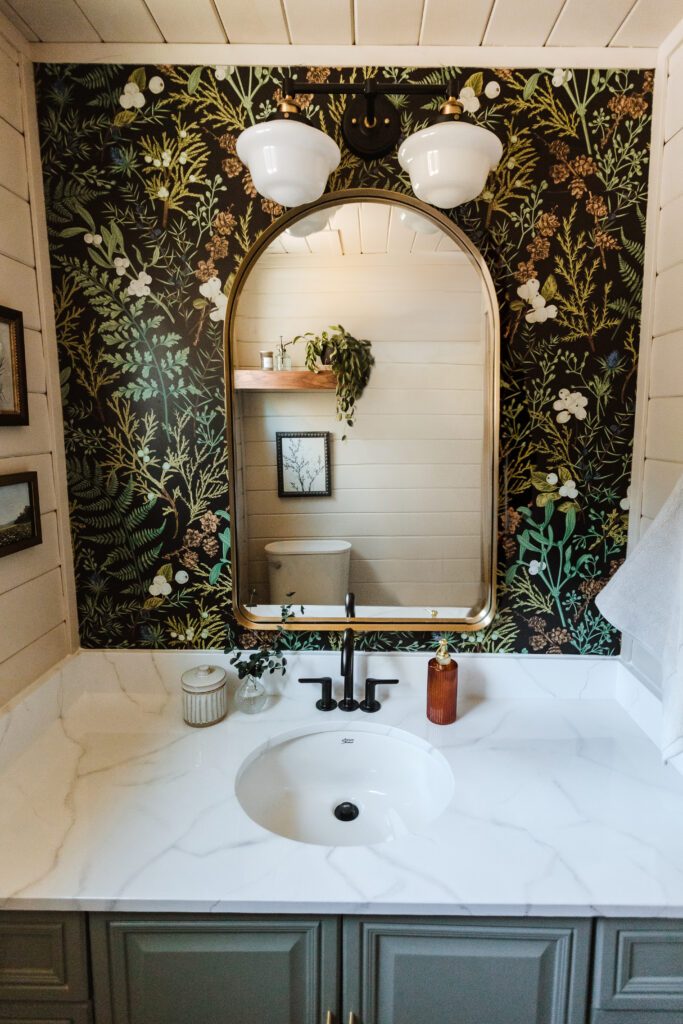
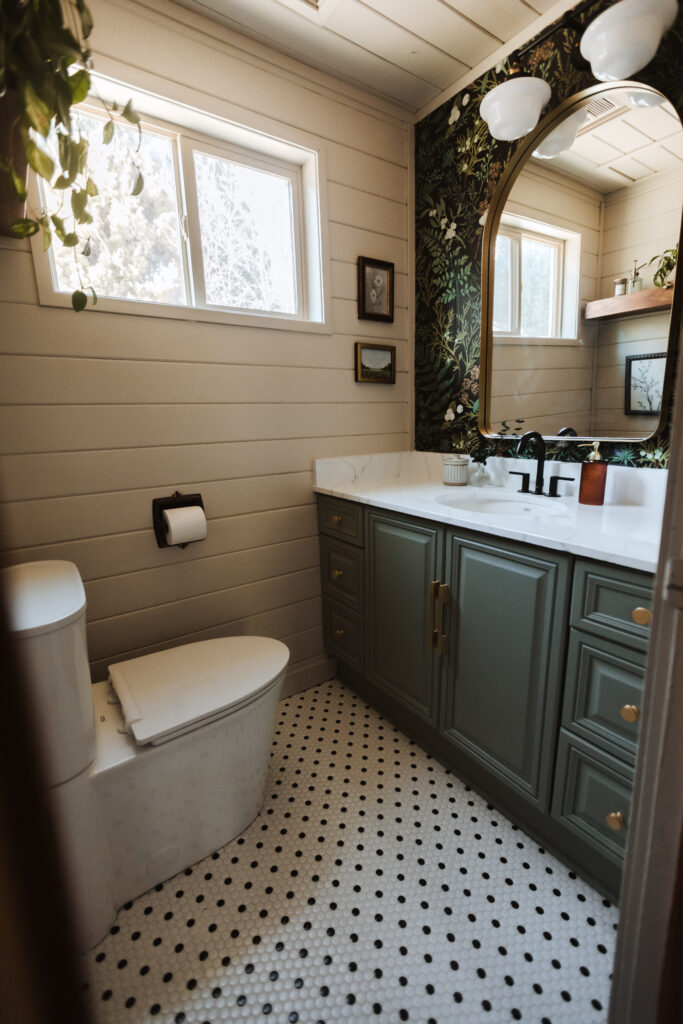
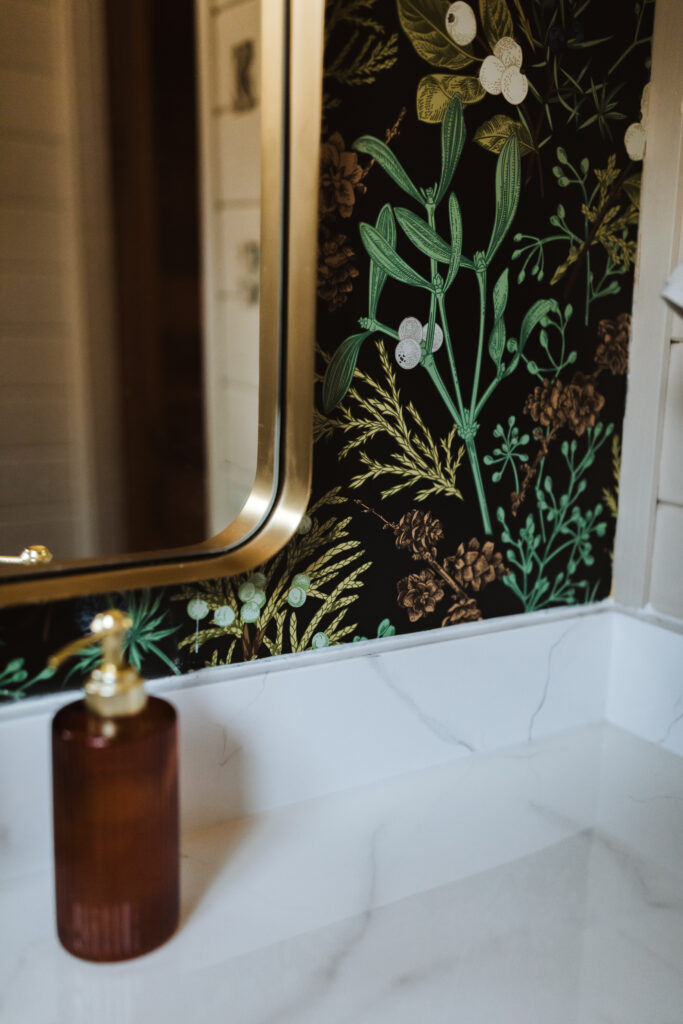
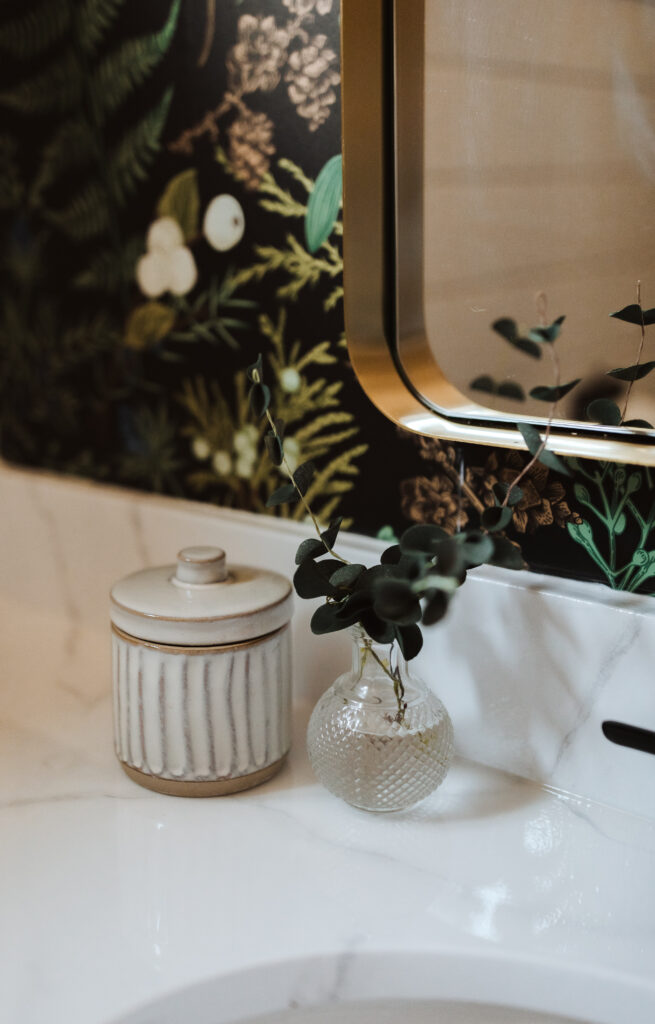
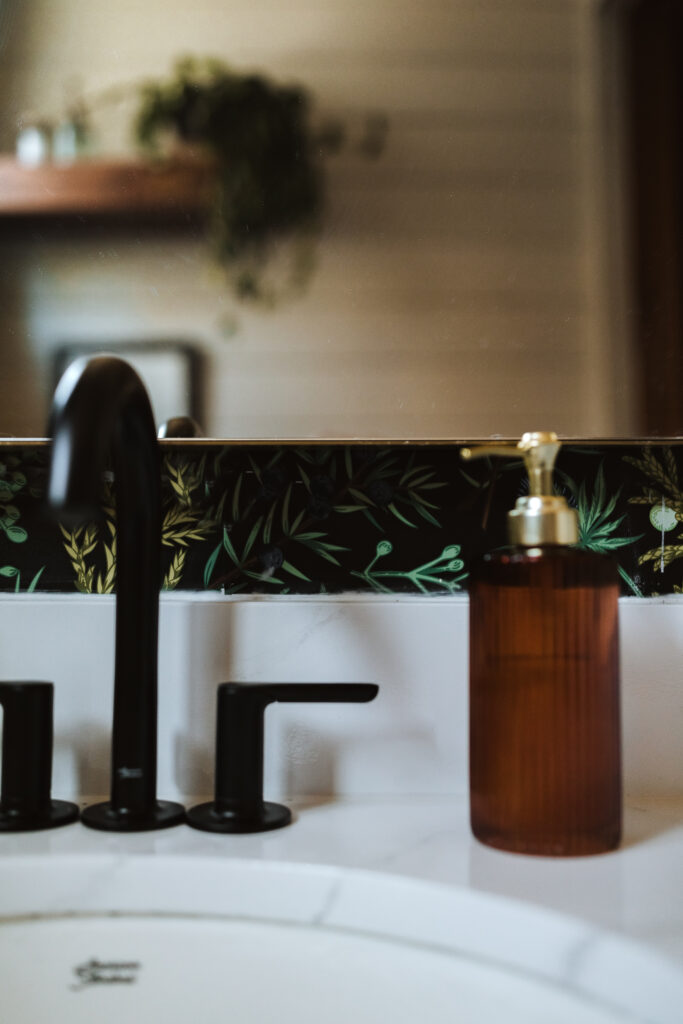
There you have it! To see the full bathroom reveal click here. Stay tuned for more in depth tutorials of this makeover. You can also watch the ten month update on the countertops here. What questions do you have? I know this is a big project with variables in each space, so feel free to ask away below.
Happy DIY-ing!

Hi Kenna,
I have been following you for a while, and I’m so inspired by you. You are so genuine and encouraging! I watched your “…brands” workshop and learned so much from it. My husband and myself just finished doing the epoxy on our master bath counter tops with the Gianni Kit, following your instructions and it looks amazing! Now we are about to start our kitchen counter tops. Thank you for sharing your knowledge. 💪🏼🔥❤️
Hi Alpha,
Thank you so much. I can’t tell you how happy it makes me to hear that you went out and tried a project yourself. Isn’t that Gianni kit so fun?! all of my love!!
Keep up the great work!”