DIY Floating Desks
April 19, 2023
Both of my boys have always been artistic. Christmas ‘21 my oldest got an art easel with real paints that he absolutely has loved. Flash forward to Christmas ‘22 and the only thing my youngest son could talk about was getting his own “art weasel” aka: an art easel. I thought maybe it was just something he wanted because his brother had one but I can honestly say that it has been his most used gift of all time. Needless to say, I deemed it necessary to give my boys space in their new room where they could do art projects, lego builds, and all things creative whenever their little hearts desired. Cue the DIY Floating desks I was able to build day. I’ve been working on their room for a few months and I am so happy to FINALLY be to this point.
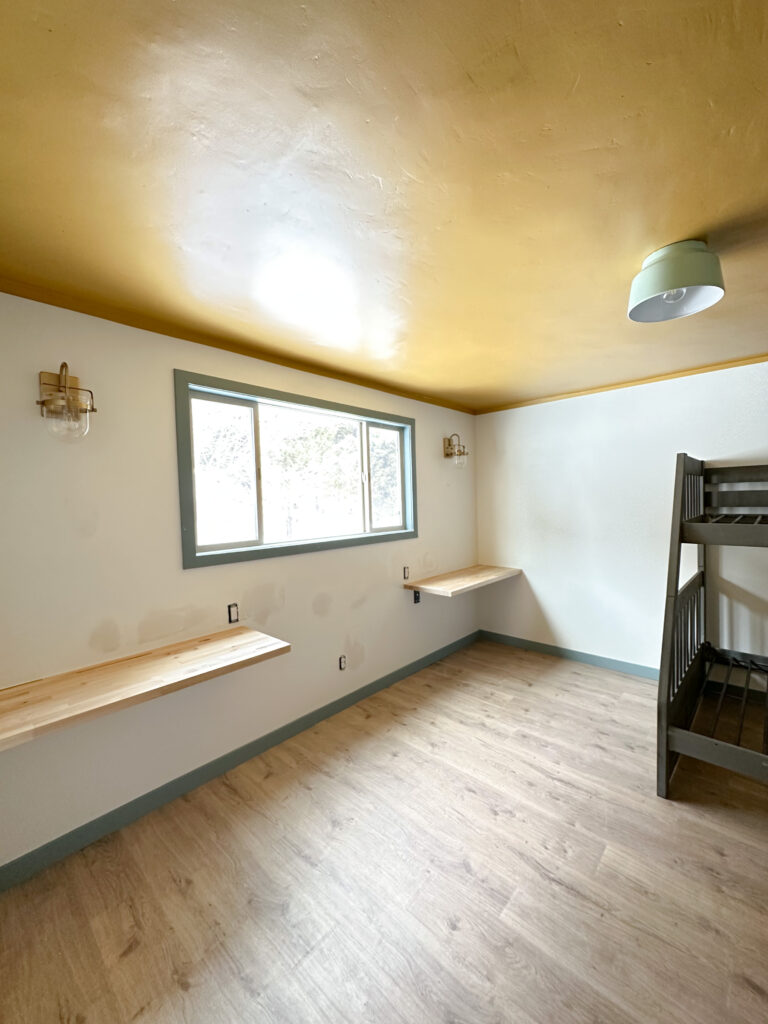
I went back and forth on placement of the desks for about two weeks before I finally resorted back to my original plan and trusted myself and my initial vision. So lets dive on in to the DIY Floating Desks, shall we?
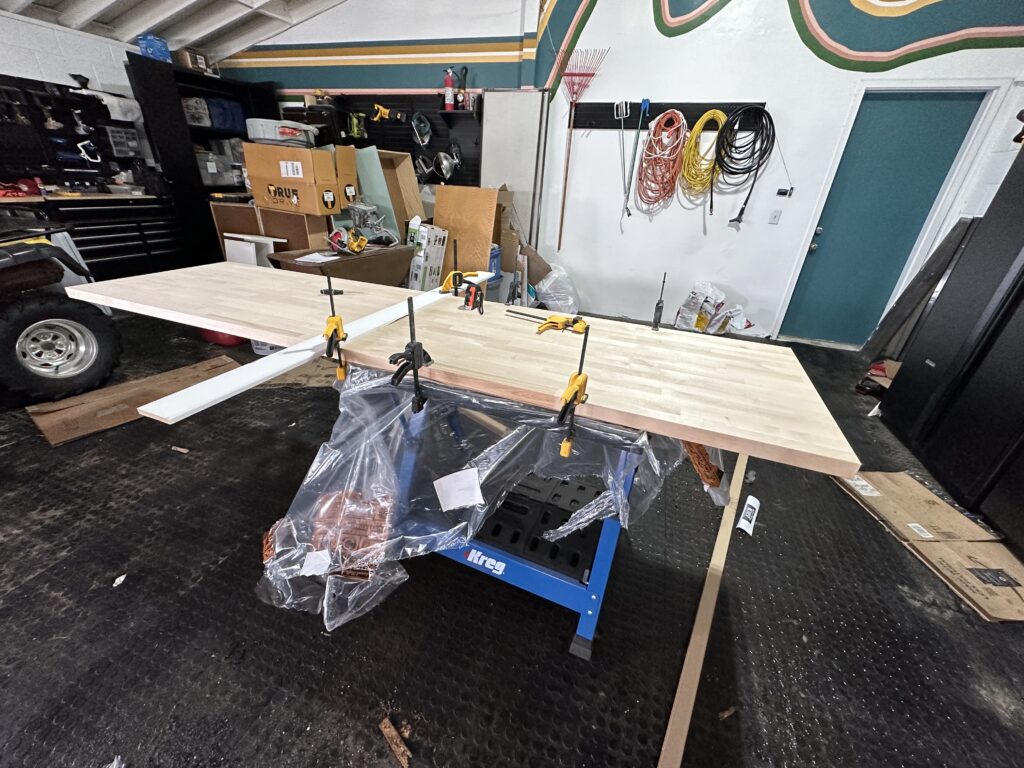
I originally wanted to use white oak, BUT couldn’t find what I needed and decided to use butcher block instead which I am elated about because it turned out to be what I’ll deem the better decision. I got one big piece that was 98”x25”x2”, so it gave me enough to build two desks out of the one piece.
The full materials list:
Brackets (these are the ones I used and they came with the hardware to install)
Butcher Block
Stain (if you are changing color)
Tools List:
Building Steps:
First I measured how big I wanted each desk to be. I wanted them to come slightly into the window for the sake of the natural light as well as allowing the desks to be longer as opposed to stopping before the window (this was a huge dilemma in my brain).
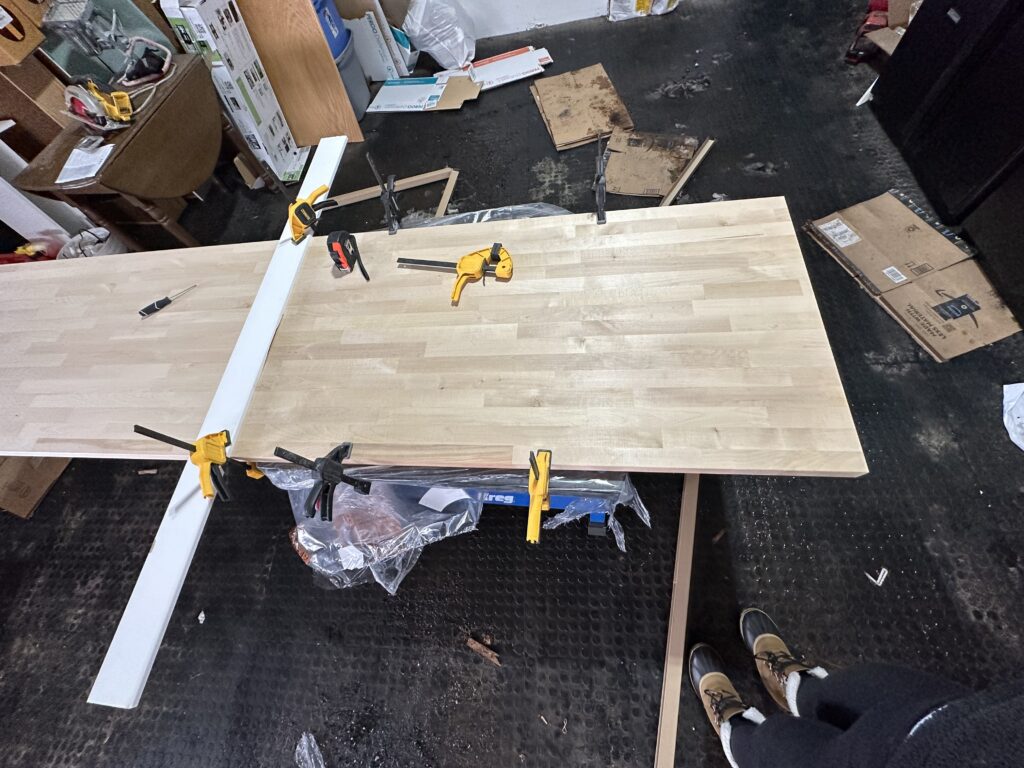
Each desk is 47” long and 18” deep. I cut them down to size with my circular saw. I clamped them on to my work bench because they were so long, I didnt want them to slam down once they were cut and the clamps prevented that from happening.
1.Next, I brought them upstairs to make sure I liked the sizing. These boards were already pre sanded and ready to go so there wasn’t much prep work needed before installing.
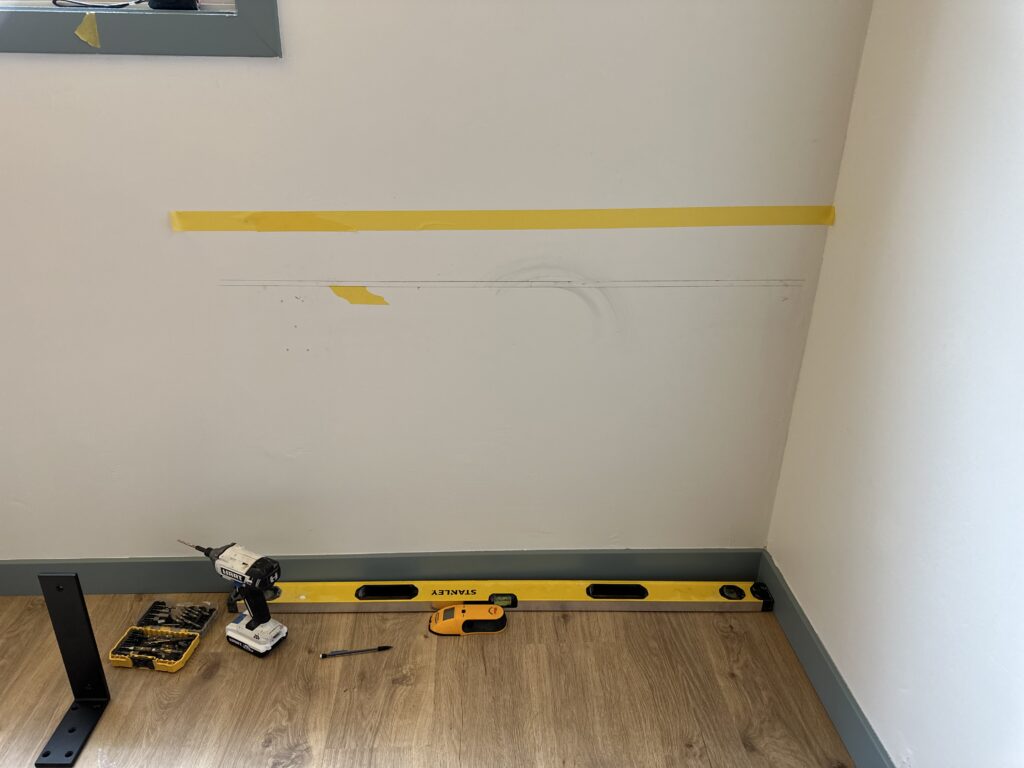
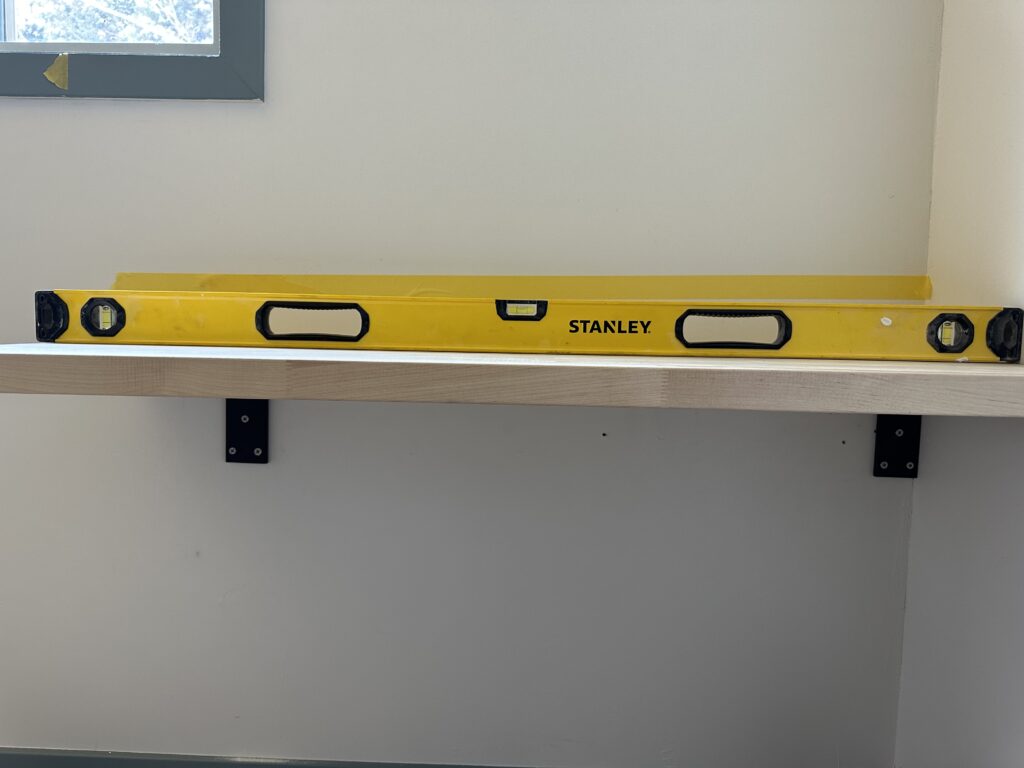
- After cutting the wood, I installed the brackets. FIRST, I found the studs. I would have loved them to be perfectly symmetrical but having them screwed into studs was much more important for longevity and stability of the desks. Once I marked the studs I pre-drilled the holes so that the screws would go in easily. I highly recommend pre-drilling for this reason. I drilled and screwed into the center hole first so that I was able to use my level to ensure everything was nice and straight.
- REMEMBER: when you’re hanging your brackets you need to take into account the height of the material (butcher block), with mine being 2” (closer to 1.5”), I made sure to measure two inches below where I wanted the desk to sit. Otherwise the desk would be higher than I wanted. Make sense?
After making sure it was nice and level, I drilled and screwed in the other 4 screws and ta-da! Brackets were hung.
- Installing the butcher block, similar to what I did in my bathroom here. After the brackets were in place, I set the butcher block on top. Double checking that it was all still level, I then prepped to screw the brackets and the butcher block together. I slightly pre-drilled beneath the wood / through the brackets just enough to let the screw grab push in easier. This part was simple and so satisfying to actually connect it all!
- After attaching the brackets you’ll want to seal your wood. If you are going to stain, I recommend using pre stain and then staining whatever color you are wanting. I wanted a natural wood look and loved the block as it was, so I went straight to sealing. Once you have opened your shrink wrapped butcher block you have 48 hours to seal it so don’t skip this part! I sealed my wood with this poly. It has proven again and again for me to not yellow. I did 4 coats, sanding with 220 grit in between each layer and allowing adequate dry time in between.
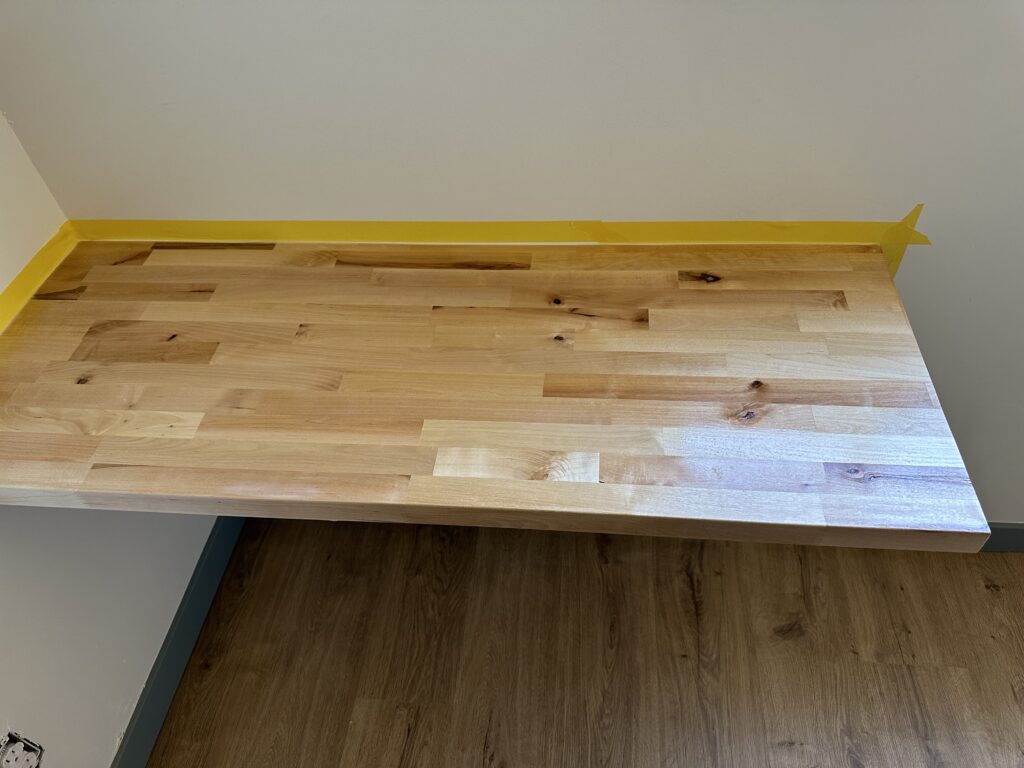
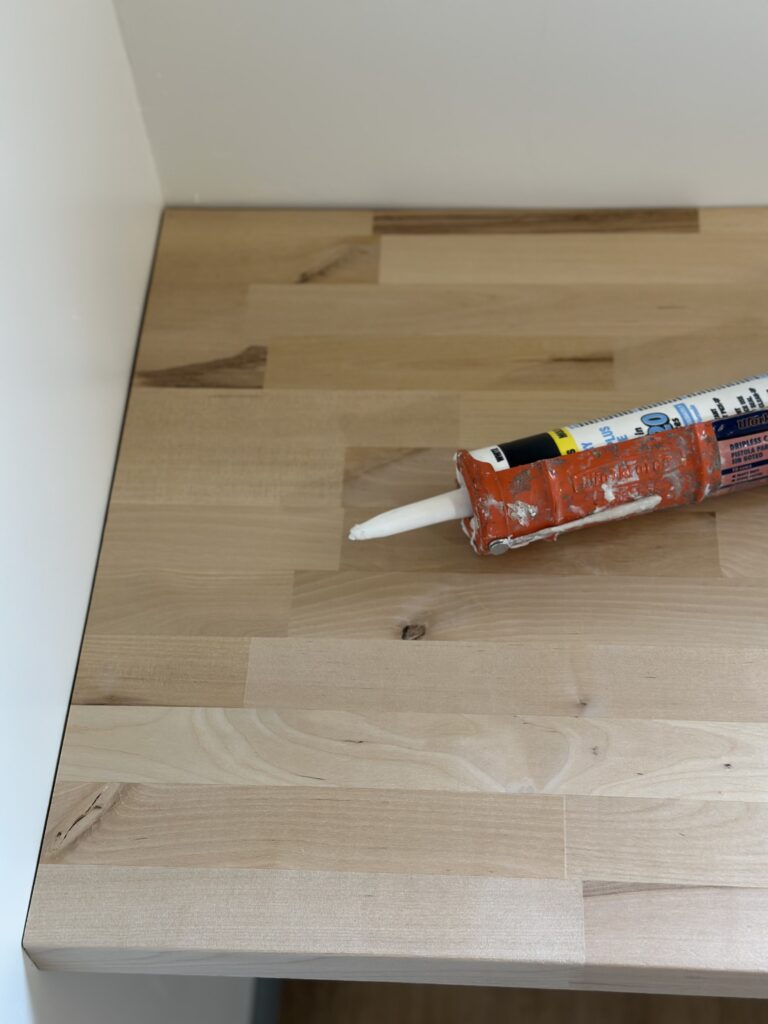
- Once your topcoat has cured you’ll want to caulk the edges of the desk where they meet the wall. This gives a really clean finished look and also seals the edges off.
- Once your caulk is dry and your finish has cured, you’re DONE.
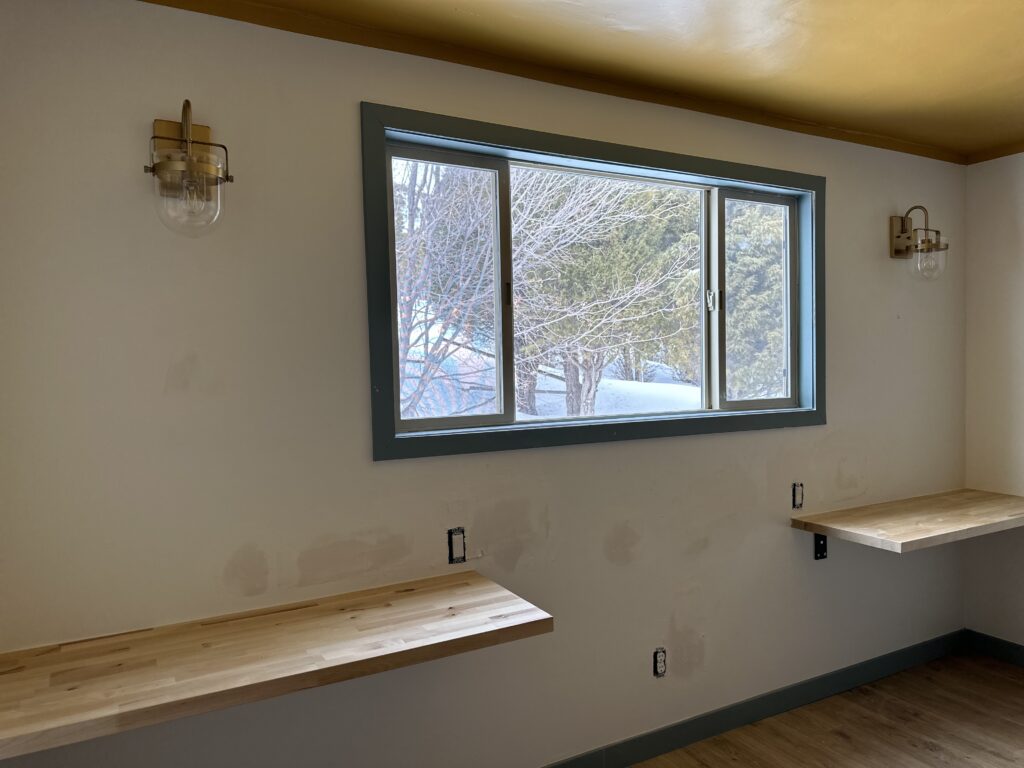
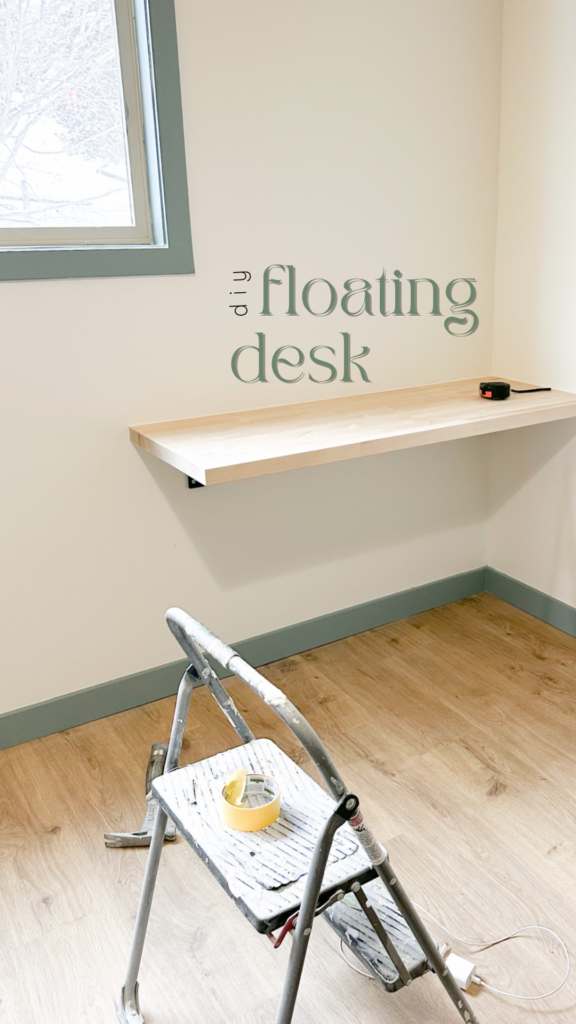
I am so happy with how these DIY floating desks turned out and I cannot wait to see my boys utilizing them. Creating a space for them that I know they will love and use is my love language.
What questions do you have about this build? Drop them in the comments below. And if you haven’t seen the other projects in the room, you’ll want to check them out. And STAY TUNED as I get the chairs built and the art around the desks done. It’s going to be magical. Here is what I did to my daughters room. Can’t wait for the boys to be DONE too!
Happy Building!
