Building My Modern Outdoor Fire Pit
August 18, 2023
If you know me, you know how much I love affordable design DIY projects. I just finished up my boys’ room a few months ago—this project seemed to take FOREVER, but I’m thrilled with how it turned out (see the final reveal!). After finishing their room, I was ready to take on a new project. This time I set my sights on easy backyard renovations. Primarily, building my modern outdoor fire pit!
Here is where we started:

It’s one thing to create a home that’s entirely your style from top to bottom, but it’s a whole other project when it comes to dreaming up beautiful backyards to match! As I was enjoying my backyard, I saw the potential for something great in the corner of our yard that overlooks a valley and lake. It’s an incredible view! I thought, “What if I added a modern outdoor fire pit in this spot?” This was a custom outdoor living space idea I could enjoy with my family and friends—how hard could it be to DIY? So, I decided to tackle it head-on!
Sprucing up your backyard and creating a family-friendly space doesn’t have to cost a fortune. Adding a simple feature like a modern outdoor fire pit can transform the look and function of your outdoor living area. I had so much fun brainstorming and planning outdoor fire feature ideas. What did I want it to look like? What style would I choose?
Take a behind-the-scenes look at how I turned my dream of an outdoor fire pit in my backyard into a reality!
How to Create a Modern Outdoor Fire Pit
Start by brainstorming ideas of where to put the fire pit and what the logistics will be. Then, after all the planning, mapping, and measuring, it’s time to get to work! Head out to your local hardware store or order your supplies online so you’ll have everything ready to go before you start. Yes, there were moments when my husband had to run to the store for more supplies–it’s called progress, not perfection!
Now, for the moment you’ve all been waiting for! How did I turn an empty and unused portion of our backyard into the modern outdoor fire pit that I envisioned?
Here’s my step-by-step process, and hopefully, it’ll inspire you to turn your custom outdoor living space ideas into fruition!
Step 1:
Clear out the area you plan to use for the fire pit. For us, this meant cutting down the tree, which was a safety hazard. In doing so, we expanded our gorgeous view even more! I’d say that’s a pretty great bonus!

Step 2:
Level everything out with a skid steer loader. We rented our John Deere skid steer for the project. Admittedly, my husband did the bulk of this part, but I did pretend to help a bit with my skid steer skills! We set the area at a slight slant for water drainage.
Step 3:
Measure the area for the fire pit and where the rocks will fill in. Cover the surrounding area with a weed blocker.
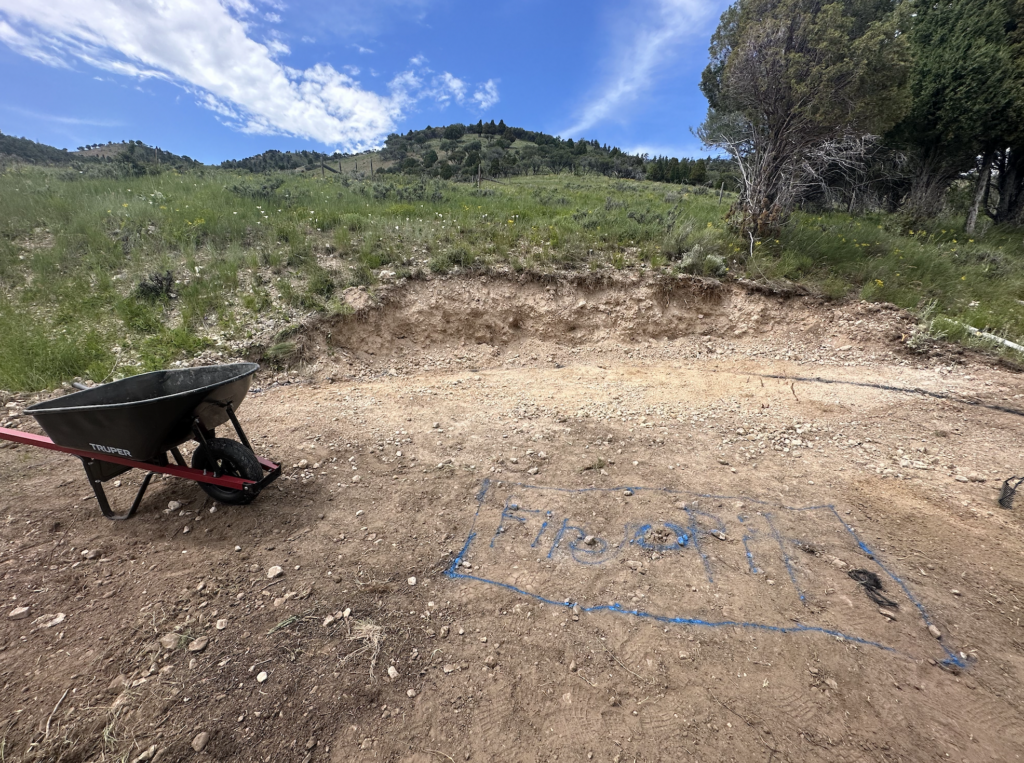
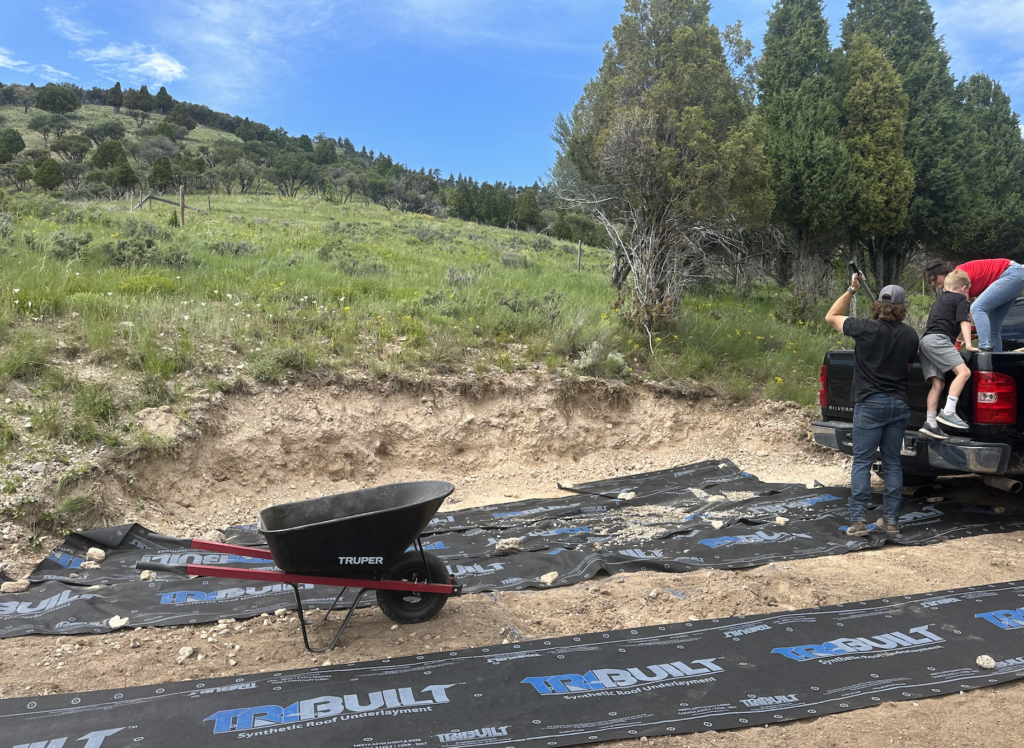
Step 4:
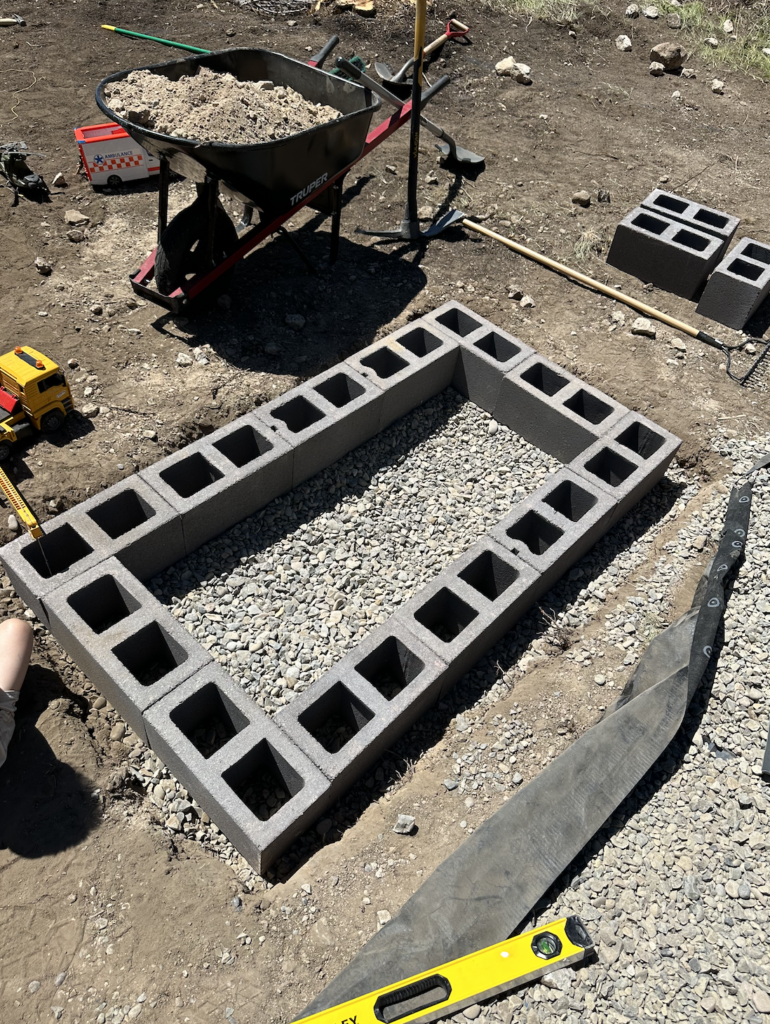
Next, it’s time to dig the spot where your fire pit will sit. We dug down about six inches for the cinder blocks to sit into. You want the fire pit to be lower so that the heat still hits you, but enough to keep the fire pit stable.
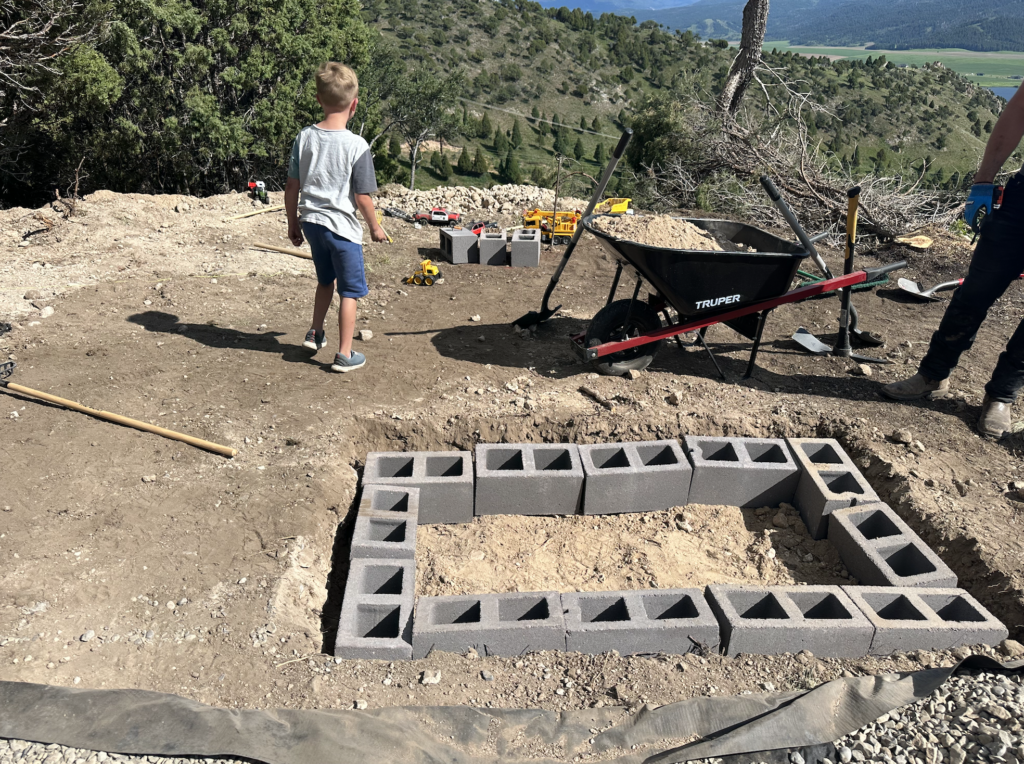
Step 5:
Add rebar stakes between the cinder blocks. Each cinder block will get a rebar stake in the opening. As you push them down into the ground, note that they’ll stick up through the bricks. I wanted the fire pit to be extra secure and stable, so the rebars were an additional reinforcement. Then I backfilled the cinder blocks with rocks for even more stability.
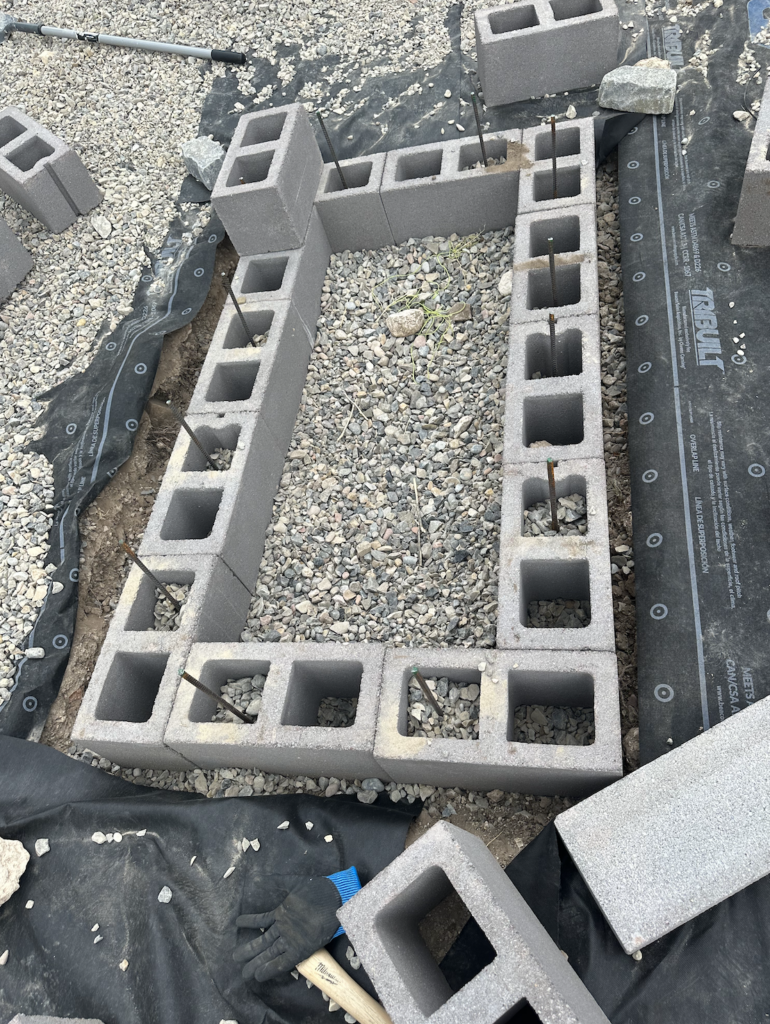
Step 6:
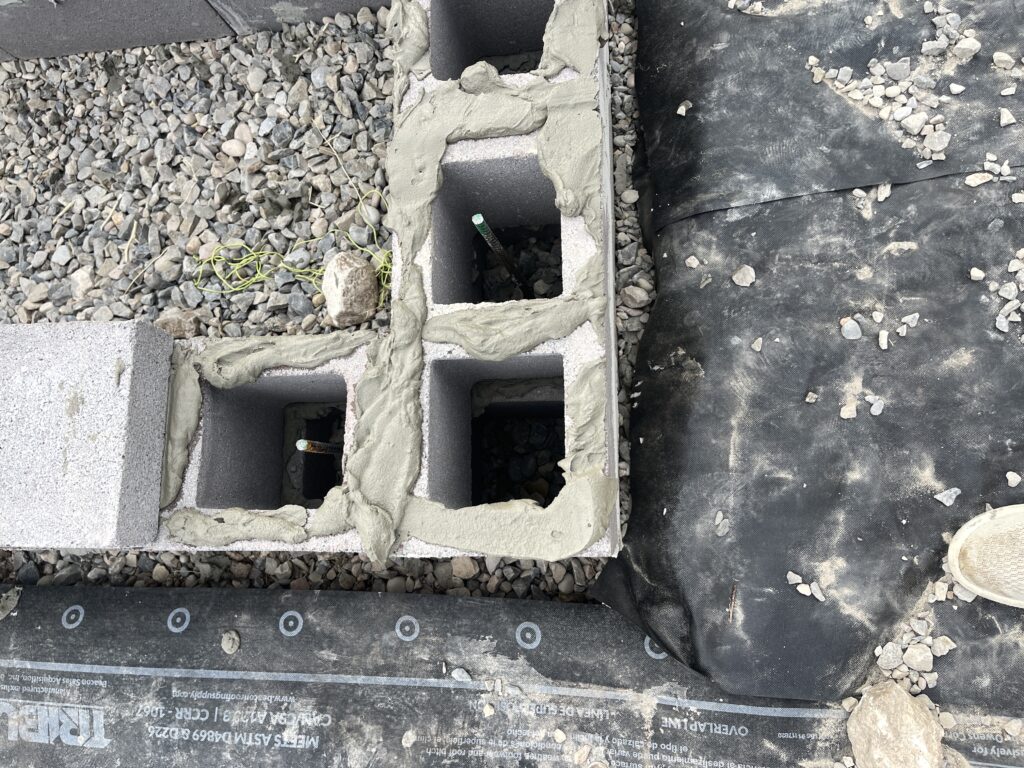
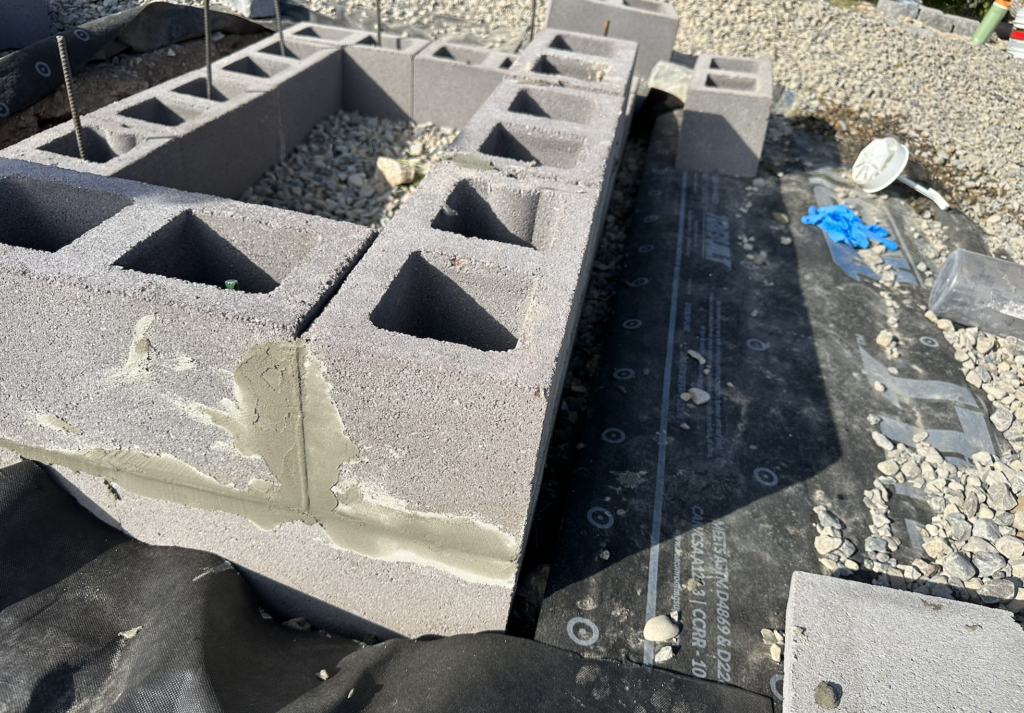
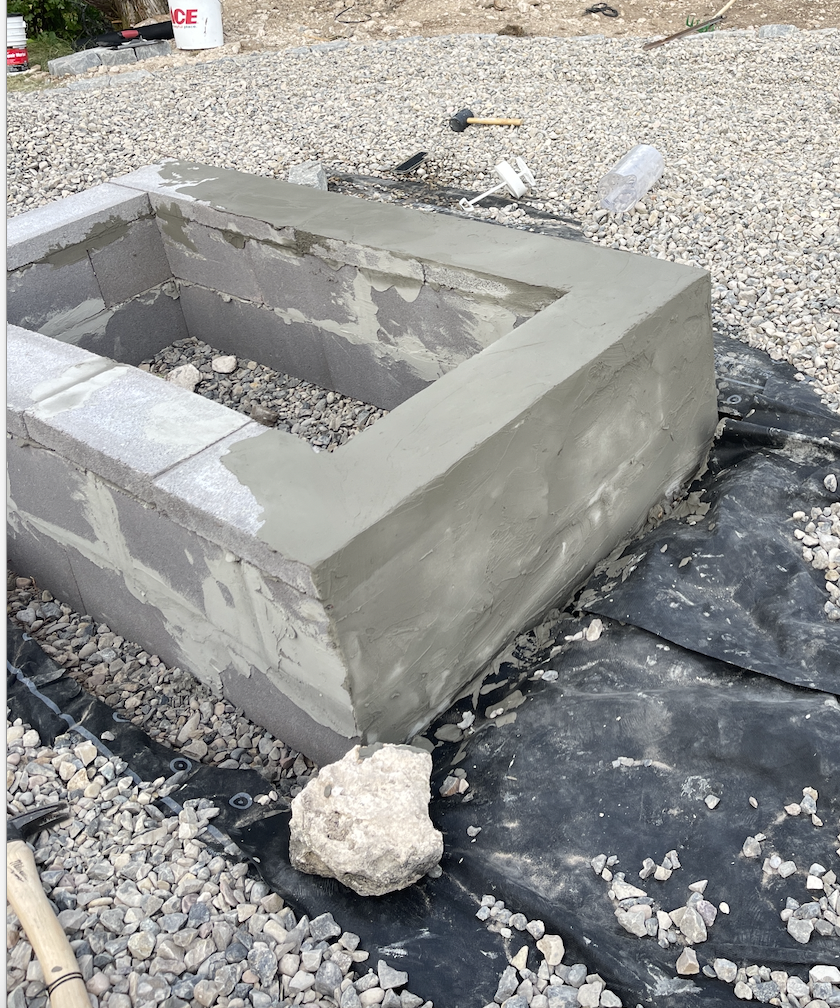
Level and use mortar to attach everything. Apply it to the top of the cinder block, along the seams, and in between. Blend in the lines and repeat the process across the entire fire pit.
Step 7:
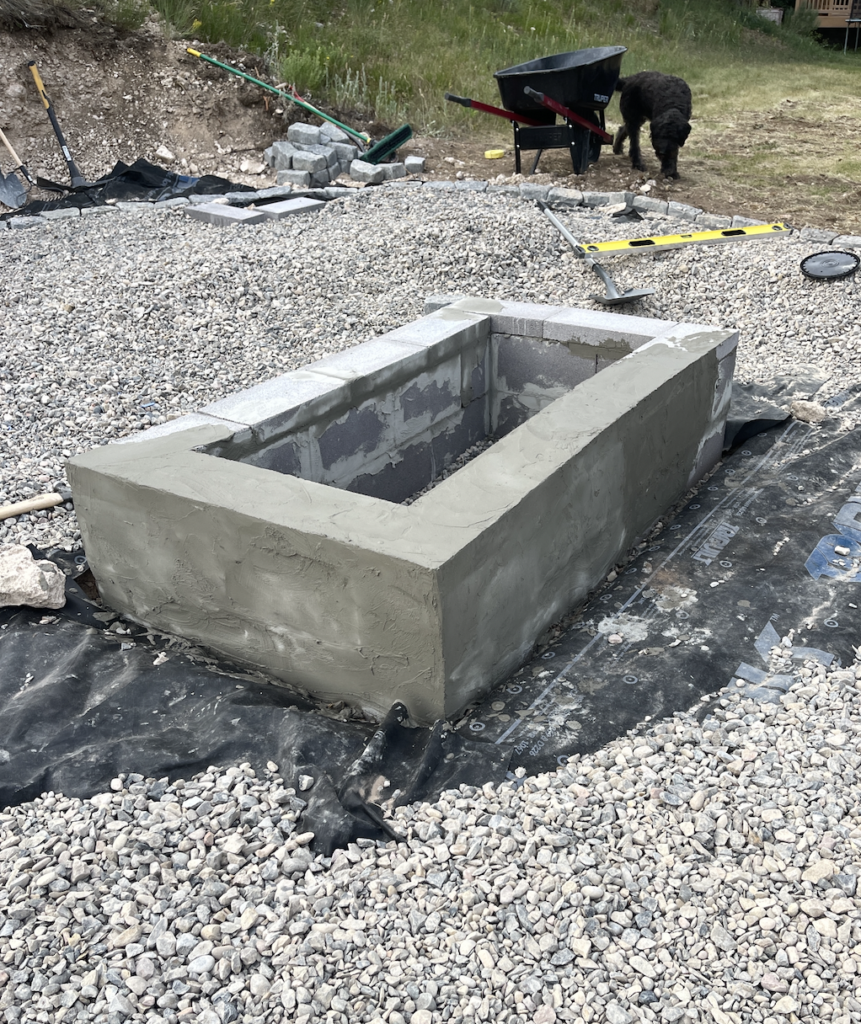
To level it out, add topper blocks and more mortar as needed. Make sure it’s entirely level so it doesn’t look uneven.
Step 8:
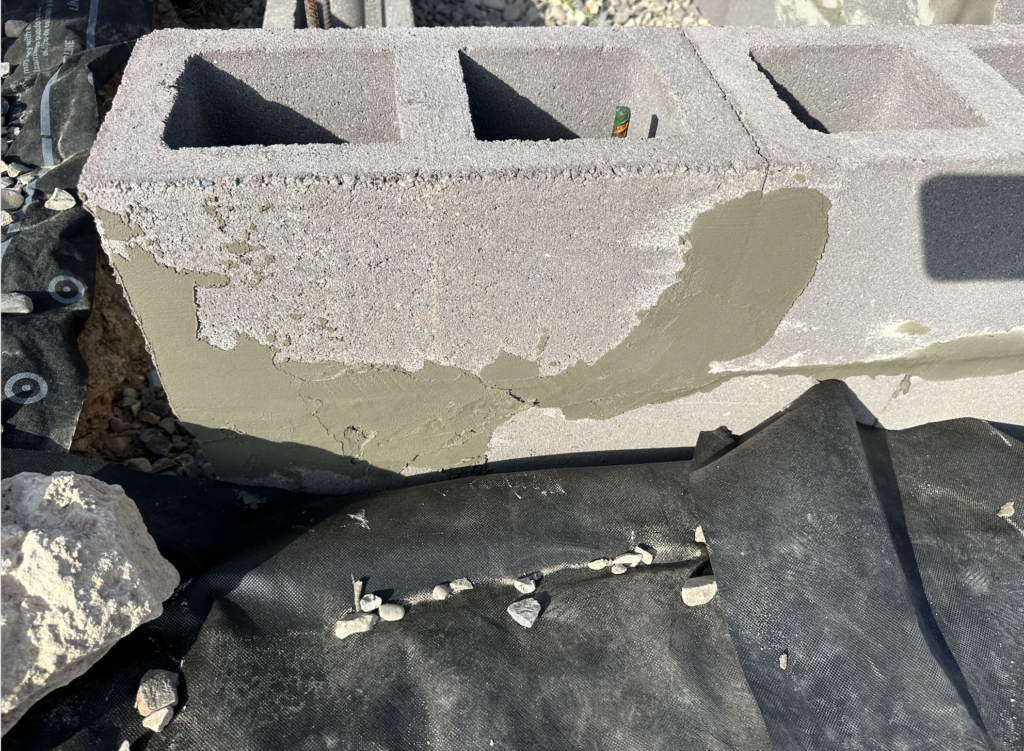
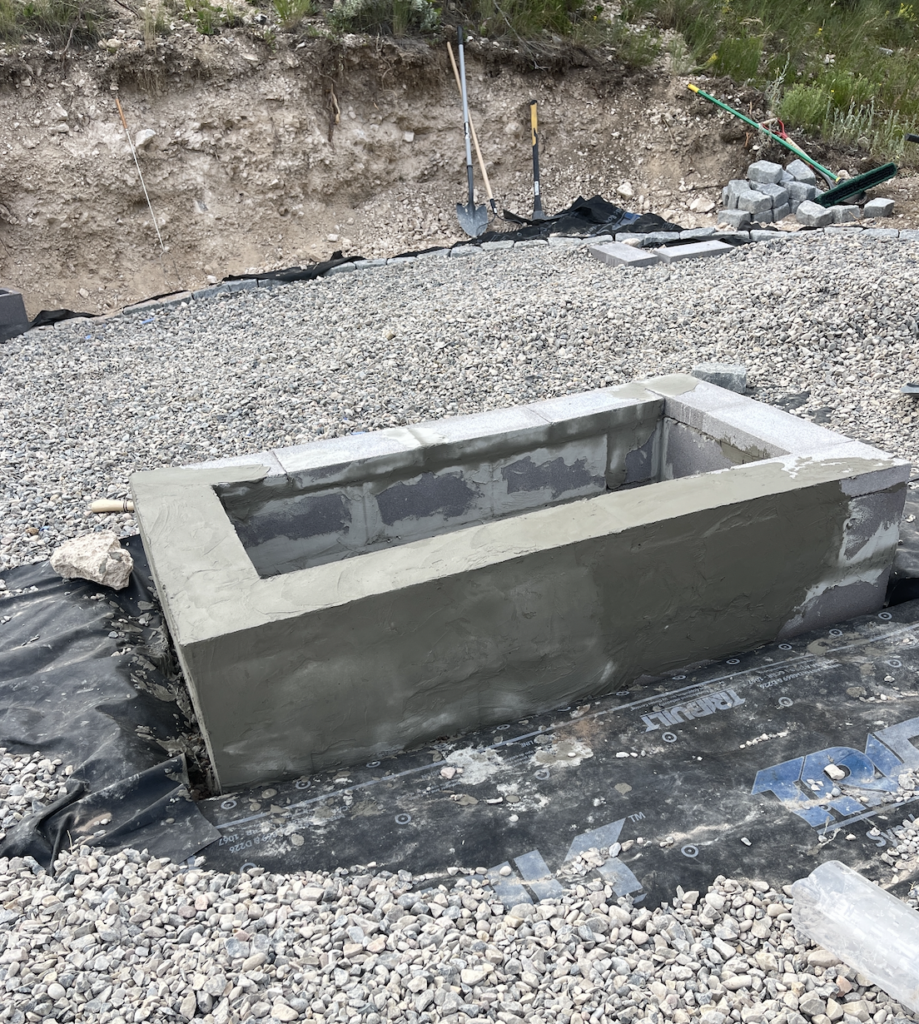
Once you have all the cinder blocks stacked and mortared together, use an extra layer of mortar as a coating to make the fire pit look like one solid piece. Go for a natural look using your trowel to spread the mortar evenly. Ensure you add mortar to all the edges and tops, then add another coat to blend.
*I also went back after the cement had cured (cure time according to instructions on product container) and added Thompsons All Purpose Water Seal to seal it from the elements.*
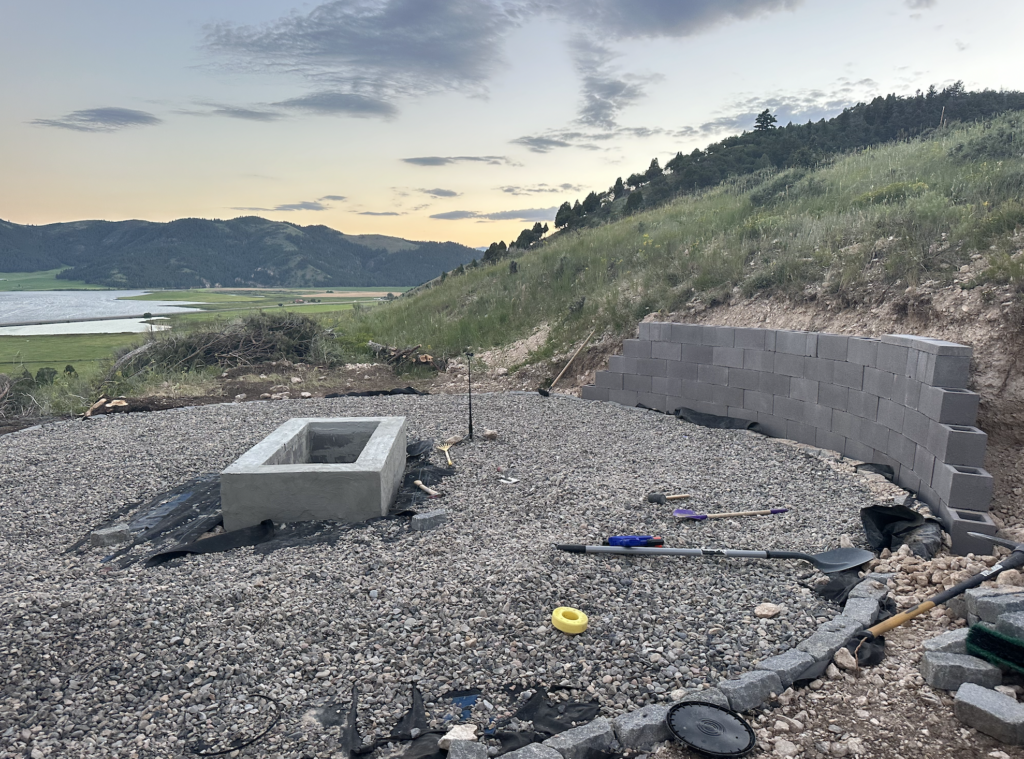
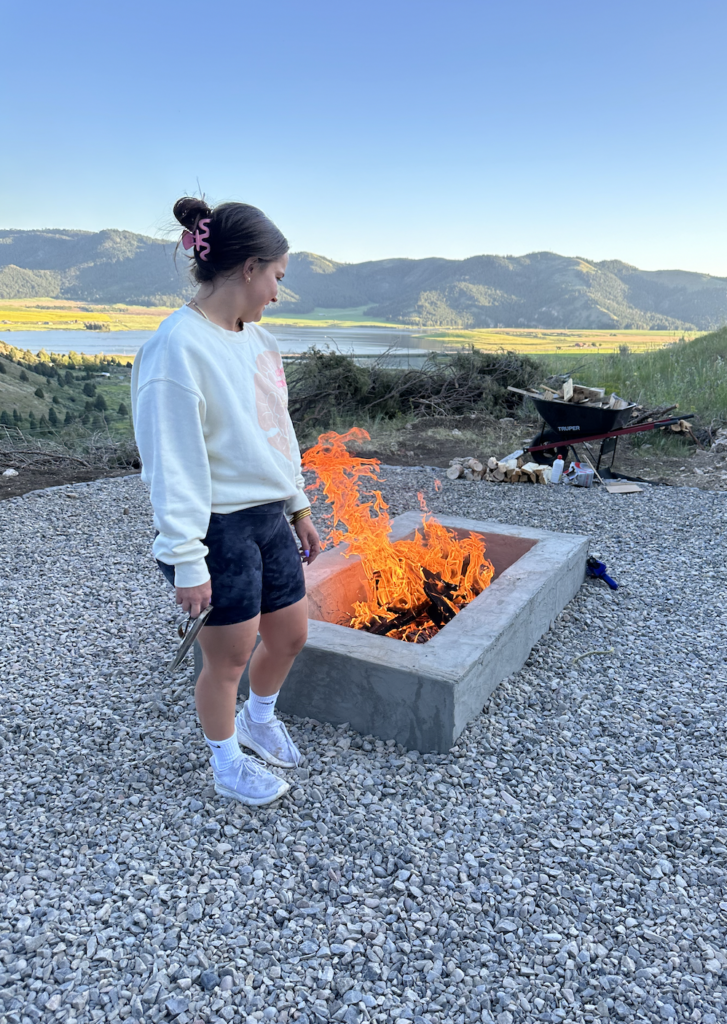
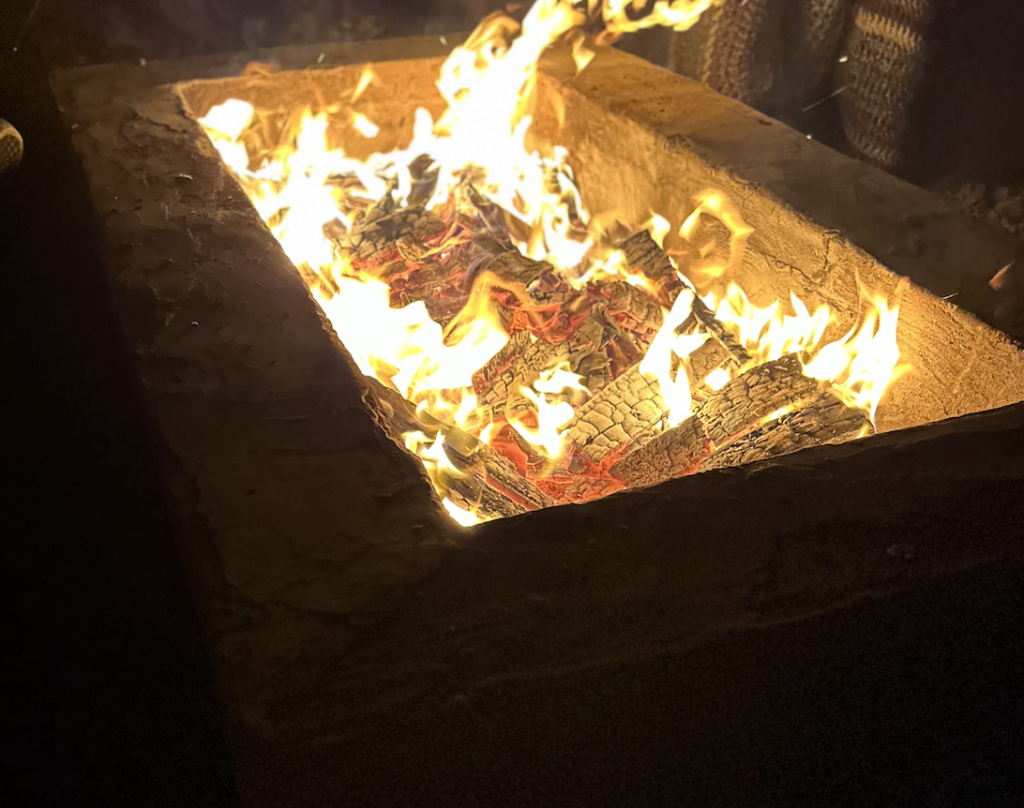
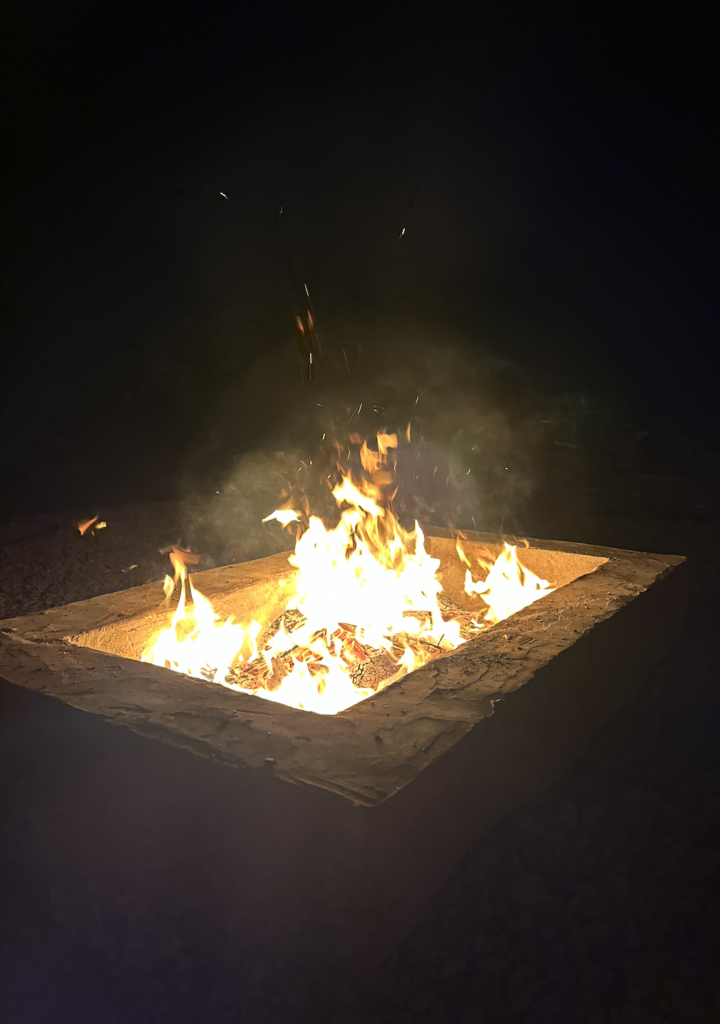
And there you have it! Our modern outdoor fire pit is complete and ready for some fireside hangouts. To say we’re excited is an understatement!
Gather the Necessary Tools and Materials
Are you curious about the products I used to make my modern outdoor fire pit? Here is all the information you need – and luckily, the list isn’t too long.
If you want to see my entire process from start to finish, I have a Story Highlight and Reel of my project on Instagram. The entire process happens in a condensed time frame, but overall, the fire pit took about five hours to complete. The part that took the longest was transporting the rocks and digging into the mountain. Talk about sweat equity! Depending on the soil in your backyard, you may be able to skip those steps for your own outdoor fire feature ideas.
Easy Backyard Renovations on a Budget
There are plenty of budget-friendly ideas to help you create a custom outdoor living space for everyone to use! A backyard is a place where you can create lasting memories with your close family and friends. For all of you DIYers, adding a modern outdoor fire pit is the perfect opportunity to put your own personal stamp on your backyard. This project involved many hours in the hot sun, but it was worth it in the end.
For more home DIY inspiration, visit my website or follow me on Instagram for budget-friendly renovation ideas. If you end up building your own fire pit, tag me so I can see the transformation of your beautiful backyards!

This turned out amazing! I’m inspired! I love the photos…you should post some stills!
These photos are amazing! I love how this turned out. I’m inspired now!