Brave Bathroom Revival
January 12, 2022
My word for 2022 is Brave. I have never chosen a word for the year nor have I ever been so bold as to share with thousands of people how the previous year was the hardest of my life. To be brave, I knew that I not only needed a space to regroup but that I also had to have a space that I was brave enough to create, on my own, for me. The bathroom makeover that I get to share with you that is now complete is my first major act of bravery for the year.
This blog post was written as a part of my collaboration with American Standard, all opinions are my own.
This bathroom truly had nowhere to go but up. Built in the early 70’s, updated in the 90’s and well loved through the years, it was time. Going in to the project we knew it would be a complete gut job, but knew even more that we were up for the challenge. 2021 left us full of fear for the future of our family and with little to no control over our situation with our sweet foster daughter. Give me a bathroom that I can control the end result of was exactly what I needed and I was quite literally jumping for joy at the chance.


Like I said, the only way to go from this point, was up. We tore everything out down to the bare walls and floor. This was honestly not as difficult as we thought it would be, but a lot more time consuming. When you’re dealing with plumbing to this extent you have to be very careful and know what you are doing. My advice is to cap things off and hire a plumber to move any pipes, drains, etcetera. Things like replacing a toilet or faucet can be done independently if you choose to be brave. See what I did there?
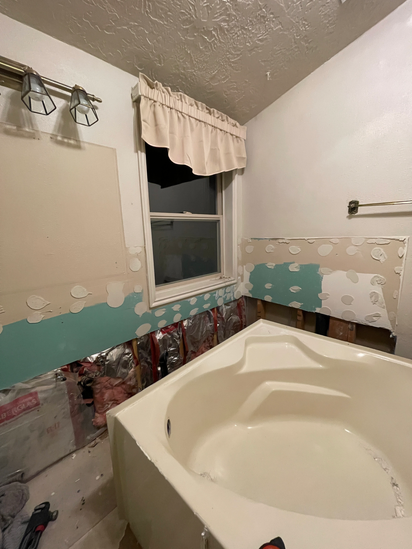
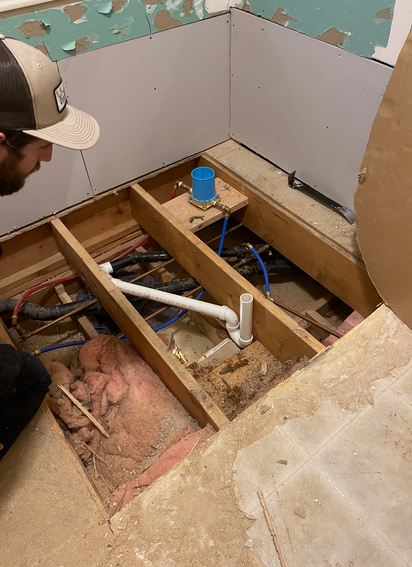
After we removed the tub and the existing flooring we noted that there was literally NO floor underneath the tub (how it stayed put for so long is beyond me), and that the subfloor beneath the toilet was also essentially non existent. That threw a wrench into our timeline, but truly wasn’t too difficult to mitigate.
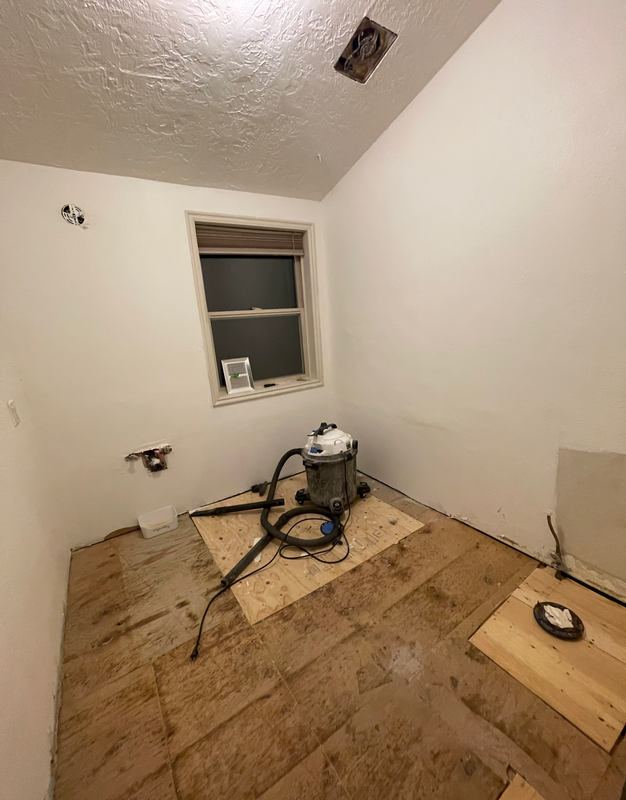
Once we had the space emptied out – finally, we were able to actually make some real progress. I painted the whole room Greek Villa, a soft, warm white to help bring the space one step closer to completion aaaaand mainly to help with the eye sores. We laid floating floors, the same ones we did in the kitchen (external link to blog post) which essentially just means that the floors aren’t nailed down but go together like a giant puzzle. When you lay floating floors you need to install your cabinets first and lay the flooring around the cabinetry. This way your floors are able to flex and move as needed.
It’s so insane to see the massive difference that each individual step makes. Once the cabinet and flooring were in it was like sigh of relief because we had officially made it to the fun part.
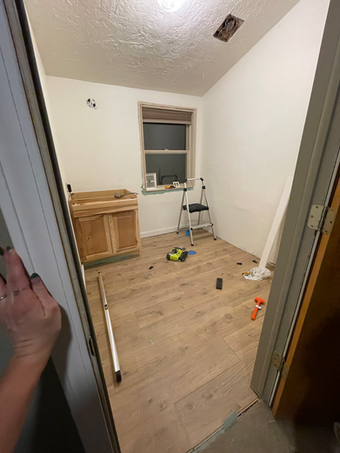
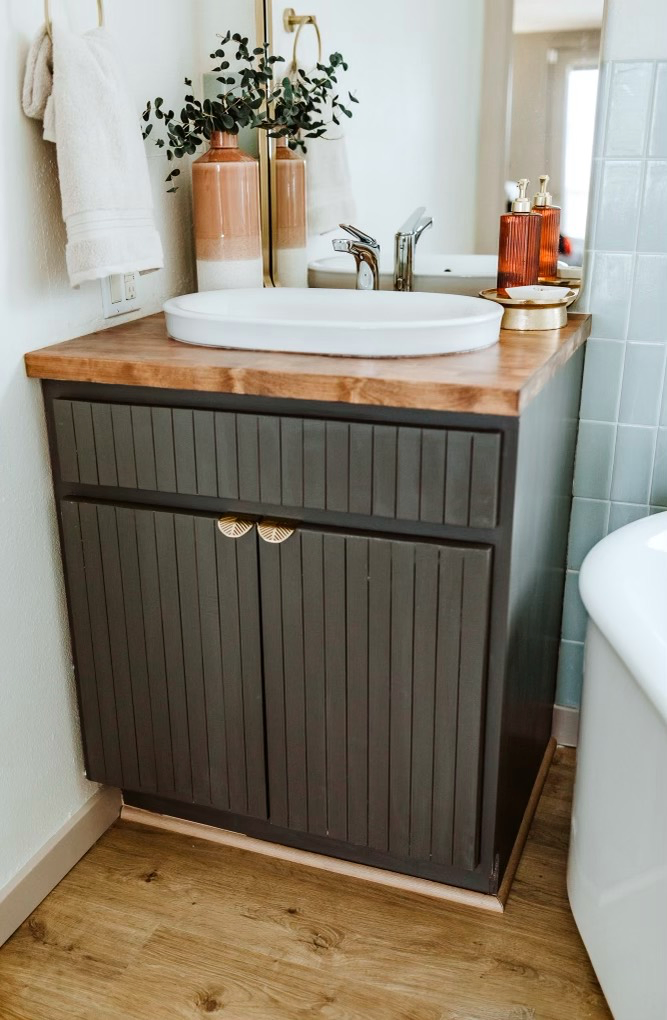
I decided to customize an existing vanity instead of buying one. After all, few things get me more excited than a good furniture flip. BUT before that happened, I had a plan for the walls. A plan that included copious amounts of tile (I will be writing a post detailing all of that so keep your eyes peeled).
I also refinished the vanity to make it more something that was ME and something that I knew that I would love for years to come. I love it so much. But really, we’re all just here for the grand reveal. The bold, brave space that I have been desperate for is finally done.
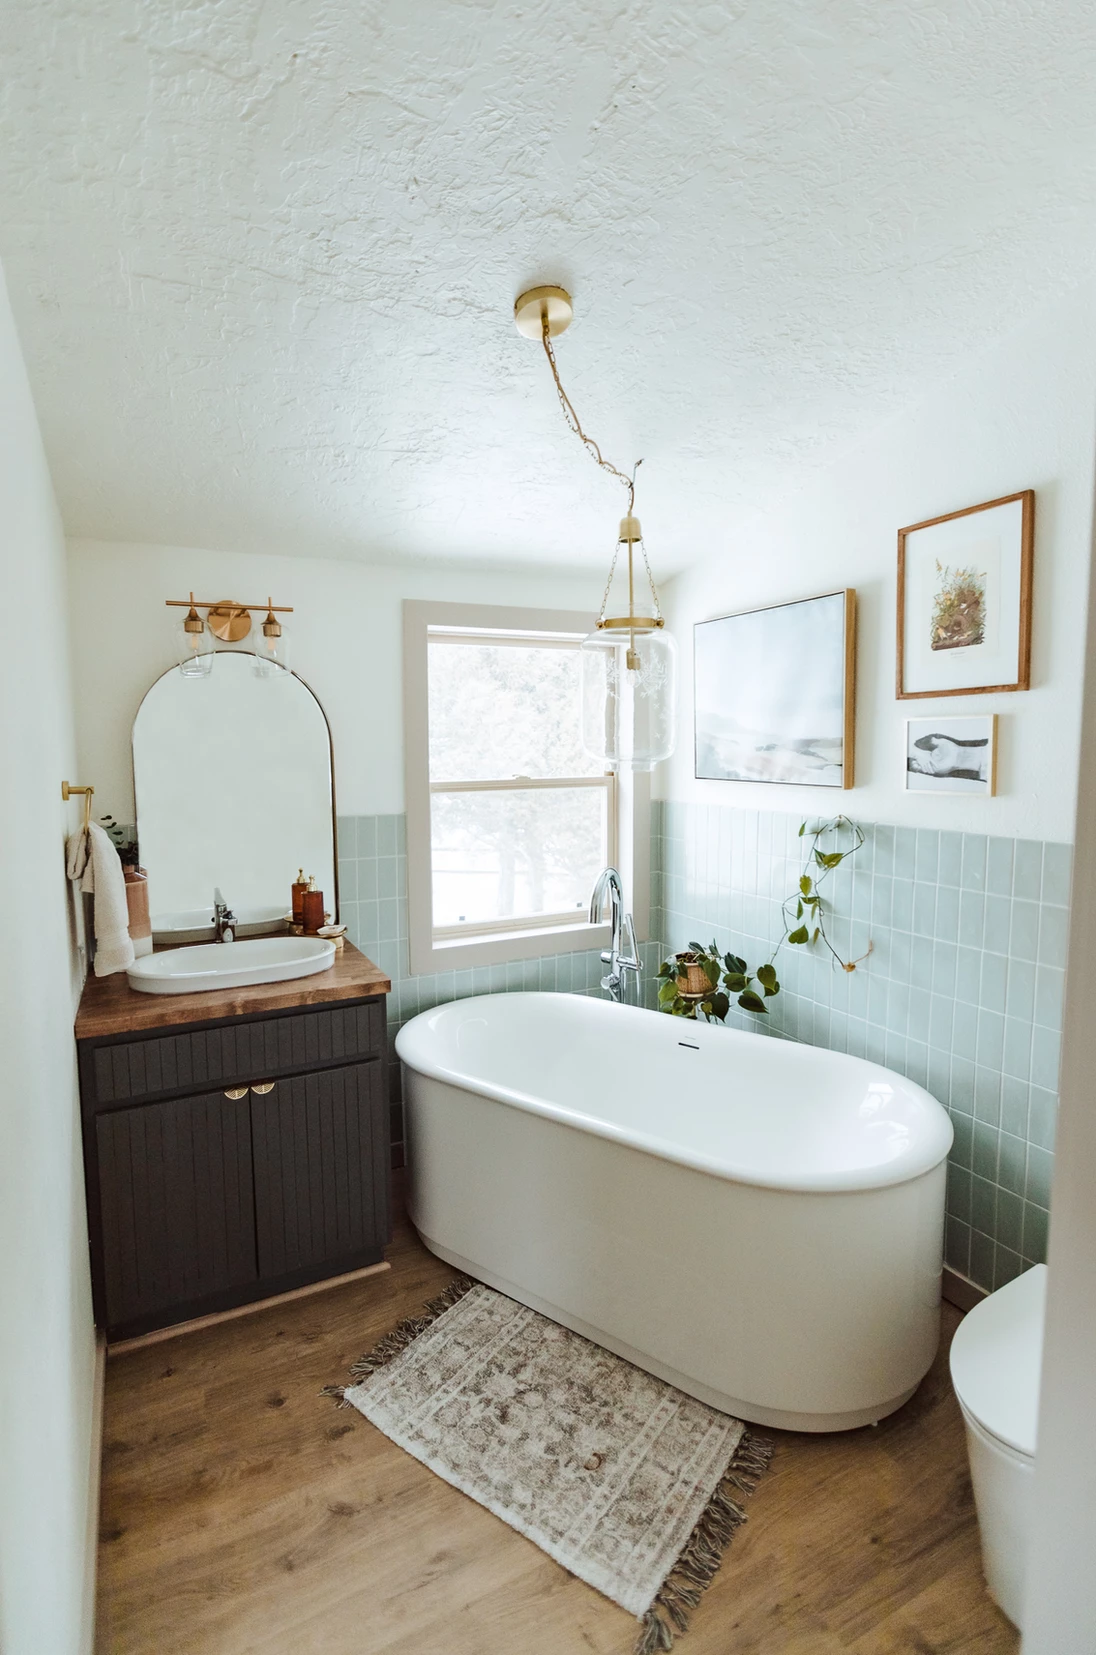
To say that I was elated to be partnering with American Standard on this project would be an understatement. The products in the original bathroom — the sink, toilet and faucets – were American Standard brand. Still in phenomenal condition but just ready to be updated for a more modern look. Cue the Studio S line from American Standard to make all of my dreams come true.
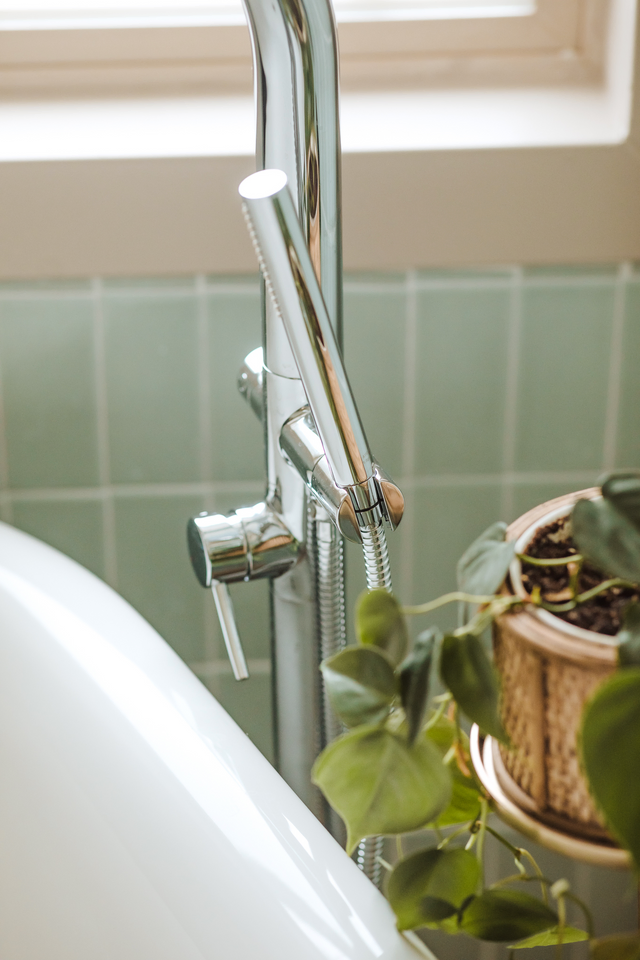
The tub filler we not only all want but truly,
NEED. With the switch to go from single faucet
to shower stream… It really is a dream.
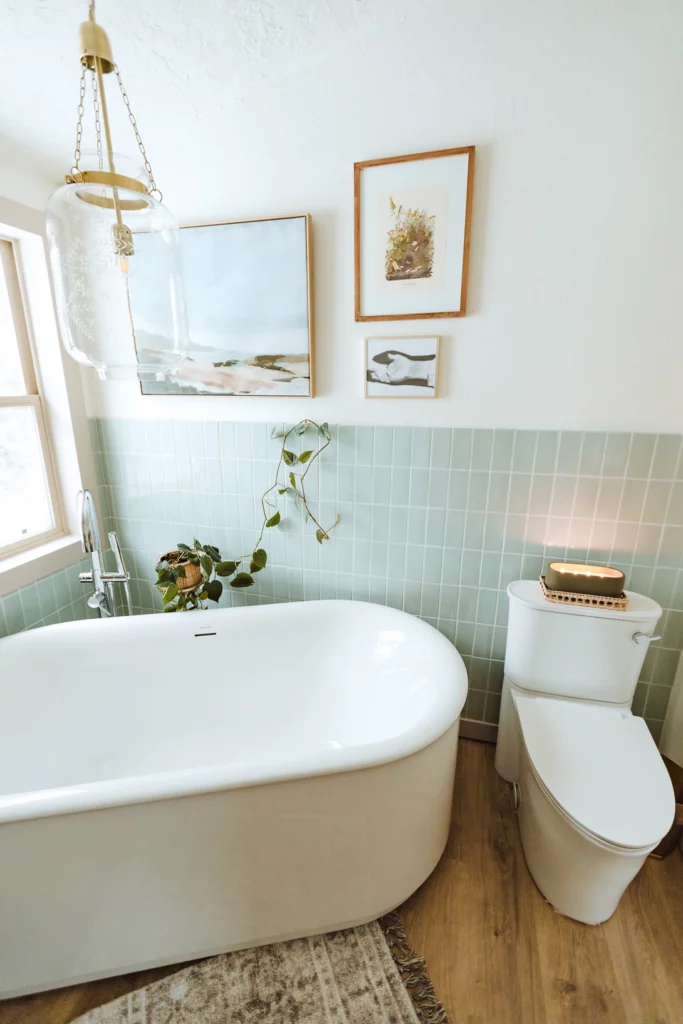
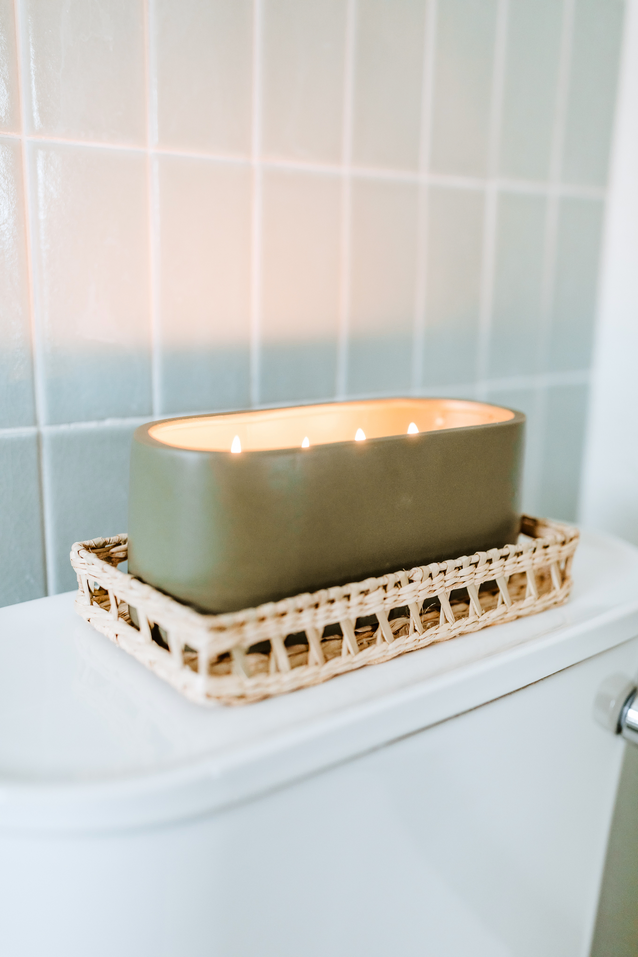
Finally, a toilet that doesn’t look like a space ship a foreign planet. Simple, clean lines & stunning.
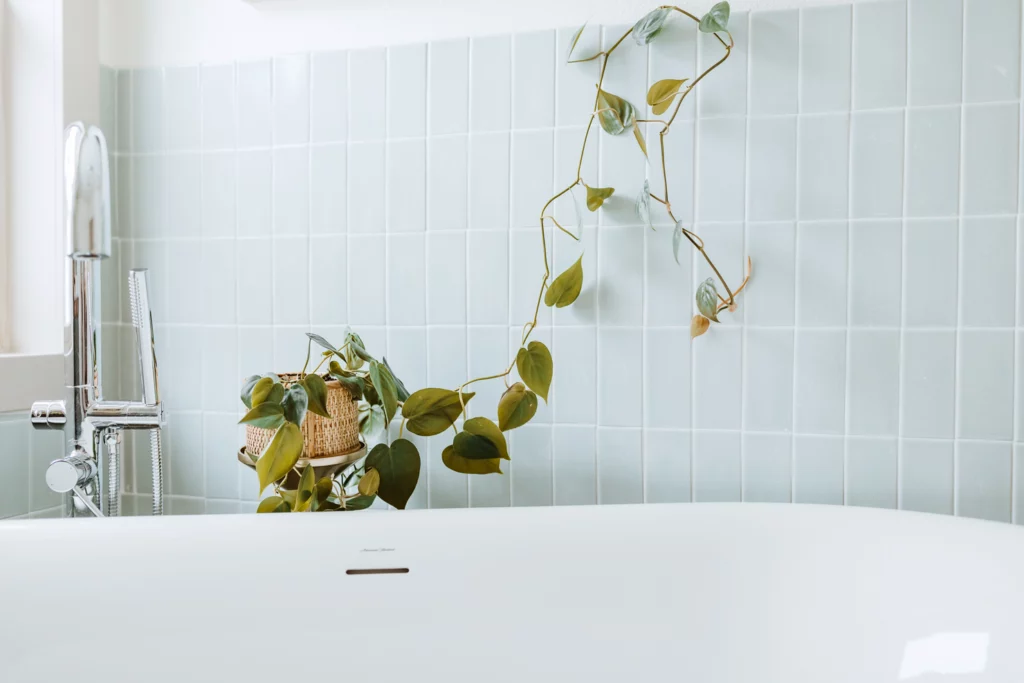
The goal of the space was to provide a sanctuary, and I think I was able to utilize the small space and make it just that.
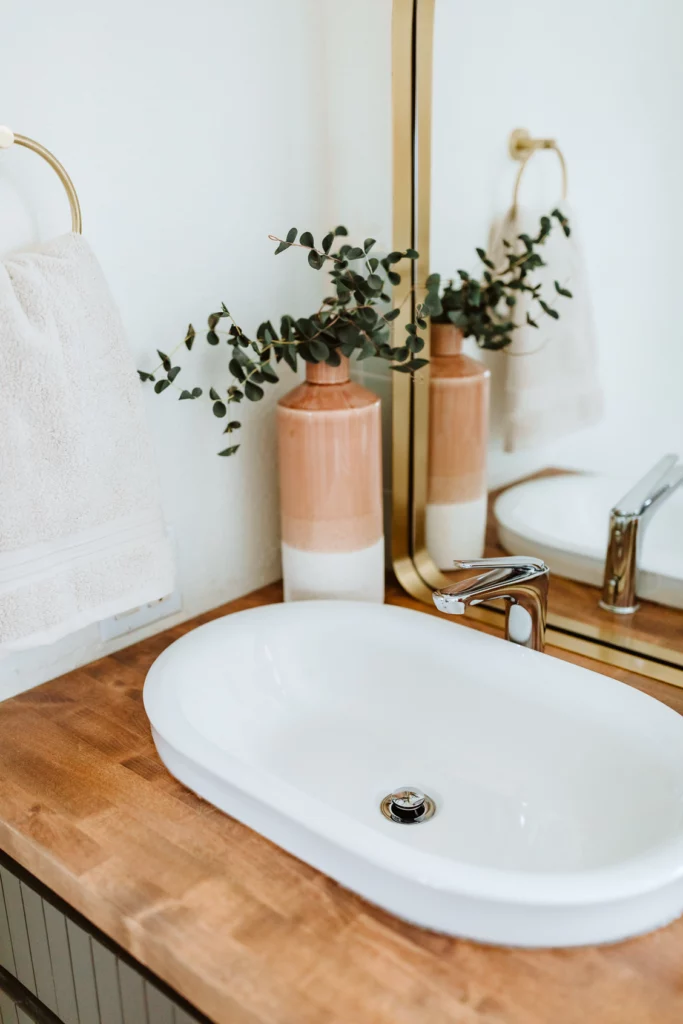
The Studio S Sink & Faucet that tied in perfectly with the DIY vanity makeover.
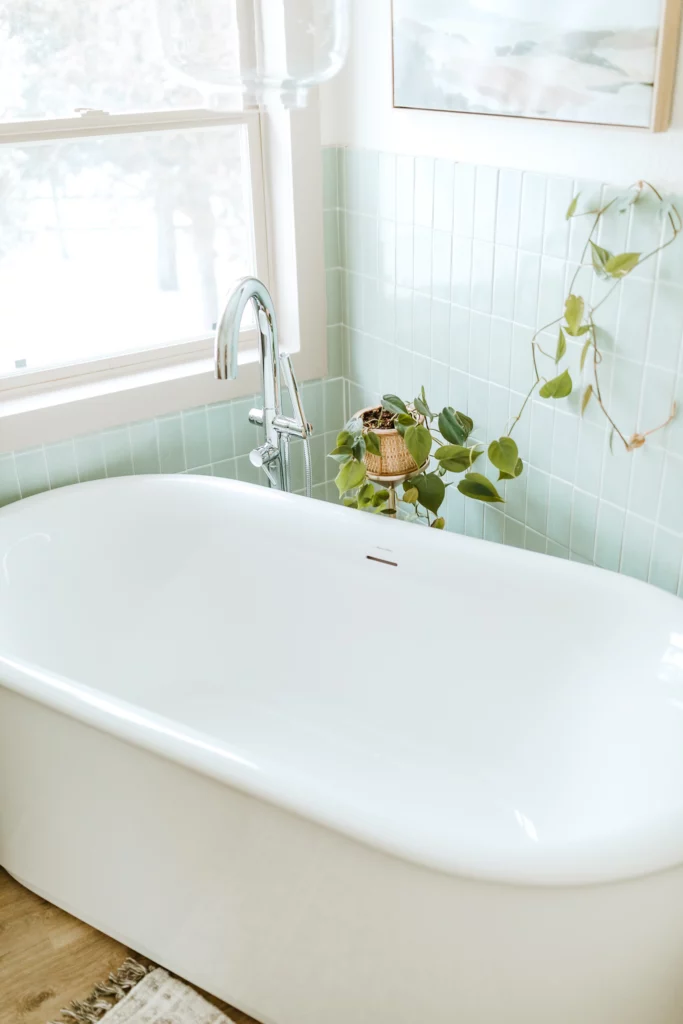
Studio S Bathtub | Studio S Tub Filler
I love it. I love that its not a 800 square foot room that I HAD to have, but the perfect size for everything I needed to create a space just for ME.
Xo,