A 15-Month Update: The State of My Epoxy Countertops
August 24, 2023
Here we are! A little over a year after my DIY bathroom renovation using epoxy countertops. Some of you might be shocked to learn that I used epoxy for granite as a countertop coating. If you’re wondering why I’d cover up countertops that someone paid a lot of money for in the past, the answer is simple: I didn’t love them!
A quick PSA for anyone who’s not totally happy with elements in their home from previous owners, it’s okay to make them your own style (I did this to my main bathroom last year, and I’m obsessed!). Customizing unique design elements in your home, like countertops, cabinetry, and tile, revamps your spaces to reflect YOUR personality. You’re the one living in it, so why not love it?
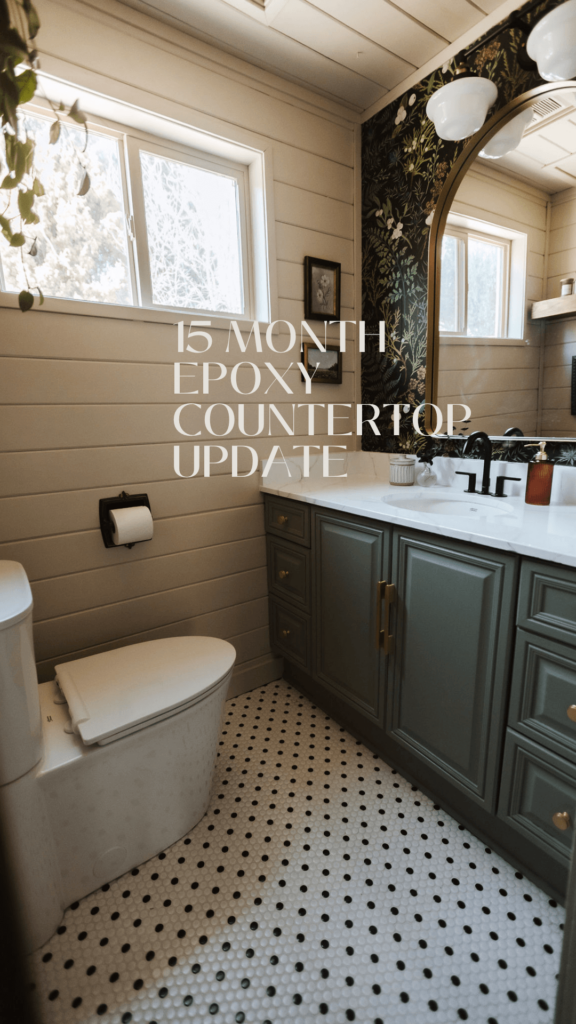
Even if quality countertops like granite might make you feel like you need to stick to the original materials, if you’re not thrilled about how it looks, go for it and shake things up. It’s your home now, after all—changing the aesthetic is okay! Countertops can be expensive, especially when you’re on a budget for home improvement projects. But I knew there had to be a less costly way to make my countertops look precisely how I wanted them to.
After searching for DIY countertop ideas, the epoxy for granite kit I found was exactly what I needed. The result? Completely transformed countertops for a fraction of the price of replacing them! Are you curious how I made this happen? I’ll get into the process of creating epoxy countertops and update you on how mine are holding up 15 months after the project. Spoiler alert: they’re still looking great (minus some minor details, but we’ll get to that!).
How I Used Epoxy for Granite Countertops
I’ll admit, I wasn’t crazy about how my granite countertops looked in the bathroom. Using a DIY kit to create epoxy countertops turned out better than I imagined! I wanted to go for a white-marbled quartz look with grey veining throughout. This DIY epoxy kit I found on Amazon had literally everything I needed, including plastic sheeting and the paint to create faux veining.
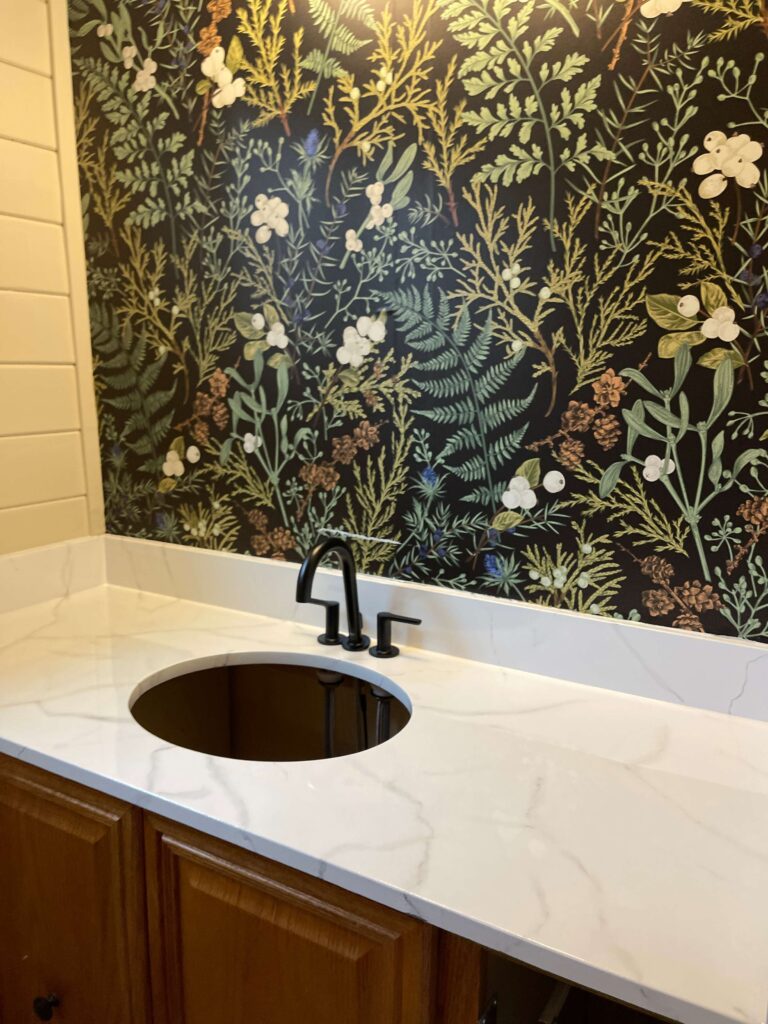
For an in-depth guide, see my blog post outlining my process from start to finish! In the meantime, here’s a step-by-step reference of how I achieved the final look:
- I prepped the workspace using painter’s tape around the edges and painter’s plastic over the cabinet.
- Next was wiping the counters down with warm water and a basic disinfectant.
- Once dry, I sanded the countertops with the paper provided in the kit.
- After sanding, I cleaned the area with a vacuum and microfiber cloth.
- I used a foam brush for the primer, starting in the corners and working around the counter.
- I waited at least an hour between each coat of primer (I thought I’d need four coats but only did two).
- After drying, it was time for the veining effect process. I dipped the tip of the skinny brush in the paint, placed it where I wanted the veining to start, and dragged it along the countertop.
- After painting the veins, I sprayed them with the water bottle in the kit, dashed them with a brush, and let them dry.
- I then used the highlighting paint from the kit and repeated the same dabbing motion on my drawn-in veins to give it a more realistic marbling effect.
- I mixed the chemicals with the activator for the epoxy, stirring the entire time.
- I had a quick thirty minutes of working time before the product started to harden.
- With the foam roller, I evened out the epoxy for full coverage.
- The proper cure time is about 48 hours, but placing heavier appliances on the surface takes seven days.
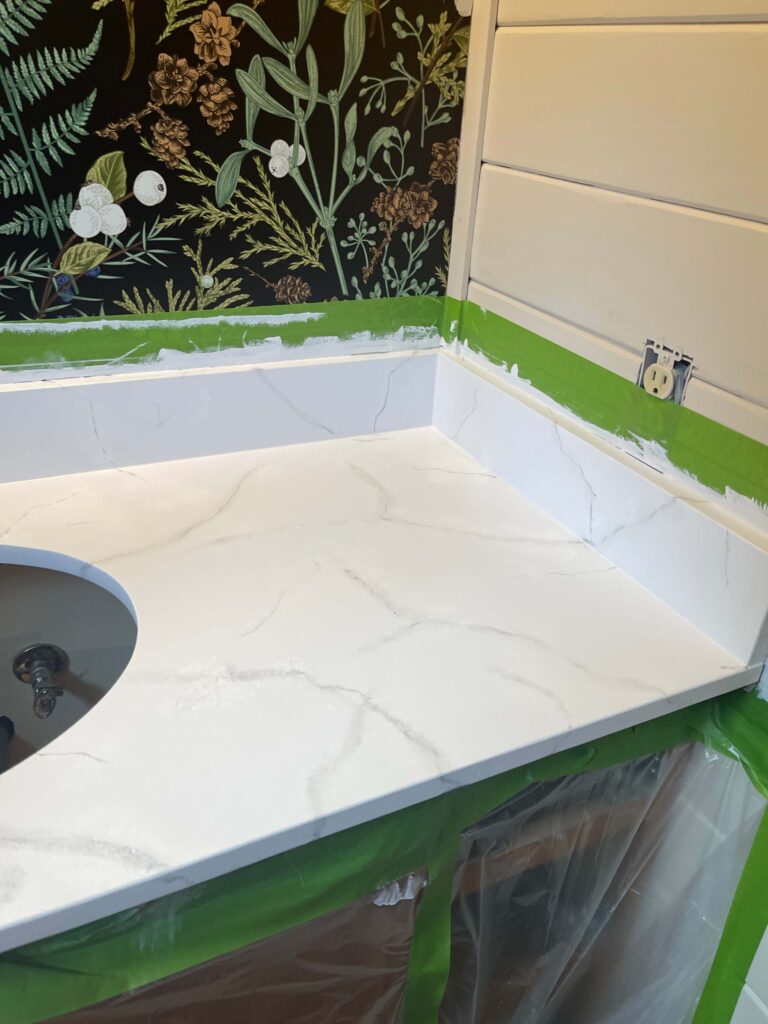
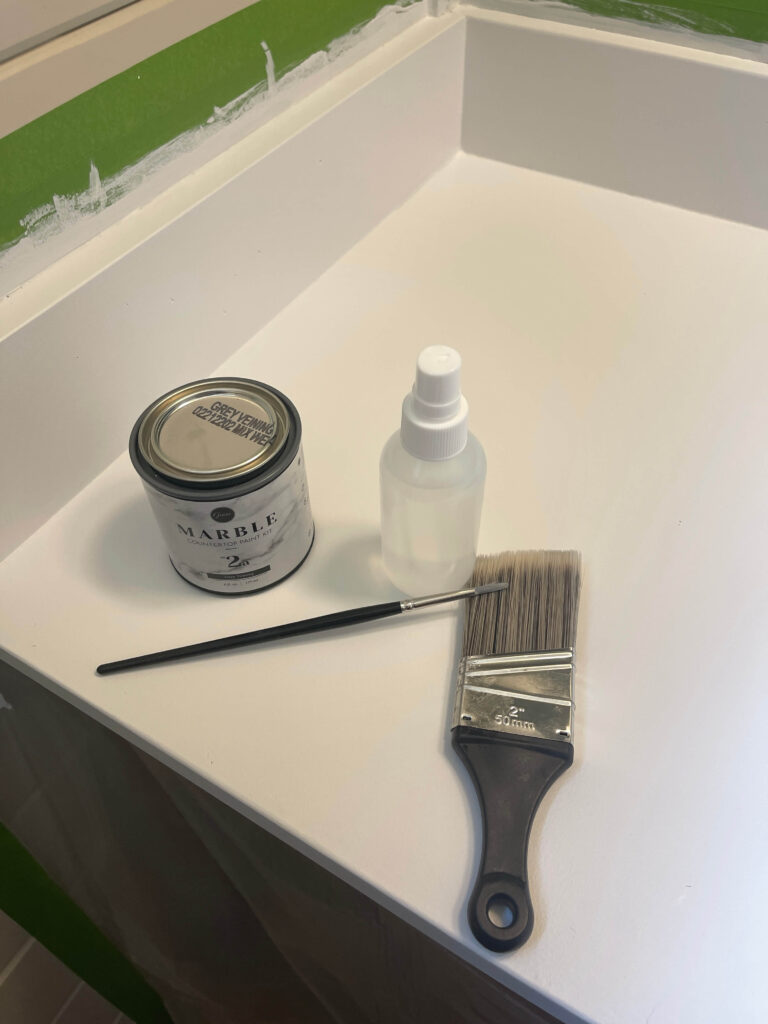
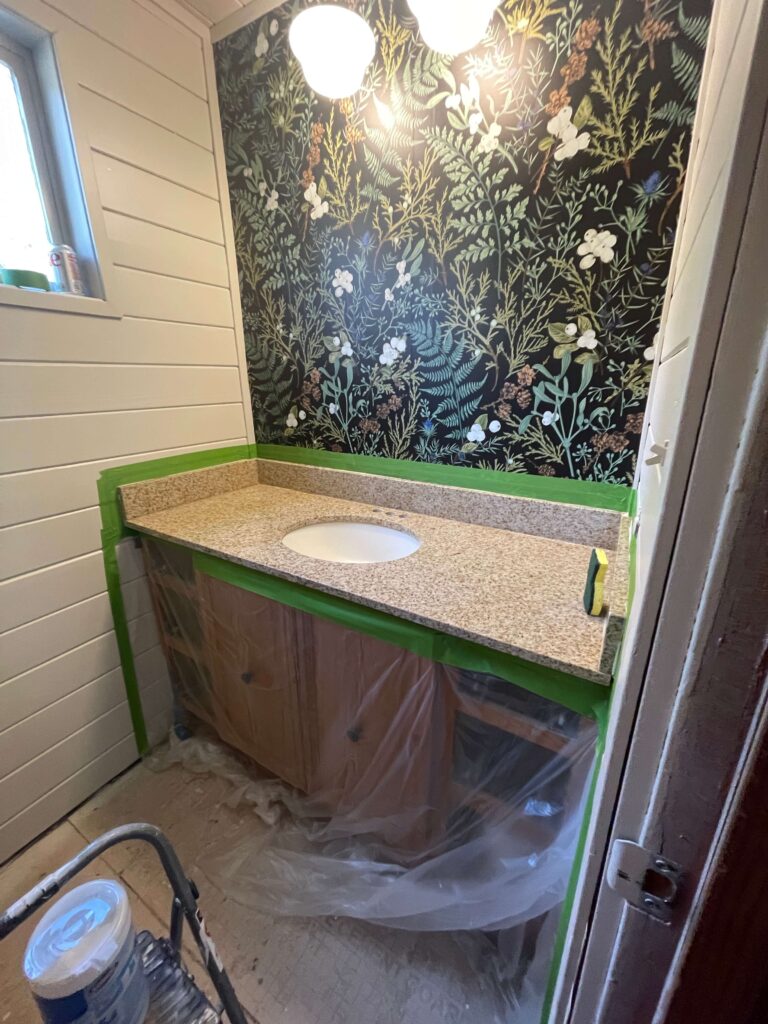
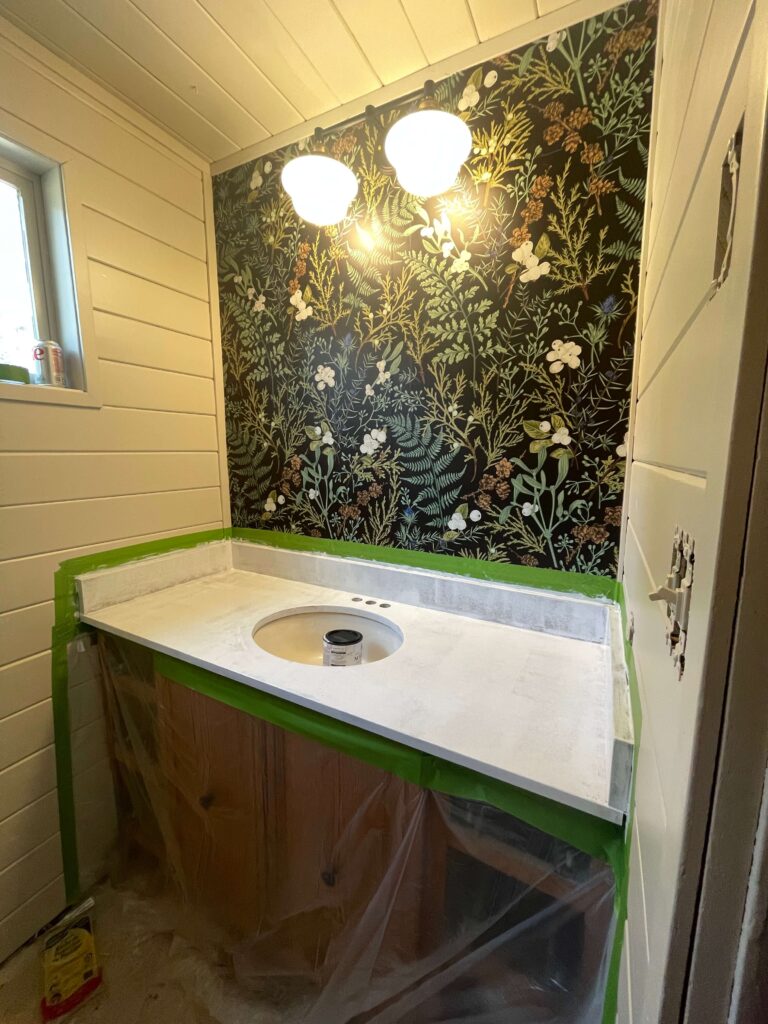
Phew! Did you take notes? It’s a pretty straightforward process, and the result is totally worth it!
The Long-Term Results of My Epoxy Countertops
Over a year after my DIY bathroom renovation project, the epoxy countertops are holding up exceptionally well. They still look glossy, sleek, and shiny. There are only slight signs of wear on the edges of the countertops in front of the sink (watch my Instagram Reel to see what I mean).
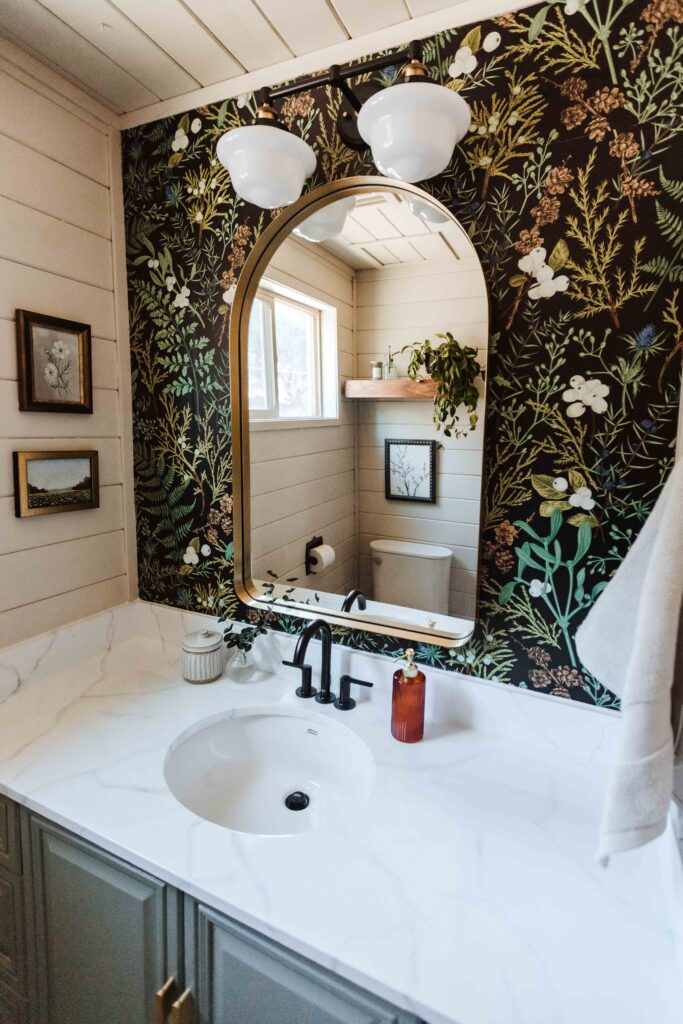
I think this issue can be attributed to a few errors on my part:
- I didn’t let the epoxy cure properly
- The epoxy was too thin along the edges
- A lip around the edges would reduce damage from friction against the epoxy
- My kids continuously rubbed up against the countertops when brushing their teeth or washing their hands (but I can’t blame them for that!)
This definitely isn’t the end of the world; just a few small details I can fix with some touch-up paint. I could add more epoxy to the problem areas, but it’ll be just fine with paint! Lesson learned, but that’s the process of DIY! You have to be willing to make small mistakes and learn along the way. Practice makes perfect.
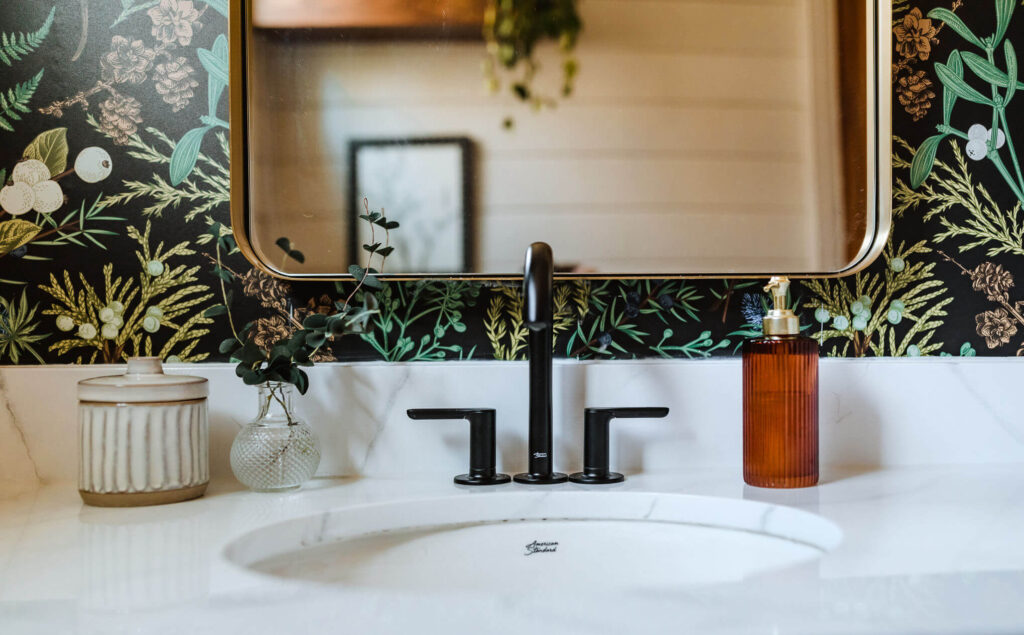
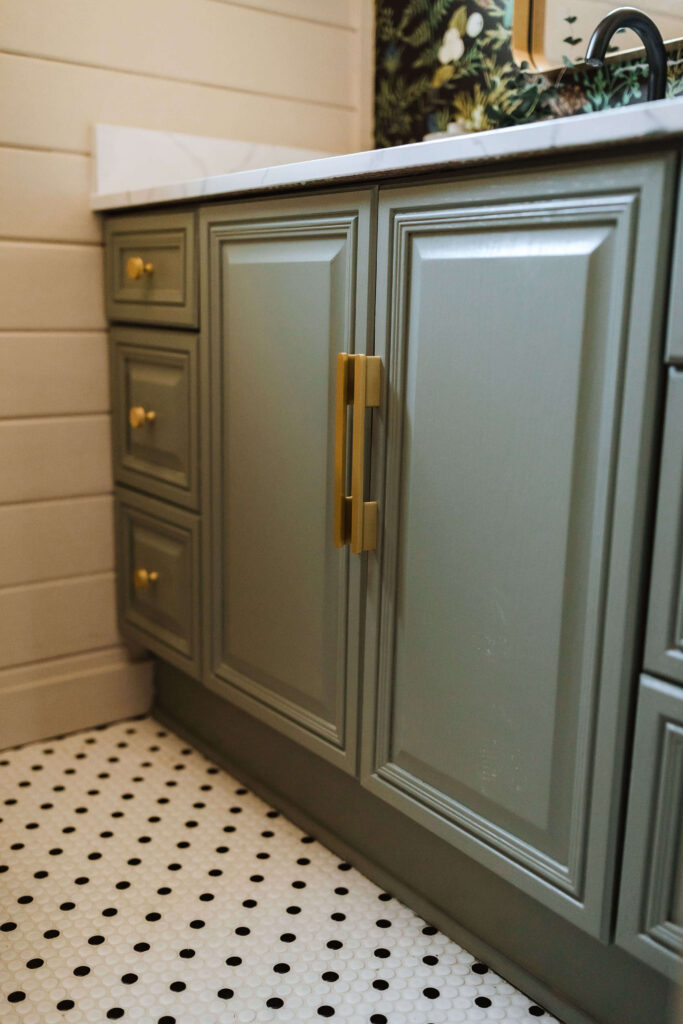
Other than those minor scuffs, the rest of the epoxy countertops look perfect! I’m thrilled with how the coloring looks and the finishing too. I’m happy with the results and glad I decided to take a leap of faith and try this look out for myself. And for those asking, here’s the link to the wallpaper I used and the bathroom light!
Quality Countertops That Don’t Break the Bank
The key to affordable home improvement projects is to get creative! There are endless options for DIY countertop ideas, like the epoxy countertops I used in my bathroom. Having quality countertops you love doesn’t have to cost a fortune. I was able to fully transform my bathroom for an updated and more modern look. I know you can too!

Stay tuned to my blog for more DIY renovation ideas, and if you don’t already follow me on Instagram, you can see all my latest project updates there! I can’t wait for you to see what else I have up my sleeve!